California Sourdough Bread Recipe: Tangy San Francisco-Style Loaf
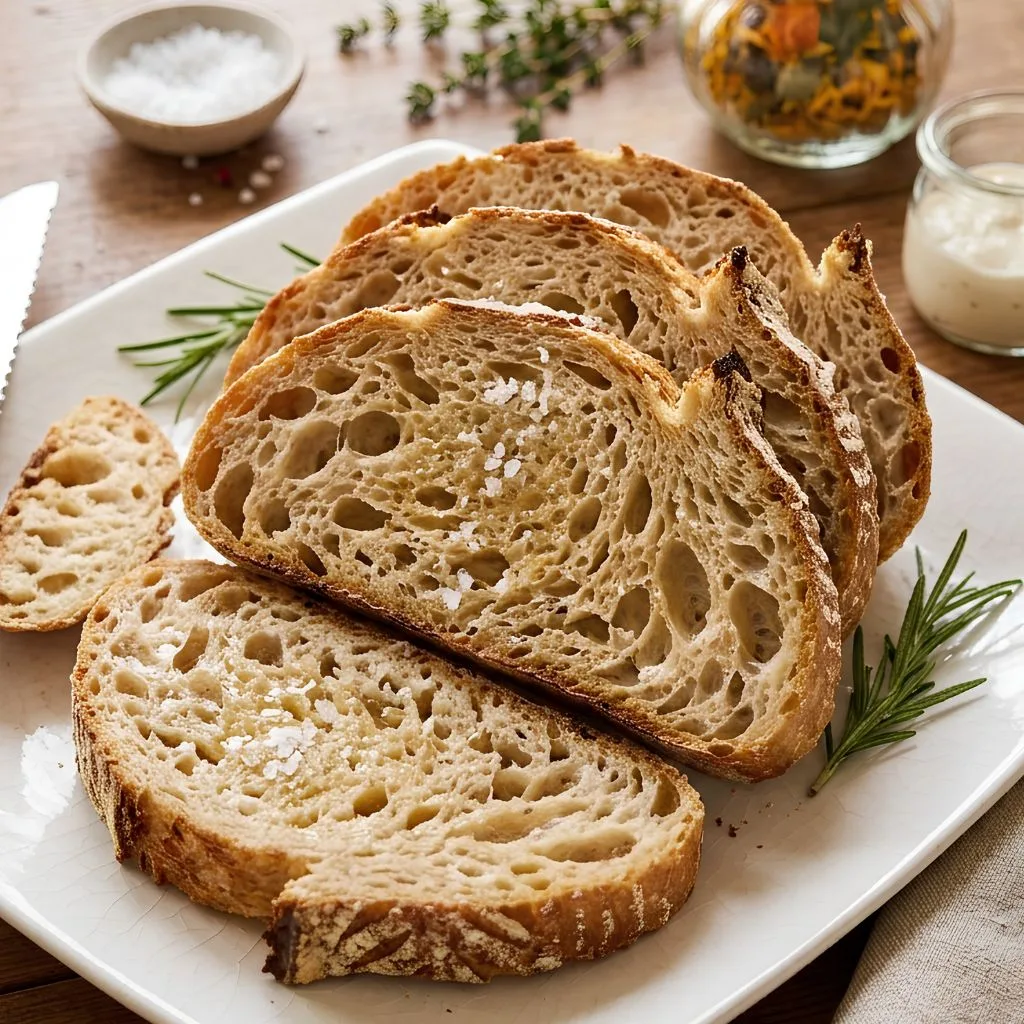
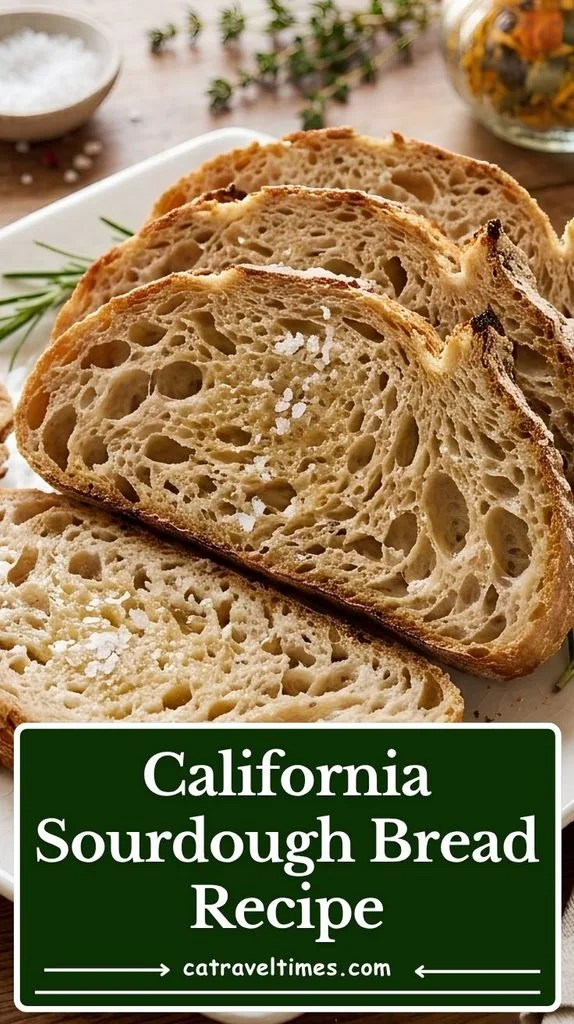
I baked this California Sourdough Bread Recipe on a slow Sunday, and my kitchen smelled like a Bay Area bakery by noon. The crust came out crackly, and the inside was chewy and full of airy bubbles. I loved how simple the ingredient list is, even though the bread needs a little patience.
This is the same style of loaf that people in San Francisco line up for every morning. If you have been searching for a San Francisco sourdough bread recipe with starter, I think this one will make you proud.
Cooking Time
Sourdough is not a rush job, but most of the time is hands-off. Here is how the clock works for this recipe.
- Prep Time: 4 hours
- Cooking Time: 35 minutes
- Total Time: 4 hours 35 minutes
Ingredients
Only five ingredients, plus a little cornmeal. Every one of them matters, so measure with care.
- 150 g active San Francisco sourdough starter – Bubbly and fed, so your loaf rises well.
- 250 g filtered water – Chlorine-free water keeps your starter happy.
- 25 g olive oil – Adds a soft, tender crumb.
- 500 g bread flour – Never swap in all-purpose flour, it lacks the needed strength.
- 10 g sea salt – Builds flavor and tightens the dough.
- Cornmeal, for dusting – Stops sticking and gives a rustic bottom crust.
Note: serves several (makes 2 loaves)
Equipment You Need
You do not need a bakery setup. These simple tools make the job much easier.
- Digital kitchen scale – Gives exact gram measurements, which bread needs.
- Large mixing bowl – Gives the dough room to rise.
- Plastic wrap and a dish towel – Keep the dough covered and warm.
- Banneton basket – Holds the shaped dough during the second rise.
- Dutch oven or la cloche dome baker – Traps steam for a crisp crust.
- Instant-read thermometer – Confirms the bread is fully baked.
- Wire cooling rack – Lets air flow so the crust stays crisp.
What Makes This a California Sourdough?
California sourdough has a real history behind it. The word “sourdough” became popular in the US during the Gold Rush days of the late 1800s. Miners bought supplies in busy San Francisco before heading to the mountains, and a good starter was a must. Starters from that area gave bread a sharp, special tang, and the name stuck. Today, famous San Francisco bakeries like Boudin keep that tradition alive, and many home bakers search for a Boudin sourdough recipe to copy the flavor. This recipe gets you very close in your own kitchen.
San Francisco Sourdough vs Regular Sourdough
The biggest difference is hydration. This dough has less water than a beginner sourdough, so it feels stiffer. That gives you a harder, crackly crust and a chewy crumb. It also rises much more than a beginner loaf.
How to Make California Sourdough Bread Recipe?
I tested this method twice, and the steps below worked beautifully both times. The dough looks a little strange at first, so please do not panic. Trust the process, and your patience will pay off.
Mix the Dough Without Salt
Add the starter, water, olive oil, and bread flour to a large bowl. Mix until no dry flour remains. Do not add the salt yet, and let the dough rest for 30 minutes.
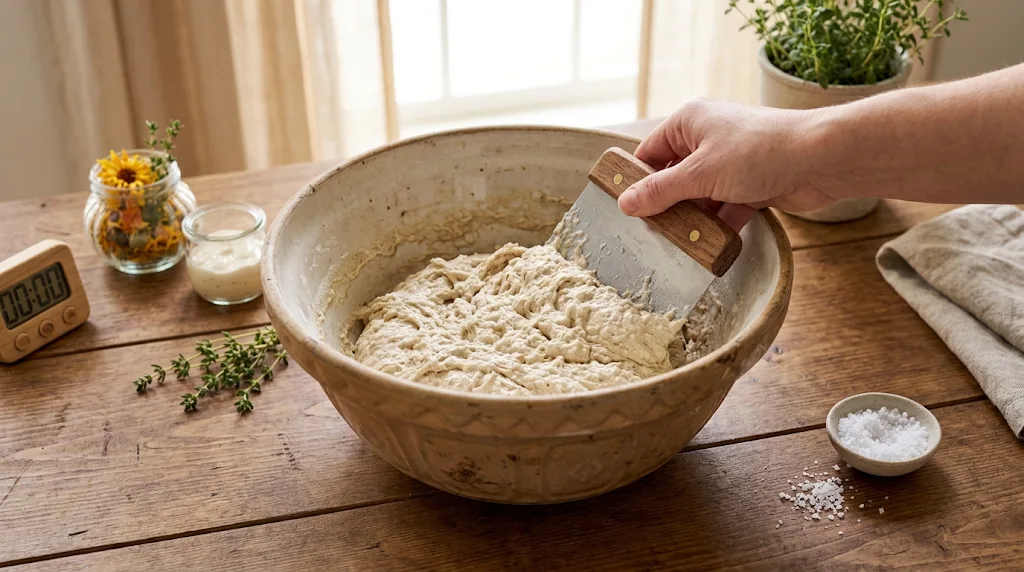
Add the Salt and Knead
After the rest, sprinkle the sea salt over the dough. Knead for about 2 minutes until the salt is fully mixed in. The dough will not feel stretchy, and that is completely normal.
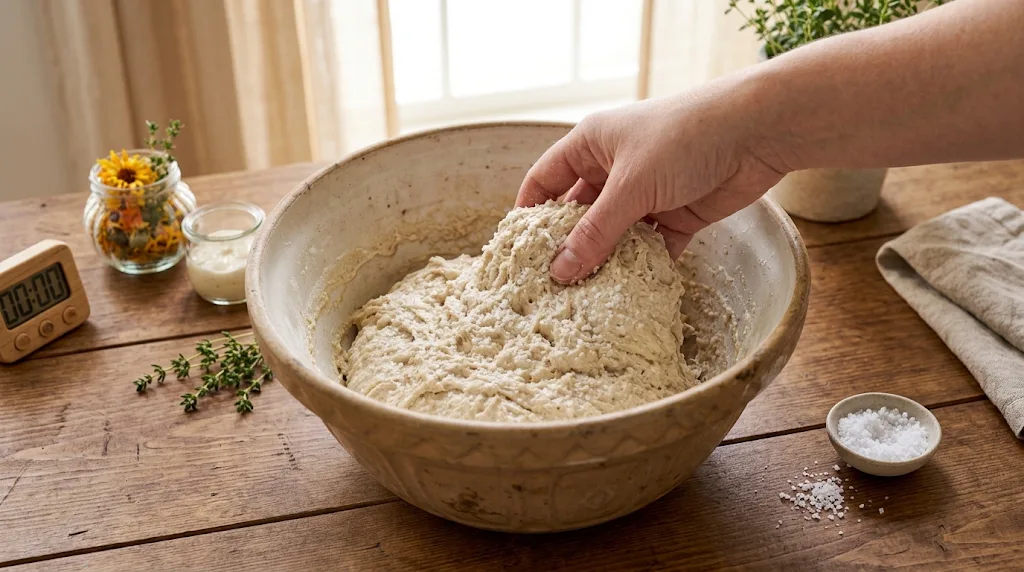
Do Not Worry About Elasticity
This dough breaks apart easily, and it should. The long rise will soften the gluten later. I used to fuss over this step, but now I leave it alone.
Let the Dough Rise
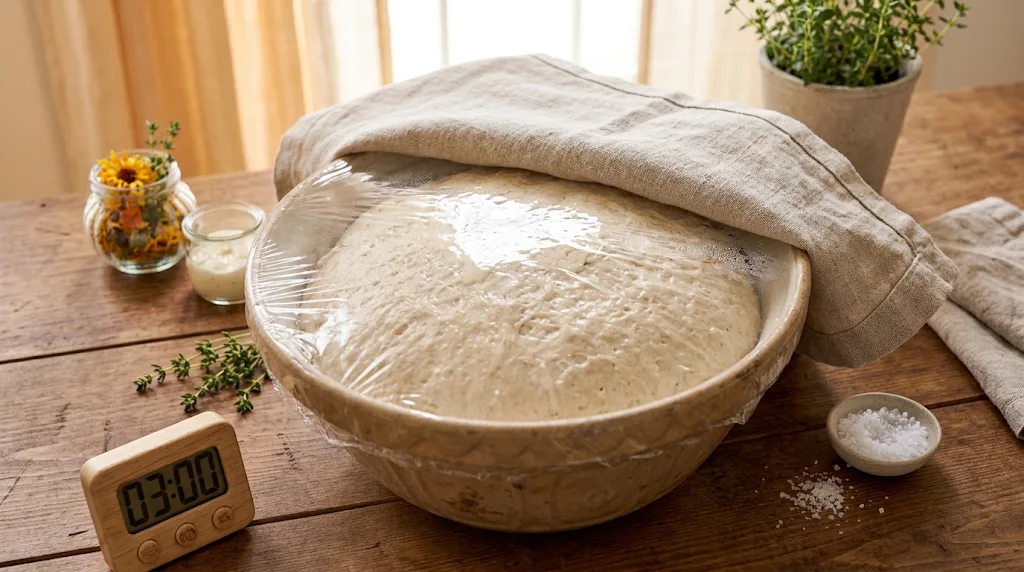
Place the dough back in the bowl and cover it with plastic wrap and a dish towel. Set it in a warm spot until it doubles in size. Mine needed about 3 more hours.
Divide the Dough
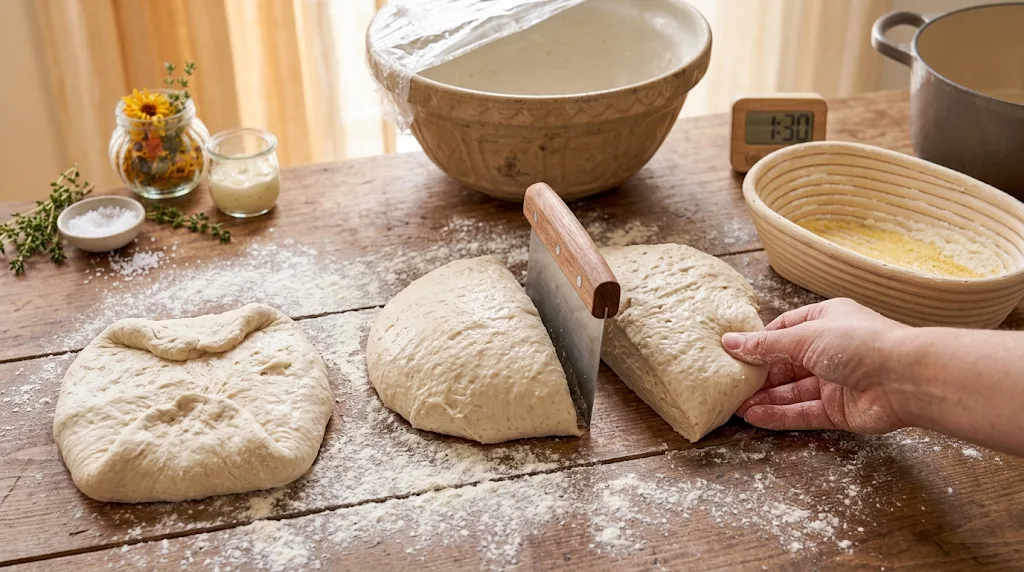
Turn the risen dough onto a floured surface and cut it into two equal pieces. Each piece becomes one loaf. The dough will deflate a little, but you do not need to punch it down.
Shape Into Tight Rounds
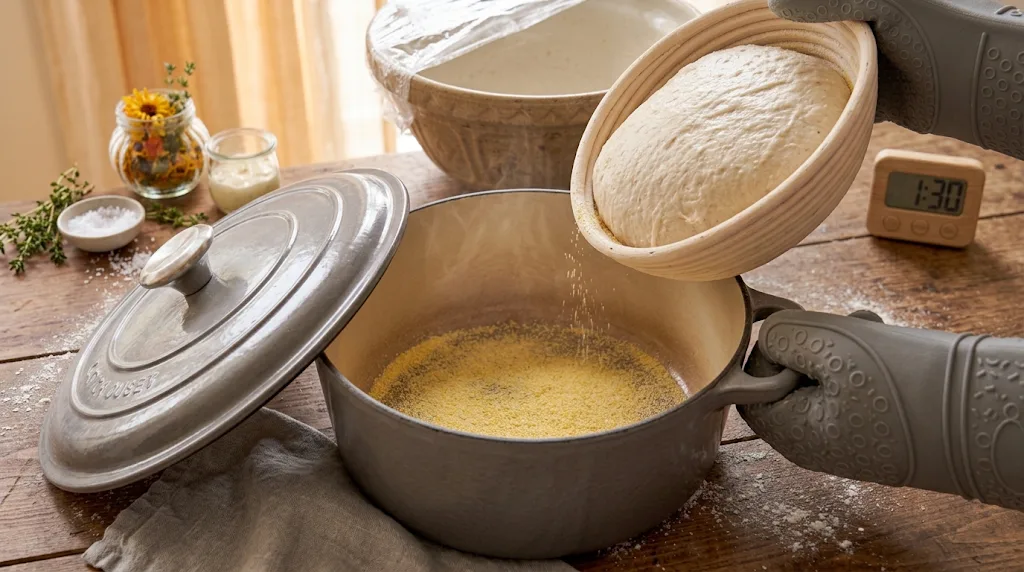
Pat each piece into a rough circle and fold the edges into the center. Pull gently until you have a tight ball. Place it seam side up in a banneton dusted with cornmeal, or seam side down in a cornmeal-dusted Dutch oven.
Give It a Short Second Rise
Let the shaped dough rest for 1 to 2 hours until it feels springy and slightly puffy. Mine took a full 2 hours. It will not double again, but it will jump in the oven.
Preheat the Oven
Heat your oven to 450°F while the dough finishes resting. Make sure your Dutch oven or la cloche sits inside if you plan to preheat it. A hot oven is the secret to a great rise.
Move the Dough Into the Pot
If you used a banneton, flip the dough gently into a Dutch oven or la cloche dusted generously with cornmeal. Put the lid on right away. Work calmly so the bubbles stay intact.
Bake Covered
Place the bread in the oven and lower the heat to 400°F. Bake with the lid on for 20 minutes. The trapped steam builds that crackly crust.
Uncover and Check the Temperature
Remove the lid and bake for 10 to 15 more minutes. Check the inside with a thermometer. You want it between 200°F and 205°F.
Cool Completely Before Slicing
Move the loaf to a wire rack and let it cool fully. I know it is hard to wait. Cutting into a warm loaf makes the crumb gummy.
Additional Tips for Making This Recipe Better
A few small habits made a big difference in my loaves. These are the ones I now follow every time.
- I always use a scale. Grams give me the same result each time, while cups never did.
- I buy a true San Francisco sourdough starter. It made my bread taste noticeably more tangy.
- I feed my starter until it is bubbly and active before I mix the dough. A sleepy starter gives a flat loaf.
- I use a strong bread flour, such as King Arthur bread flour, for better chew.
- I place my Dutch oven in the oven while it preheats, so the dough hits a hot surface.
- I do not overthink it. Every starter has its own personality, and you learn it with practice.
Common Mistakes to Avoid
I made almost all of these myself. Here is how I fixed each one.
- Using all-purpose flour. My first loaf spread flat, so I now only use bread flour.
- Add the salt too early. I skipped the rest period once, and the dough felt tougher.
- Using a weak starter. I now wait until mine is bubbly before I begin.
- Cutting the bread while warm. I ruined a loaf this way, so now I wait until it cools fully.
- Measuring by cups. My results were never the same, so I switched to a scale.
How to Serve California Sourdough Bread?
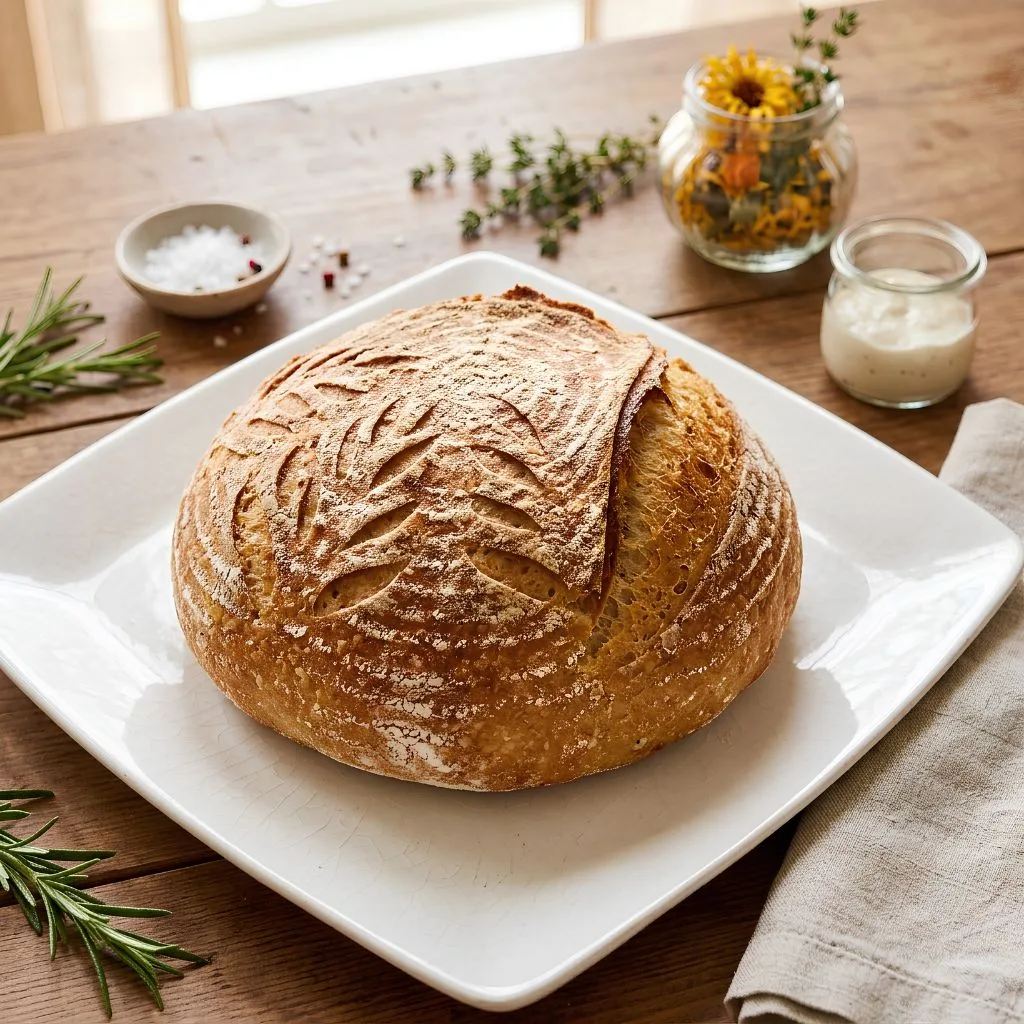
This bread shines in so many ways. I like to slice it thick and serve it on a wooden board, so the crackly crust shows. A small dish of good olive oil and a pinch of flaky salt looks lovely beside it.
- Toast thick slices and top with butter and honey for breakfast.
- Build a sandwich, just like the sourdough eatery menus in San Francisco do.
- Serve warm slices with soup, the classic California comfort pairing.
- Top slices with avocado, sea salt, and fresh herbs for a bright snack.
- Cut cubes and serve them with a cheese board.
Variations
Once you master the basic loaf, you can play with it. These small changes keep the recipe exciting.
- Whole wheat twist: Replace a small portion of the bread flour with whole wheat flour.
- Dairy-free: The recipe is already dairy-free, as it uses olive oil instead of butter.
- Herb loaf: Fold in dried rosemary or thyme during kneading.
- Garlic and olive: Add roasted garlic or chopped olives for a savory bite.
- Seeded crust: Press sesame or sunflower seeds onto the top before baking.
- Cheesy version: Mix in grated hard cheese for a golden, salty crust.
Nutritional Information
These are approximate values for one slice, based on a loaf cut into about 12 slices. Exact numbers change with slice size and flour brand.
- Calories: 130 kcal
- Protein: 4 g
- Carbohydrates: 25 g
- Fat: 2 g
Make Ahead and Storage
Sourdough keeps well when stored with care. Here is how I handle leftovers.
Make Ahead
You can feed your starter the night before and mix the dough the next morning. The dough needs most of the day, so I start early. Plan the schedule so the bread comes out of the oven right before dinner.
Storage
I keep cooled bread cut side down on a wooden board for a day. After that, I wrap it in a clean cloth or paper bag. It stays fresh for about 3 to 4 days at room temperature.
Freezing
Slice the cooled loaf and freeze the slices in a zip bag. They stay good for up to 3 months. You can toast a slice straight from the freezer.
Reheating
Warm a slice or a whole loaf in a 350°F oven for about 10 minutes. This brings the crust back to life. A toaster works well for single slices.
Why You’ll Love This Recipe?
This loaf gives you bakery results with very simple ingredients. Here is why it has become a regular in my kitchen.
- Simple ingredient list: You only need starter, water, olive oil, bread flour, and salt. There is nothing fancy to hunt for, and the dough comes together in one bowl.
- Mostly hands-off: Most of the 4-hour prep is just waiting. You can go about your day while the dough rises and do other chores.
- Bakery-style crust: The covered bake gives a crackly, golden crust. The inside stays chewy with lovely airy bubbles.
- Makes two loaves: One batch gives you two loaves. You can share one or freeze it for later.
- Easy to customize: Add herbs, seeds, or garlic to suit your taste. The base dough works with all of them.
FAQs
What is the best San Francisco sourdough starter to use?
I recommend a true San Francisco sourdough starter, kept active and bubbly. It gives the signature tang. Feed it well before mixing the dough.
Can I use all-purpose flour?
I do not recommend it. Bread flour has the strength this stiffer dough needs. All-purpose flour usually gives a flatter loaf.
Can I bake it without a Dutch oven?
Yes, you can use a la cloche dome baker. The goal is to trap steam for the first 20 minutes. Without it, the crust will not turn out as crisp.
How do I know the bread is fully baked?
Check the inside with a thermometer. It should read 200°F to 205°F. A golden crust is a good sign too.
Can I refrigerate the shaped dough overnight?
Many bakers do this for extra flavor. The recipe I used did not include it, so I cannot promise the same timing. Test it with one loaf first and let it come to room temperature before baking.