California Meyer Lemon Bars Recipe: Sunshine in Every Bite
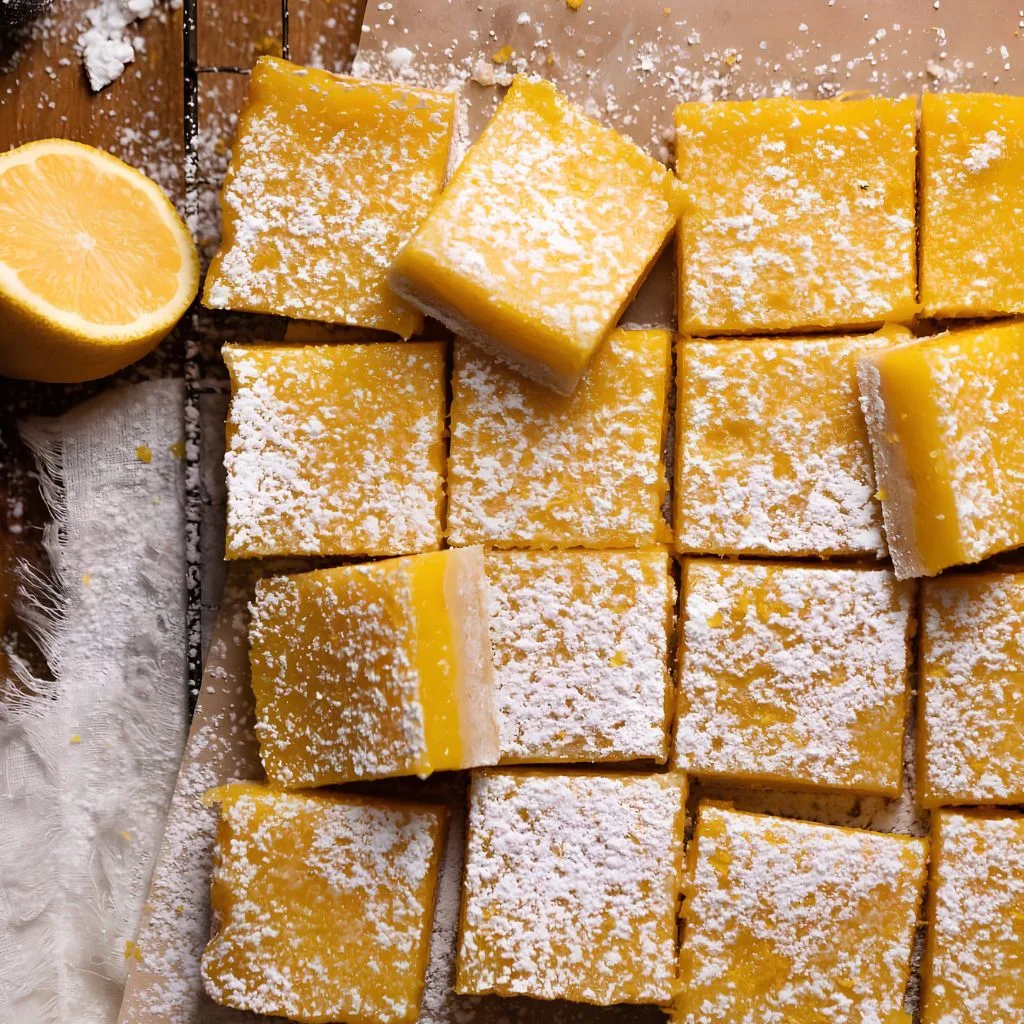
I still remember the first time I pulled a pan of this California Meyer Lemon Bars Recipe out of the oven, my whole kitchen smelled like a lemon grove in bloom. I’d always made the classic version with regular lemons, but switching to Meyer lemons changed everything, the filling turned out softer, sweeter, and almost floral.
If you’ve never baked with Meyer lemons before, I promise this recipe will turn you into a believer by the first bite. It’s the kind of dessert I make whenever I want something that looks fancy but barely takes any effort. Let me walk you through exactly how I make mine, buttery shortbread crust and all.
Cooking Time
- Prep Time: 15 minutes
- Cook Time: 45 minutes
- Total Time: 1 hour (plus cooling time)
Ingredients
For the Shortbread Crust
- 1 cup unsalted butter, softened – this is what gives the crust its melt-in-your-mouth texture, don’t substitute margarine
- 1/2 cup powdered sugar – dissolves smoothly into the dough for an even, delicate crumb
- 2 cups all-purpose flour – sifted flour keeps the crust light instead of dense
For the Meyer Lemon Filling
- 4 large eggs – bring them to room temperature so the filling blends smoothly
- 2 cups granulated sugar – balances the tartness of the Meyer lemons
- 1/2 cup fresh Meyer lemon juice – always squeeze it fresh, bottled juice loses that signature sweet-tart flavor
- 1/4 cup all-purpose flour – helps the filling set into that perfect sliceable layer
- 1/2 teaspoon baking powder – gives the filling just a touch of lift
- Zest of 1 Meyer lemon (optional but recommended) – adds an extra punch of citrus aroma
- Powdered sugar, for dusting – adds the classic finishing touch right before serving
Note: This recipe serves 16 people when cut into squares from an 8×8-inch pan.
Equipment You’ll Need
- 8×8-inch glass baking dish – the right size for an evenly baked crust and filling
- Parchment paper – makes lifting the bars out of the pan effortless
- Stand mixer or hand mixer – creams the butter and sugar until light and fluffy
- Mixing bowls – one for the crust, one for the filling
- Whisk – blends the filling ingredients smoothly without overmixing
- Citrus juicer or reamer – gets the most juice out of each Meyer lemon
- Wire cooling rack – helps the bars cool evenly before slicing
- Sharp knife – for clean, neat squares once the bars have set
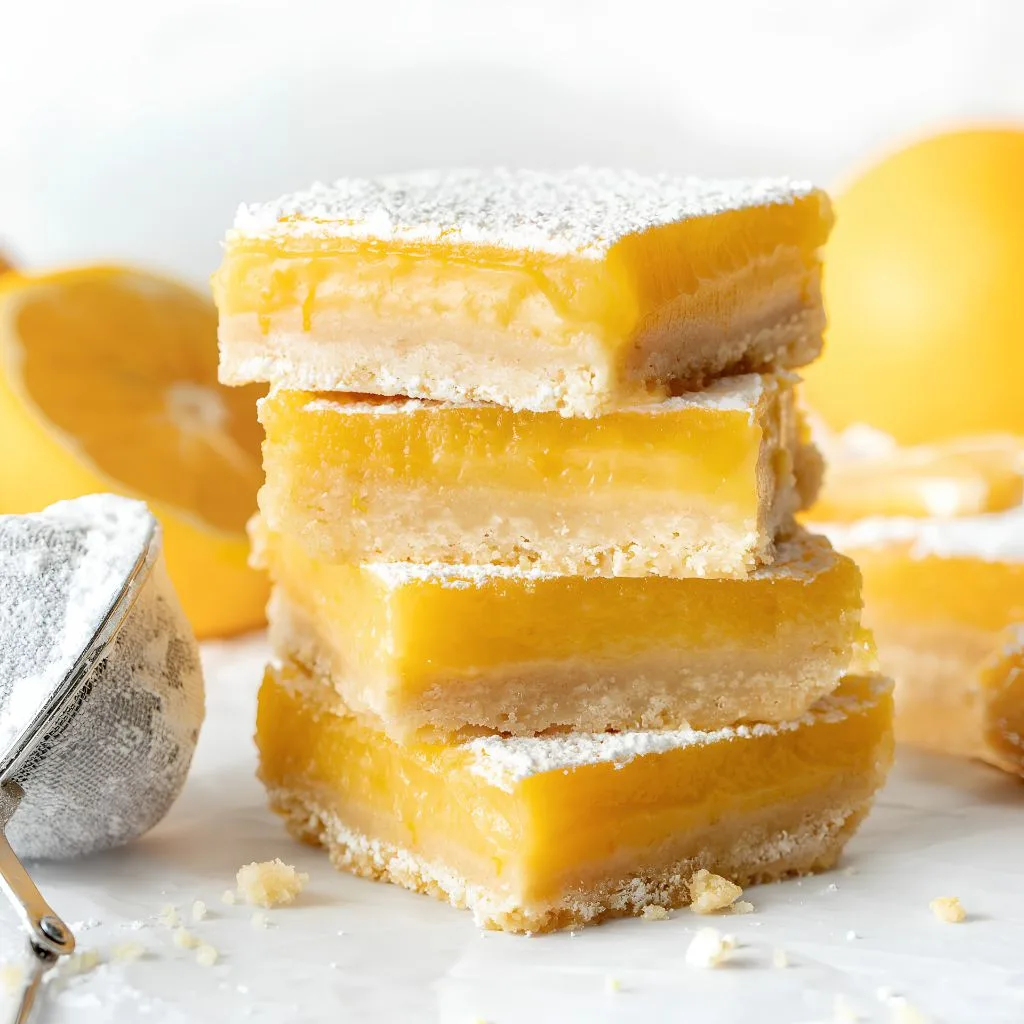
How to Make California Meyer Lemon Bars Recipe?
Making these bars really comes down to two simple stages: baking a buttery crust, then pouring a bright lemon filling over it. I promise it’s far easier than it looks, and most of the work is just waiting for things to bake and cool. Here’s exactly how I do it every time.
Preheat and Prep Your Pan
I always start by preheating my oven to 350°F so it’s fully heated by the time my crust is ready. I line my 8×8-inch baking dish with parchment paper, leaving a little overhang on the sides. This little trick makes lifting the bars out so much easier later, and it saves me from fighting with a stuck crust.
Make the Shortbread Crust
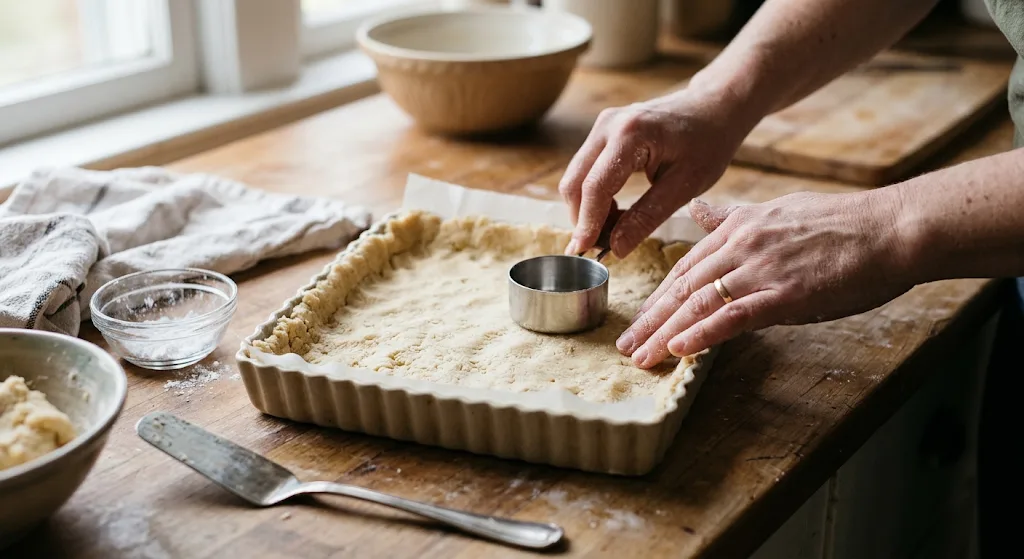
In my stand mixer, I cream the softened butter and powdered sugar together until it turns pale and fluffy, about two to three minutes. Then I add the flour and mix just until it comes together, I never overmix at this stage. I press the dough evenly into my prepared pan using my fingers or the bottom of a measuring cup.
Bake the Crust First
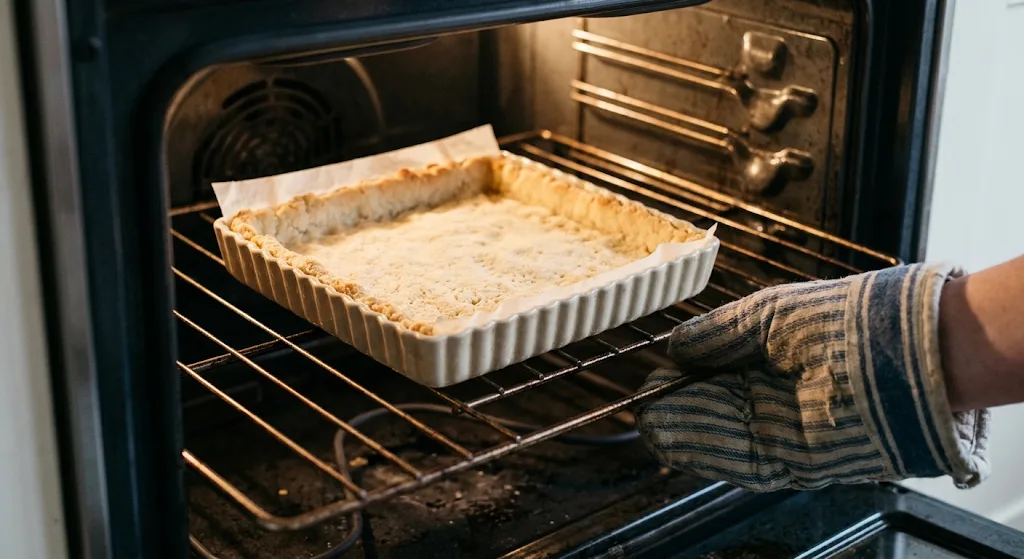
I slide the crust into the oven and bake it for 15 to 20 minutes, just until the edges turn barely golden. This pre-bake step is what keeps my crust from turning soggy once the lemon filling goes on top. I keep an eye on it near the end since ovens vary.
Whisk Together the Lemon Filling
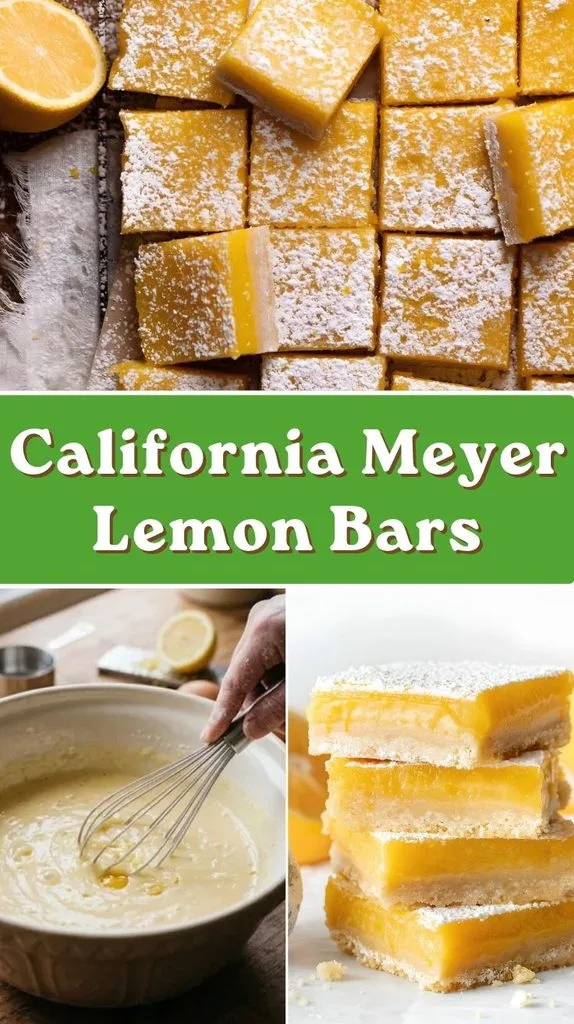
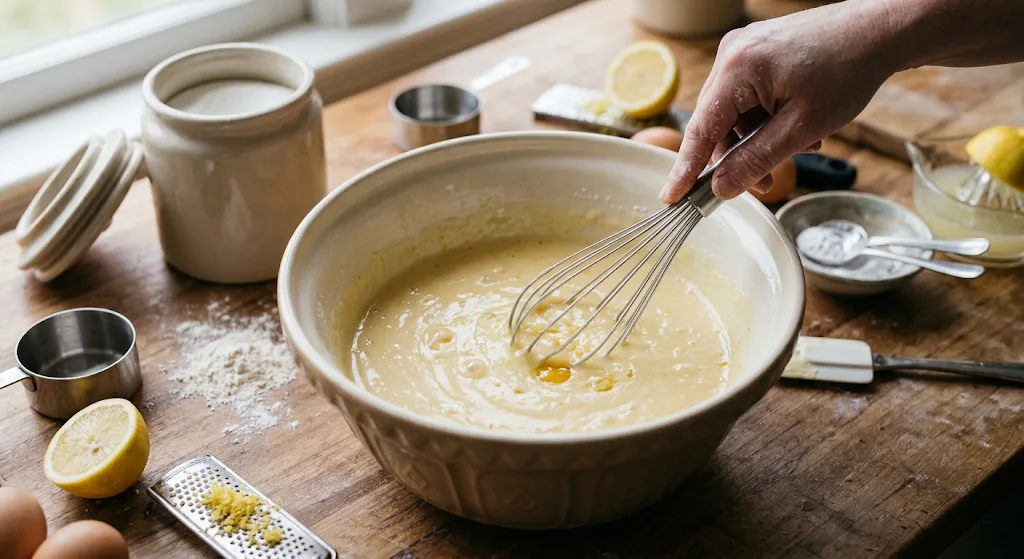
While the crust bakes, I whisk the eggs, sugar, flour, baking powder, and fresh Meyer lemon juice together in the same mixing bowl I used for the crust (less cleanup for me). I whisk just until smooth, no need to overdo it or the filling can turn foamy.
Pour and Bake Again
Once my crust comes out of the oven, I pour the lemon filling directly over the hot crust and return the pan to the oven. I bake it for another 20 to 25 minutes, until the center barely jiggles and a toothpick comes out mostly clean.
Cool Completely Before Slicing
This is the step I never skip, I let the bars cool fully at room temperature, then pop them in the fridge for an hour. The filling continues to set as it cools, so slicing too early gives you a gooier, messier square.
Dust and Serve
Right before serving, I dust the top generously with powdered sugar and slice the bars into squares using a sharp knife. I like wiping the blade clean between cuts so every square looks picture-perfect.
Additional Tips for Making This Recipe Better
I’ve made this recipe more times than I can count, and these are the little things that genuinely make a difference for me:
- I always use room-temperature eggs, they blend into the filling far more smoothly than cold eggs straight from the fridge.
- I never skip pre-baking the crust, it’s the only way I’ve found to avoid a soggy bottom layer.
- I like zesting my Meyer lemons before juicing them, it’s so much easier than trying to zest a juiced, floppy lemon.
- I let my bars cool completely, even though waiting is hard, rushing this step always gives me a messier slice.
- I dust the powdered sugar right before serving, not earlier, since it tends to melt into the filling if added too soon.
Common Mistakes to Avoid
- I once used bottled lemon juice in a pinch, and the flavor was flat compared to fresh Meyer lemon juice, I never do that again.
- I over baked my filling the first time I made these, which left the edges rubbery, I now start checking at the 20-minute mark.
- I forgot to pre-bake my crust once, and it turned soggy under the filling, now I never skip that step.
- I tried slicing my bars while they were still warm, and they fell apart, now I always chill them first.
- I used a metal pan once instead of glass, and the crust browned unevenly, I stick with glass or ceramic now.
How to Serve California Meyer Lemon Bars?
I love serving these bars chilled, straight from the fridge, on a simple white platter so the pale yellow filling really pops. A light dusting of powdered sugar right before guests arrive keeps that bakery-style finish looking fresh.
For a little extra flair, I’ll add a few thin Meyer lemon slices or curls of zest on top for garnish. These bars also pair beautifully with a dollop of lightly sweetened whipped cream or a few fresh berries on the side, especially at spring or summer gatherings.
Variations
- Dairy-free option: I’ve swapped the butter for a plant-based baking stick with good results, the crust stays just as crumbly.
- Sugar-free twist: I’ve used a 1:1 sugar substitute in both the crust and filling for a lighter version without losing sweetness.
- Gluten-free version: A good 1:1 gluten-free flour blend works well in both the crust and filling.
- Extra citrus punch: I sometimes add a touch of orange zest alongside the Meyer lemon for a slightly different flavor profile.
- Coconut crust: Adding a tablespoon of shredded coconut to the crust gives it a subtle tropical note I really enjoy.
- Berry swirl: I’ve swirled a spoonful of raspberry jam into the filling before baking for a pretty marbled look.
Nutritional Information
Here’s a quick look at what you can expect per serving (based on 16 bars per batch):
- Calories: approximately 155 kcal
- Protein: approximately 2g
- Carbohydrates: approximately 24g
- Fat: approximately 6g
Make Ahead and Storage
I often make these bars a day ahead since they actually taste better once fully chilled. Stored in an airtight container in the refrigerator, they stay fresh and delicious for up to 5 days.
For longer storage, I freeze individual squares wrapped tightly in plastic wrap, then place them in a freezer-safe bag for up to 2 months, letting them thaw in the fridge overnight before serving.
I never reheat these bars since they’re meant to be enjoyed chilled or at room temperature, warming them can make the filling runny and lose its set texture.
Why You’ll Love This Recipe?
This recipe has become one of my go-to desserts for pretty much every occasion, and here’s why I keep coming back to it:
- It’s incredibly easy to make: With just two simple layers and basic pantry staples, I never feel intimidated making this from scratch.
- The flavor is unforgettable: Meyer lemons bring a sweeter, more floral taste than regular lemons, making every bite feel a little special.
- It’s perfect for any gathering: Whether I’m bringing a dessert to a potluck or need something quick for guests, these bars always disappear fast.
- It’s easy to customize: From dairy-free swaps to gluten-free flour, I’ve adapted this recipe many times without losing the original charm.
- It stores beautifully: Since the bars taste even better chilled, I can make them well in advance without any last-minute stress.
FAQs
Can I use regular lemons instead of Meyer lemons?
Yes, I’ve done this before, though the flavor will be more tart and less sweet, you may want to add an extra tablespoon of sugar to balance it out.
Why did my lemon bars turn out runny?
This usually happens when the bars are sliced before fully cooling, I always let mine chill in the fridge for at least an hour before cutting.
Can I double this recipe?
Absolutely, I often double the batch and bake it in a 13×9-inch pan, just keep an eye on the baking time since it may need a few extra minutes.
How do I know when the filling is fully baked?
I gently shake the pan, if the center only jiggles slightly rather than sloshing, it’s ready to come out of the oven.
Can I make these bars ahead of a party?
Yes, I make mine a full day in advance since they actually taste better once the flavors have had time to set in the fridge.