California White Chicken Chili Recipe: Creamy, Zesty & Super Easy
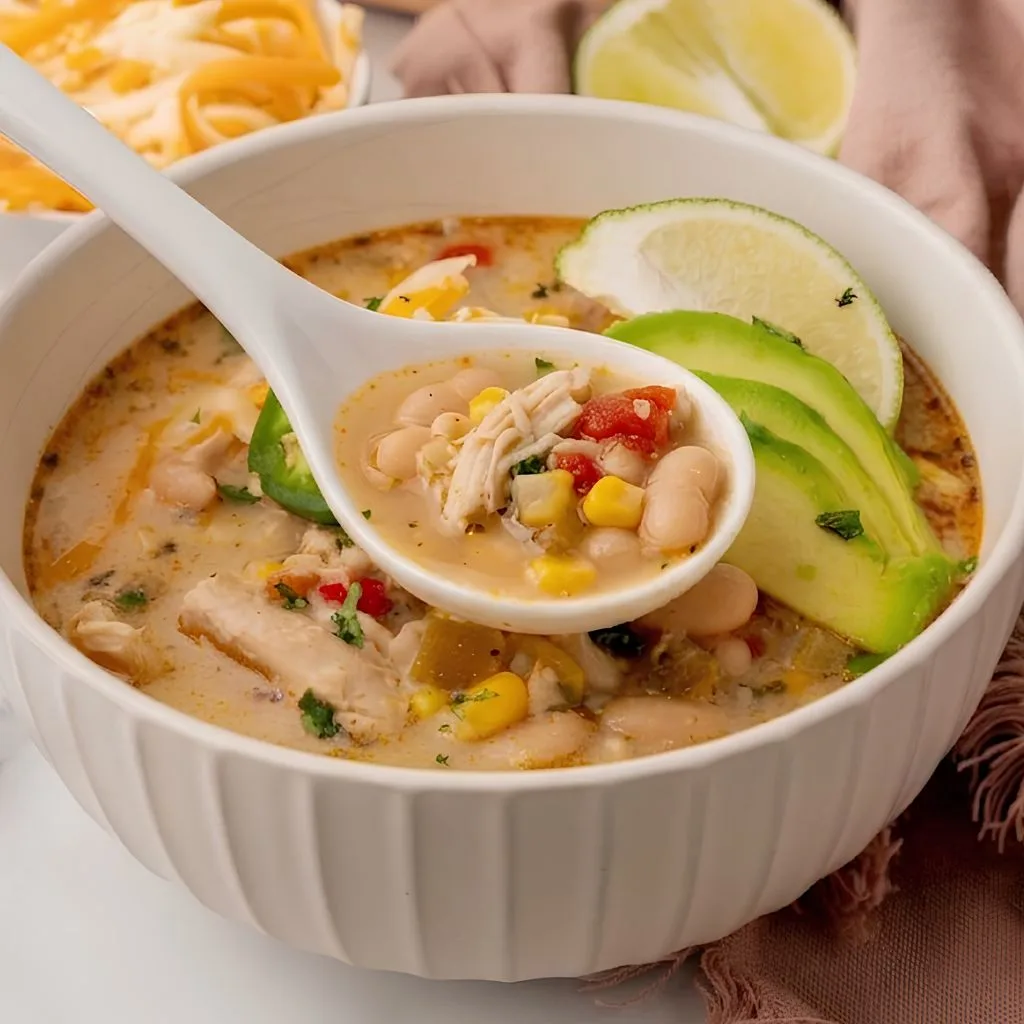
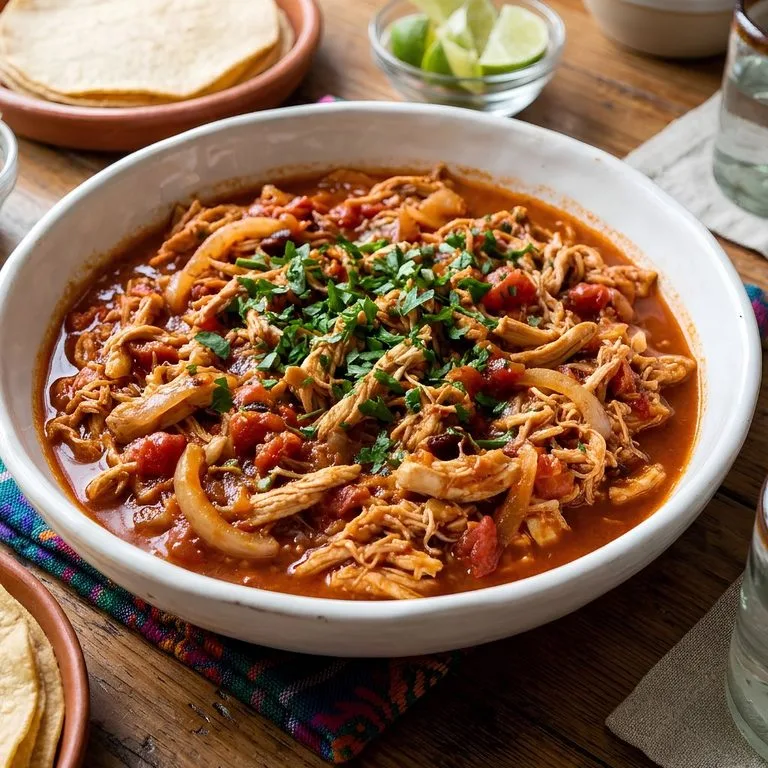
I made this California White Chicken Chili Recipe on a cool evening, and it instantly became a favorite in my kitchen. The broth turned out creamy without any heavy cream, which surprised me. Fire roasted tomatoes, green chiles, and fresh lime gave it a bright, sunny flavor that reminded me of California road trips. I loved how simple the steps were. Here is exactly how I made it, plus every tip I picked up along the way.

Cooking Time
Here is how long this recipe takes from start to finish. It fits easily into a busy weeknight.
- Prep Time: 15 minutes
- Cooking Time: 35 minutes
- Total Time: 50 minutes
California White Chicken Chili Ingredients
This recipe uses simple pantry staples and a few fresh items. Here is what I gather before I start cooking.
- 2 tablespoons olive oil: Builds a flavorful base for the onions and spices.
- 1 yellow onion, diced: Adds natural sweetness, so dice it small so it melts into the broth.
- 2 cloves garlic, minced: Use fresh garlic, as jarred versions taste flat here.
- 3 teaspoons ground cumin: Gives the chili its warm, earthy backbone.
- 1 teaspoon dried oregano: Adds a gentle herby note that balances the heat.
- 1 teaspoon chili powder: Brings mild smokiness and a little color.
- 1/2 teaspoon black pepper: Add a light bite, so grind it fresh if you can.
- 1/4 teaspoon cayenne pepper: Add a slow heat, so start small if you are heat shy.
- 2 cans white beans, drained and rinsed: Rinsing removes the canned taste and extra sodium.
- 1.5 pounds raw chicken breasts (about 2 large): Cooks right in the broth, which keeps it juicy.
- 4 cups low-sodium chicken broth: Low sodium lets you control the salt at the end.
- 2 cans (4 ounces each) green chiles: Delivers that mild, tangy California-style flavor.
- 1 can fire roasted tomatoes: Adds a subtle smoky depth, so don’t swap in plain tomatoes.
- 1 can corn, drained and rinsed: Adds pops of sweetness and a pleasant texture.
- 1 lime, juiced: Squeeze it in at the end to wake up every flavor.
- 1/2 cup plain Greek yogurt: Makes the broth creamy, so add it off the heat to avoid curdling.
- Optional toppings: Greek yogurt, fresh cilantro, shredded cheddar cheese, sliced jalapeno, lime wedges, and tortilla chips.
Note: Serves 8 hearty bowls.
Equipment You Need
You don’t need anything fancy for this chili. These basics are enough.
- Large Dutch oven or heavy soup pot: Holds everything and keeps the heat even.
- Wooden spoon: Stirs the base and scrapes up the tasty bits.
- Cutting board and sharp knife: Used for dicing the onion and prepping toppings.
- Potato masher: Mashes some beans to thicken the broth naturally.
- Two forks: Shred the cooked chicken quickly.
- Ladle: Serves the chili neatly into bowls.
How to Make California White Chicken Chili Recipe?
This chili comes together in one pot, and the steps are very forgiving. I start by building flavor with onions and spices, then let the chicken simmer right in the broth. Follow these steps in order, and you will have a creamy, cozy bowl in under an hour.
Step 1: Soften the Onion
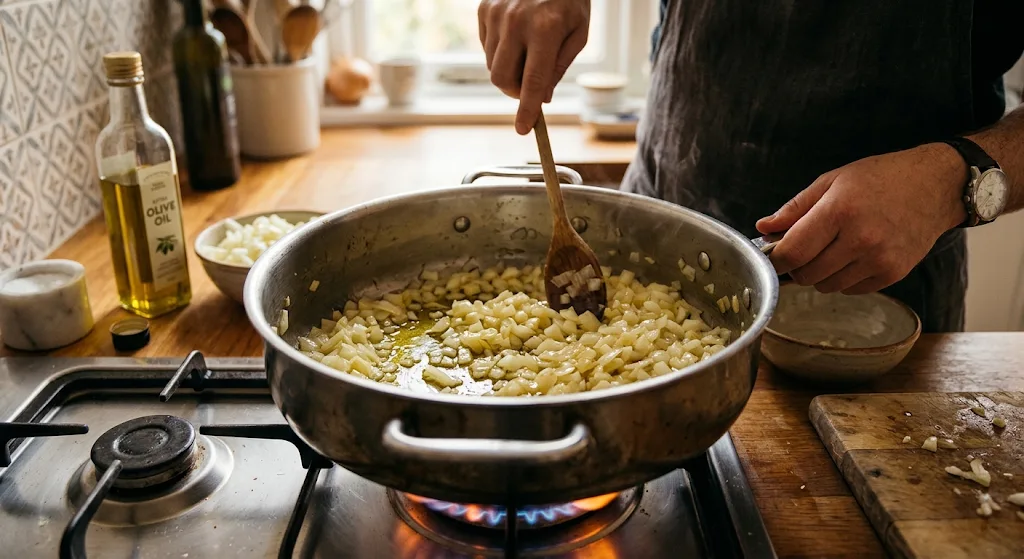
Heat the olive oil in a large pot over medium heat. Add the diced onion and cook for about five minutes. You want it soft and translucent, not browned.
Step 2: Add the Garlic and Spices
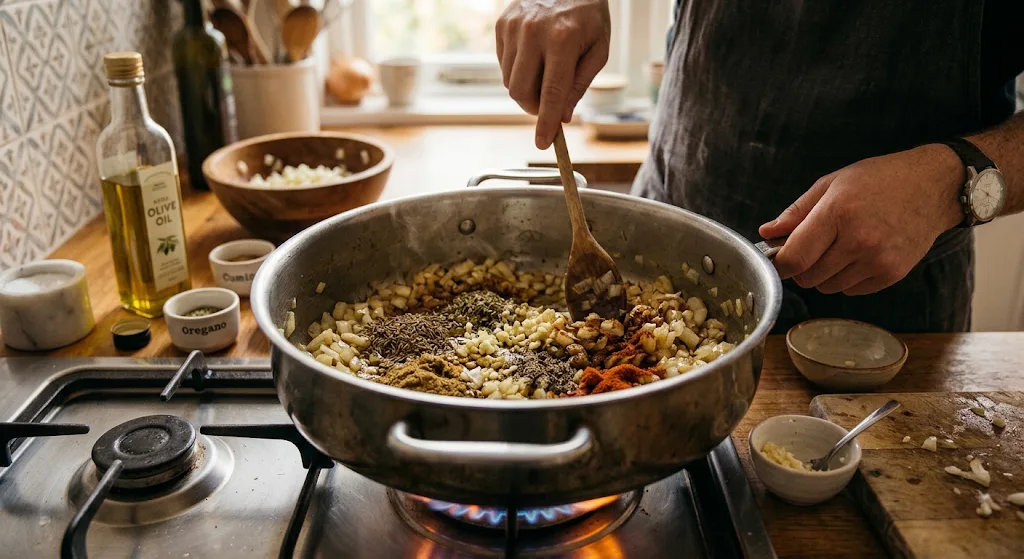
Stir in the minced garlic and cook for one minute until fragrant. Then add the cumin, oregano, chili powder, black pepper, and cayenne. Stir constantly for about thirty seconds so the spices toast without burning.
Step 3: Mash Some of the Beans
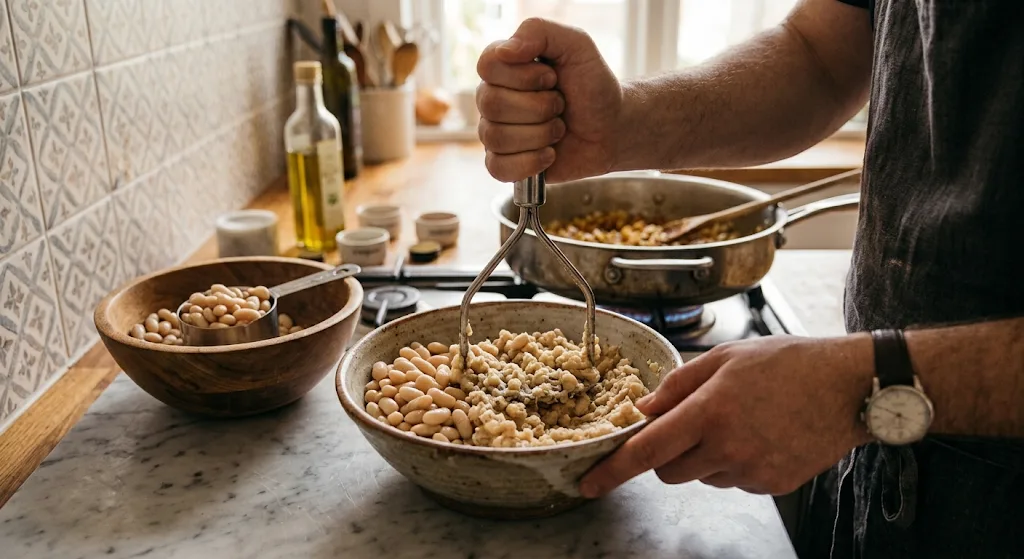
Add one cup of the white beans to a bowl and mash them with a potato masher. They should turn into a thick, rough paste. This paste is the secret to a creamy chili without any flour or cream.
Step 4: Build the Chili Base
Pour in the chicken broth, then add the mashed beans, whole beans, green chiles, fire roasted tomatoes, and corn. Place the raw chicken breasts right into the pot. Give everything a good stir so the chicken sits under the liquid.
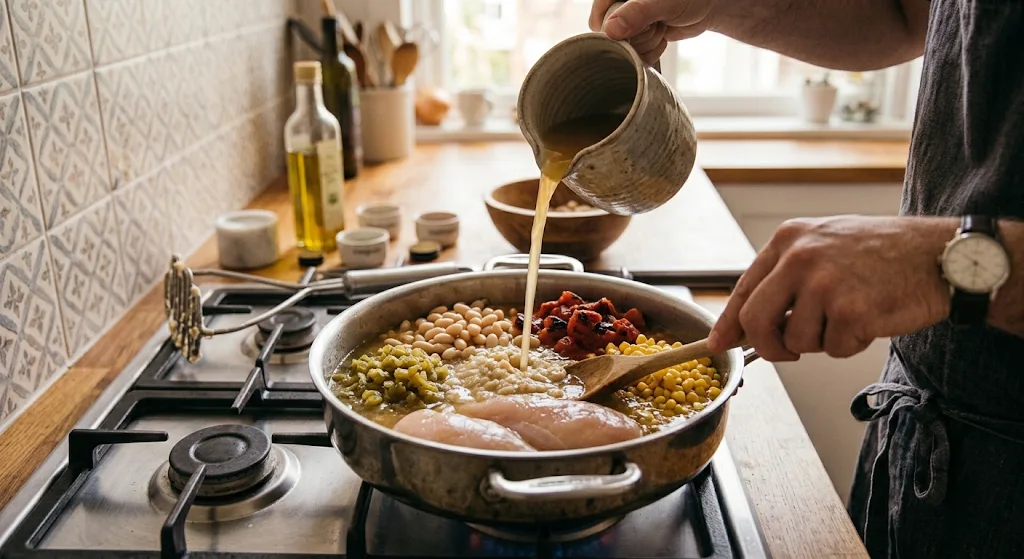
Step 5: Simmer Until the Chicken Is Cooked
Bring the pot to a boil over medium-high heat. Reduce the heat to low and let it simmer for 15 to 20 minutes. The exact time depends on the size of your chicken breasts, so check that the center is no longer pink.
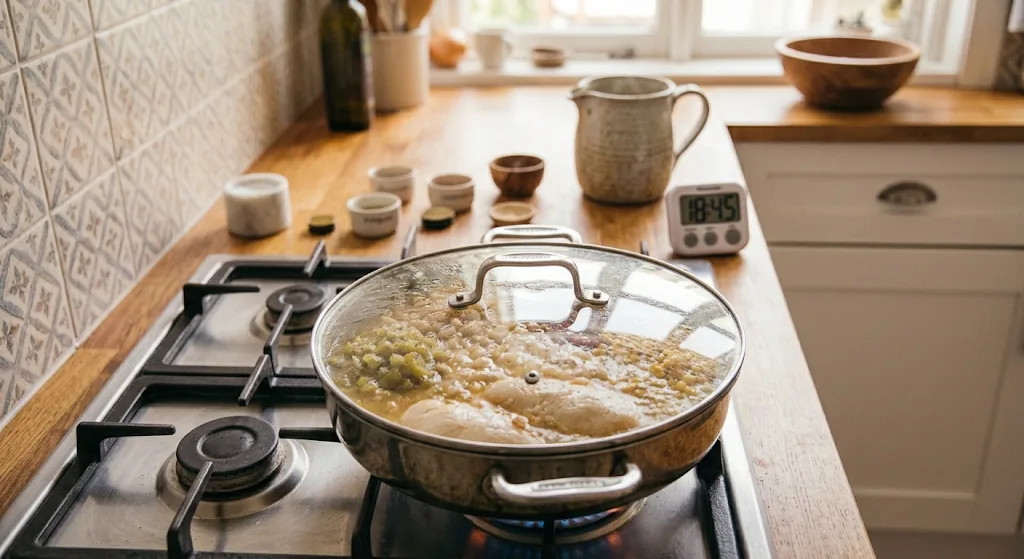
Step 6: Shred the Chicken
Turn off the heat and lift the chicken out onto a cutting board. Let it cool for a few minutes so you can handle it. Then pull it apart with two forks into bite-sized shreds.
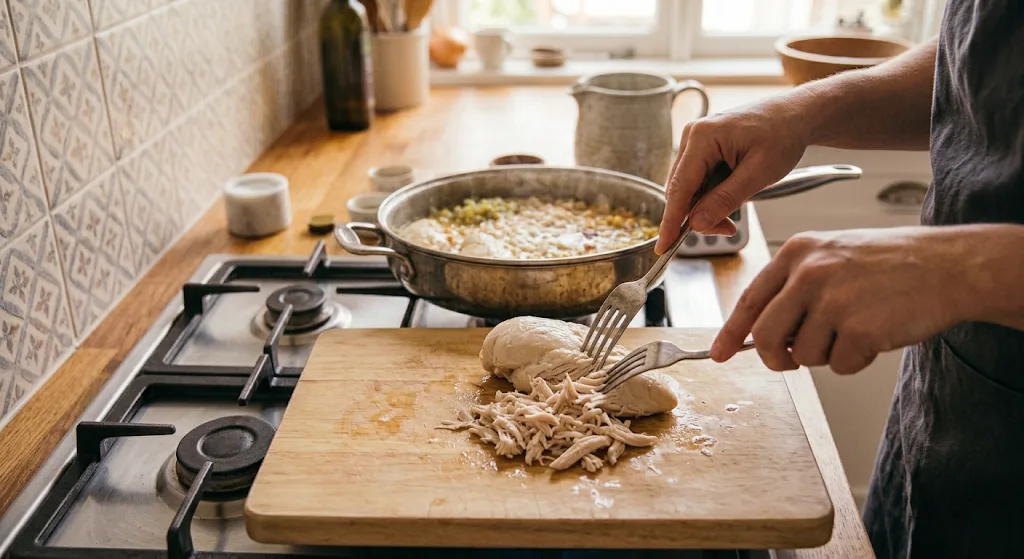
Step 7: Finish with Lime and Yogurt
Return the shredded chicken to the pot. Squeeze in the lime juice and stir in the Greek yogurt with the heat still off. Taste the chili and add salt or more spice if needed.
Step 8: Serve or Chill
Ladle the hot chili into bowls and add your favorite toppings. If you are saving some for later, let the pot cool for about thirty minutes first. Then move the leftovers into containers and refrigerate them.
Additional Tips for Making This Recipe Better
A few small habits make a big difference with this chili. These are the tips I now follow every time I make it.
- I always mash the beans before adding them, because it gives the broth a creamy body without any extra ingredients.
- I add the Greek yogurt only after turning off the heat, since boiling it can make the broth look grainy.
- I squeeze the lime at the very end, because cooking it dulls its fresh flavor.
- I taste before adding salt, since the broth, beans, and chiles already bring plenty.
- I let the chili rest for ten minutes after finishing, and I noticed the flavors settle and taste deeper.
Common Mistakes to Avoid
Even an easy recipe has a few traps. Here are the mistakes I made early on, so you can skip them.
- I once forgot to rinse the beans, and the chili tasted metallic and salty. Always drain and rinse them well.
- I added the yogurt while the pot was still boiling, and it curdled. Turn off the heat first.
- I overcooked the chicken breasts by simmering too long, and they turned dry. Start checking at 15 minutes.
- I skipped mashing the beans, and the broth stayed thin. A quick mash fixes it.
- I added all the cayenne at once, and it was too spicy. Start with a pinch.
How to Serve California White Chicken Chili?
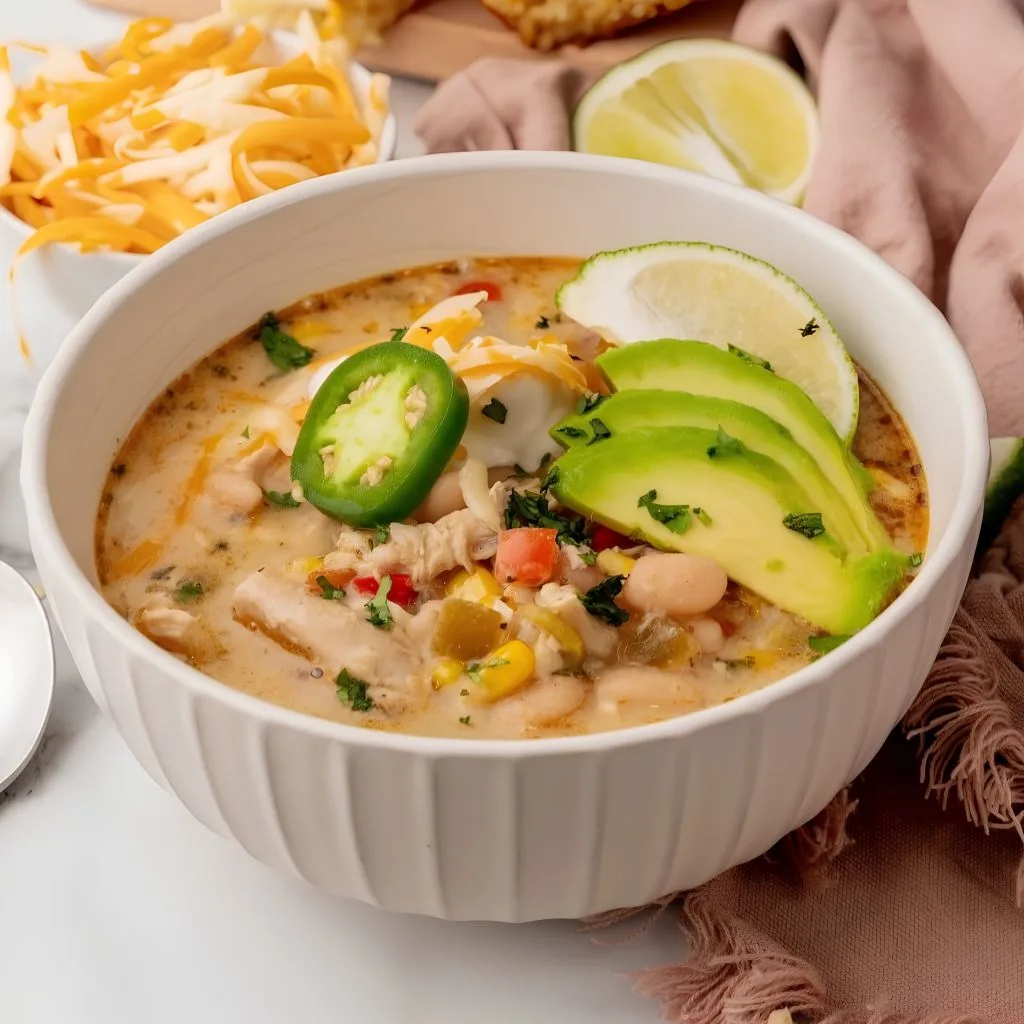
This chili looks as good as it tastes, so a little presentation goes a long way. I like to serve it in wide, warm bowls so the toppings have room to shine. Here are the ideas I use most.
- Top each bowl with a spoonful of Greek yogurt and a sprinkle of fresh cilantro.
- Add sliced avocado for a creamy, California-style finish.
- Add thin jalapeno rings for color and a gentle kick.
- Place a lime wedge on the rim of the bowl so guests can squeeze in extra juice.
- Serve with crunchy tortilla chips, or a warm slice of crusty bread, for dipping.
Variations
This recipe is easy to adjust for different diets and tastes. Here are a few swaps that work well.
- Dairy-free: Replace the Greek yogurt with a dairy-free yogurt or a splash of coconut milk.
- Spicier: Add diced fresh jalapeno with the onion, or a pinch more cayenne.
- Vegetarian: Skip the chicken and use vegetable broth with an extra can of beans.
- Crockpot version: Add everything except the lime and yogurt to a slow cooker. Cook on low for 6 to 7 hours, shred the chicken, then stir in the lime and yogurt.
Nutritional Information
These numbers are a rough estimate for one generous bowl, without toppings. Exact values will change with the brand of ingredients you use.
- Calories: about 290
- Protein: about 31 g
- Carbohydrates: about 28 g
- Fat: about 7 g
Make Ahead and Storage
White chicken chili is a great meal prep recipe, and it often tastes better the next day. Here is how I handle leftovers.
Make Ahead
You can prepare the chili up to the shredding step a day early. Keep it in the fridge, then reheat gently and finish with the lime and yogurt just before serving. This keeps the flavor fresh and the texture creamy.
Storage
Let the chili cool, then store it in airtight containers in the refrigerator. It stays fresh for up to four days. Keep toppings like avocado and cilantro separate until serving.
Reheating
Warm the chili on the stove over low heat, stirring now and then. Add a splash of broth if it has thickened too much. You can also microwave single portions in short bursts, stirring in between.
Freezing
Freeze the chili without the yogurt for the best texture, in freezer-safe containers for up to three months. Thaw it overnight in the fridge. Reheat it gently, then stir in fresh yogurt and lime.
Why You’ll Love This Recipe?
This chili has a lot going for it. Here are the main reasons it earns a regular spot on my table.
- Easy one-pot cooking: Everything cooks in a single pot, and the steps are simple.
- Creamy without heavy cream: Mashed beans and Greek yogurt make the broth rich and smooth.
- Fresh California-style flavor: Green chiles, fire roasted tomatoes, corn, and lime give it a sunny, Southwestern taste. Avocado on top makes it feel even more like a West Coast bowl.
- Great for meal prep: It reheats well and freezes nicely. One pot can cover several lunches or dinners.
- Easy to customize: You can change the heat level, swap the beans, or go dairy-free.
FAQs
Can I make this white chicken chili in a crockpot?
Yes, you can. Add everything except the lime and yogurt to the slow cooker, cook on low for 6 to 7 hours, shred the chicken, and stir in the lime and yogurt at the end.
What are the main white chicken chili ingredients?
The core ingredients are chicken breasts, white beans, chicken broth, green chiles, fire roasted tomatoes, corn, and warm spices. Lime juice and Greek yogurt finish it off.
How is this different from the Pioneer Woman, Ina Garten, or Paula Deen versions?
Many popular versions use cream, cream cheese, or sour cream for richness. This one gets its creaminess from mashed beans and Greek yogurt, so it stays lighter and quicker.
Why did my chili turn out thin?
The beans were probably not mashed enough. Mash another half cup, stir it in, and simmer for five more minutes to thicken it.