Easy Dubai Chocolate Bar Recipe: Crunchy Pistachio Bars, Homemade
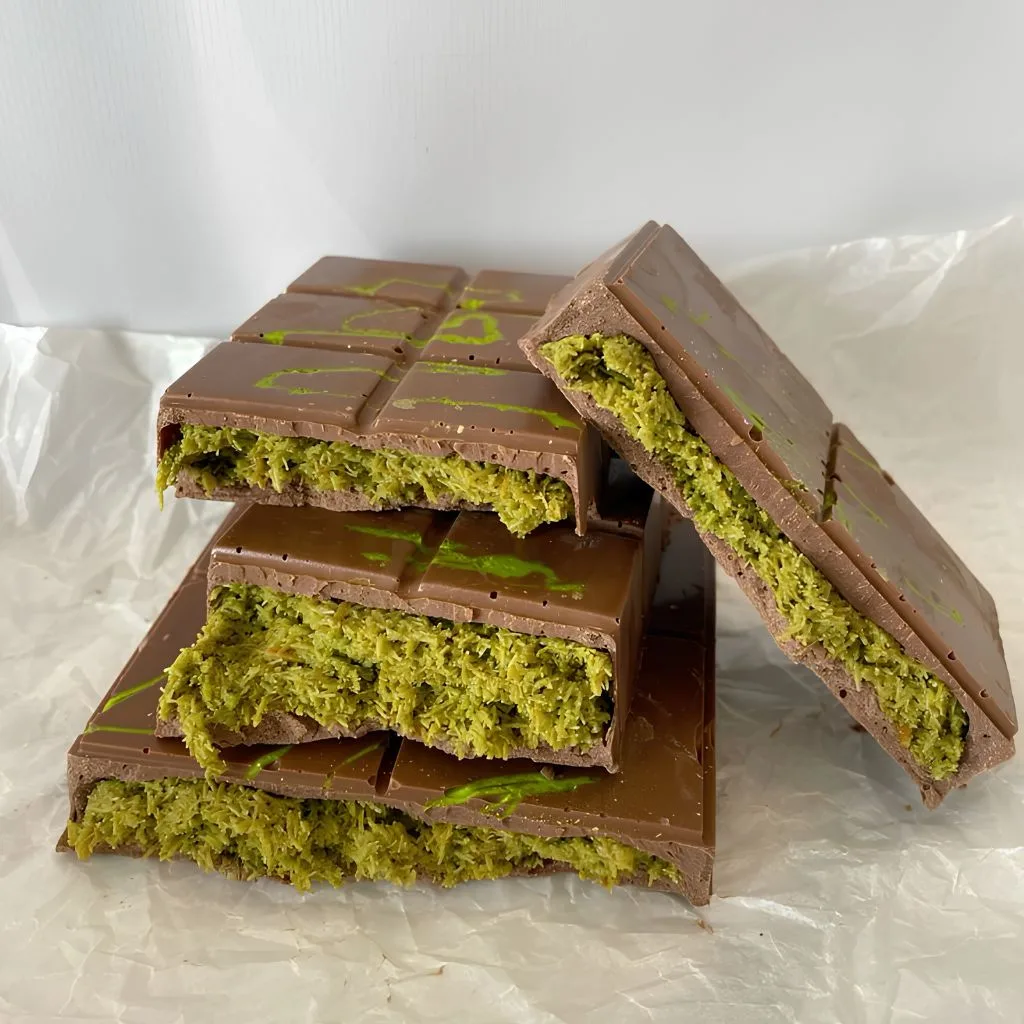
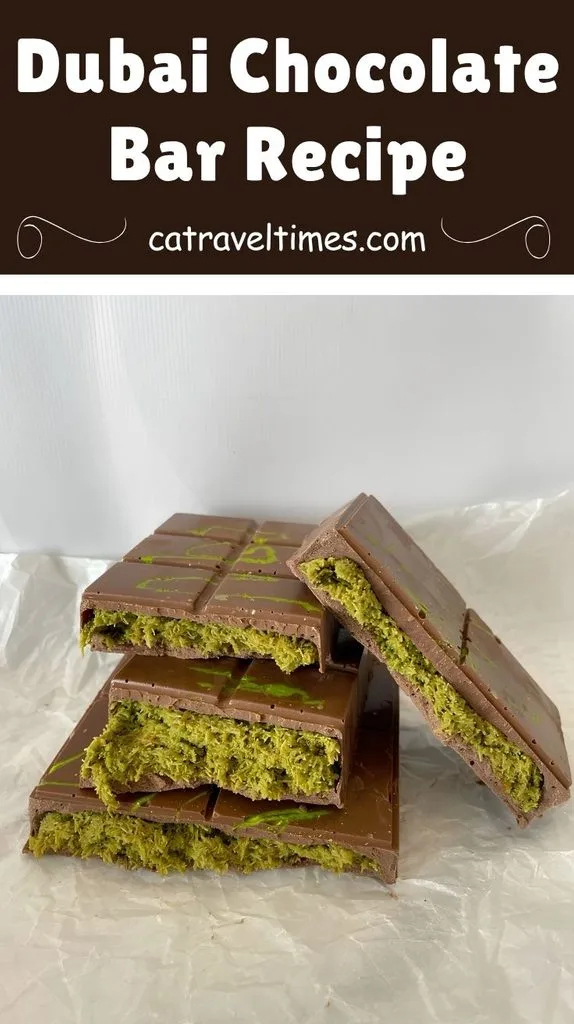
I finally made the viral Dubai Chocolate Bar Recipe at home, and I still think about that first crunch. The filling is crispy, creamy, and nutty all at once, wrapped in a snappy milk chocolate shell. I expected a fussy project, but it turned out to be surprisingly simple. You only need a handful of ingredients and one silicone mold. I have also added tips on where to find kataifi and pistachio cream, including in California.
Cooking Time
This recipe is quick on the stove, but the bars need time in the freezer and fridge to set.
- Prep Time: 15 minutes
- Cooking Time: 11 minutes
- Total Time: About 1 hour 15 minutes, including freezing and chilling
Ingredients
Here is everything I used for two bars. The list is short, so each item matters.
- 3 tablespoons unsalted butter or coconut oil, divided: toasts the kataifi and keeps the chocolate silky.
- 5 ounces coarsely chopped kataifi pastry dough (about 2 packed cups), thawed if frozen: gives the signature crunch, so chop it before toasting.
- 1 jar (7 to 8 ounces) creamy pistachio butter or pistachio cream: the sweet, rich base of the filling.
- 2 tablespoons well-stirred tahini: balances the sweetness, so stir the jar well first.
- 1/4 teaspoon kosher salt: sharpens every flavor in the filling.
- 3 tablespoons white chocolate chips: used for the drizzle, so pick chips that contain cocoa butter.
- 1 to 4 drops green food coloring (optional): tints the drizzle to match the pistachio filling.
- 12 ounces good-quality milk chocolate chips (about 2 cups), divided: forms the shell, and the chocolate flavor really shows here.
Note: Serves several. This makes 2 bars (6×3 inch), enough for about 14 pieces.
Equipment You Need
You do not need anything fancy, but the mold is important.
- Silicone Dubai chocolate mold: gives the bars their shape and releases them cleanly.
- Large nonstick skillet: toasts the kataifi without sticking.
- Small saucepan and heatproof bowl: work together as a double boiler to melt chocolate gently.
- Baking sheet: keeps the mold flat and steady when you move it.
- Offset spatula or spoon: spreads the filling and the chocolate evenly.
- Bench scraper: levels the top and removes extra chocolate.
- Airtight container: keeps the finished bars fresh in the fridge.
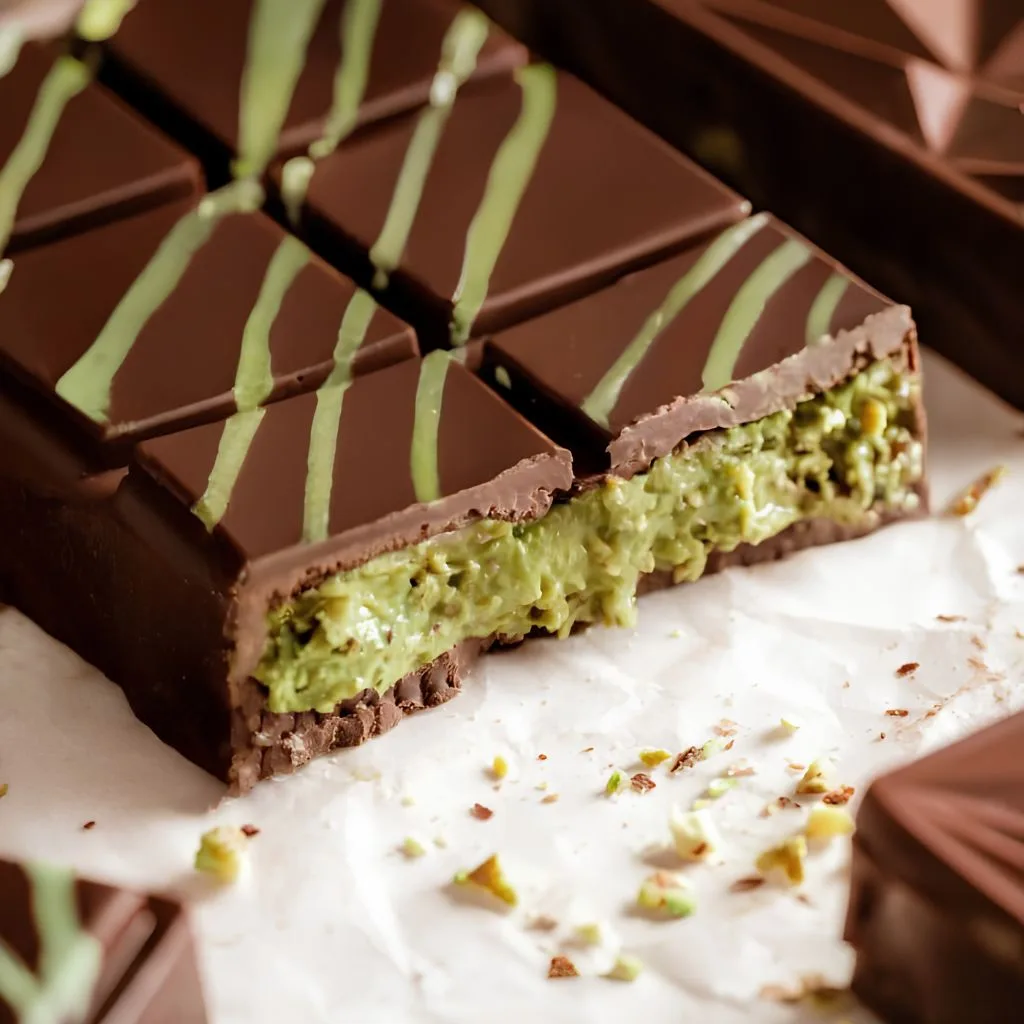
How to Make Dubai Chocolate Bar Recipe?
I made this recipe in three stages: the crunchy filling, the chocolate shell, and the final chilling. Each stage is simple on its own. Work through the steps in order and keep your mold close by.
Toast the Kataifi
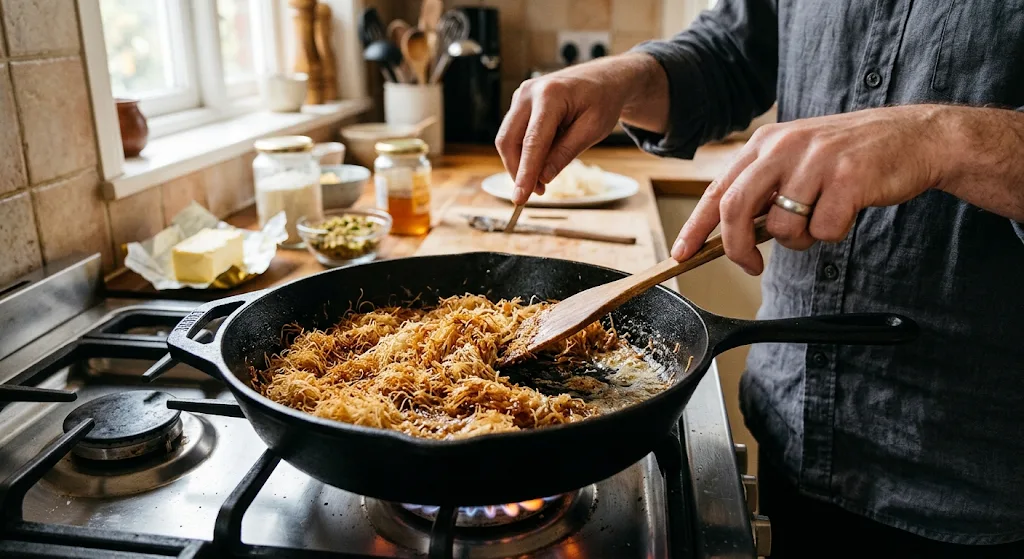
Melt 2 tablespoons of butter in a large nonstick skillet over medium heat. Add the chopped kataifi and stir now and then until it turns deep golden and crispy. This takes 8 to 10 minutes, so do not walk away.
Mix the Pistachio Filling
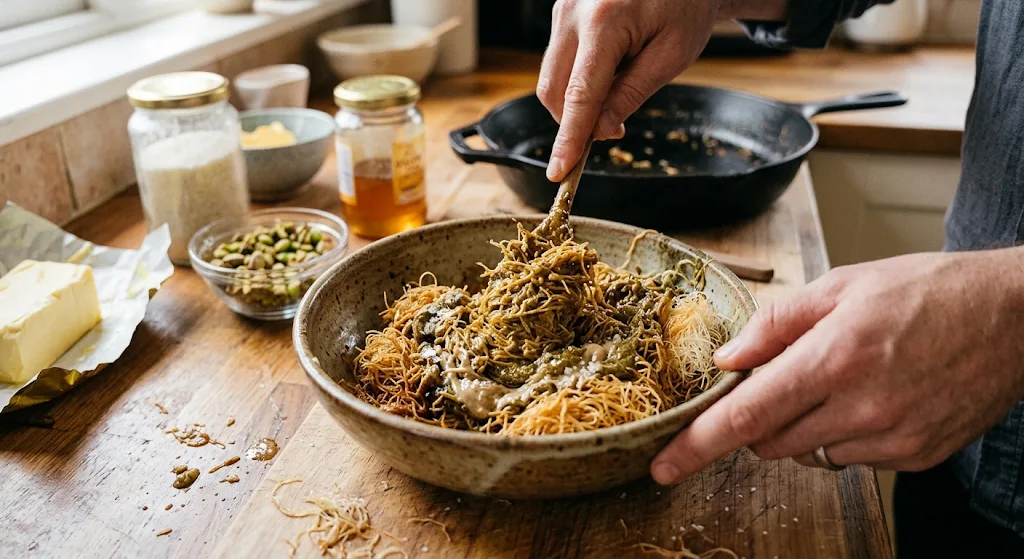
Move the hot kataifi into a medium bowl right away. Stir in the pistachio butter, tahini, and salt until every strand is coated. The mixture should look thick, nutty, and a little rustic.
Set Up the Mold
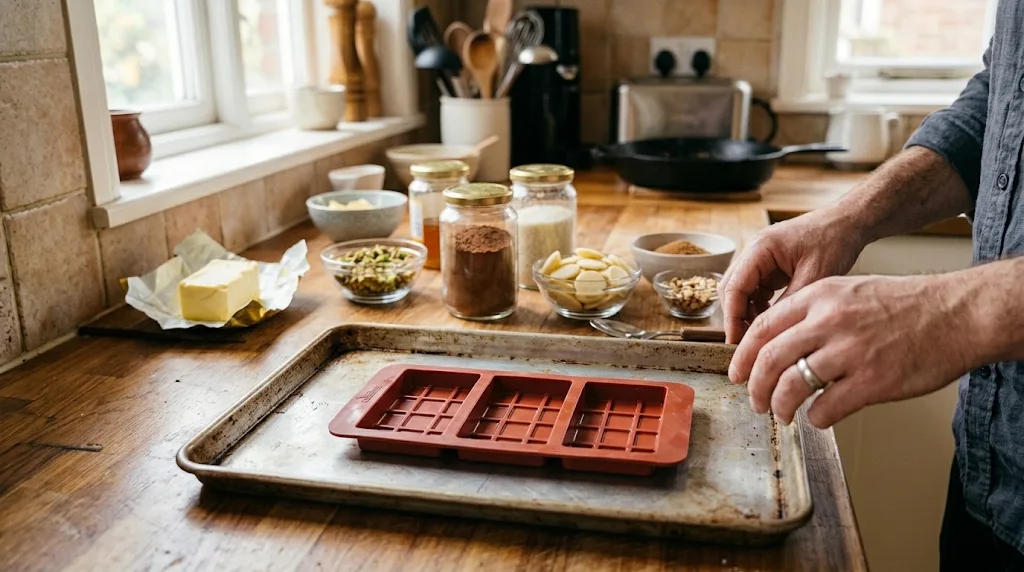
Place your silicone mold on a baking sheet so it stays level. If you have two smaller molds, set both on the sheet. This makes it easy to carry them to the freezer without spills.
Melt and Drizzle the White Chocolate
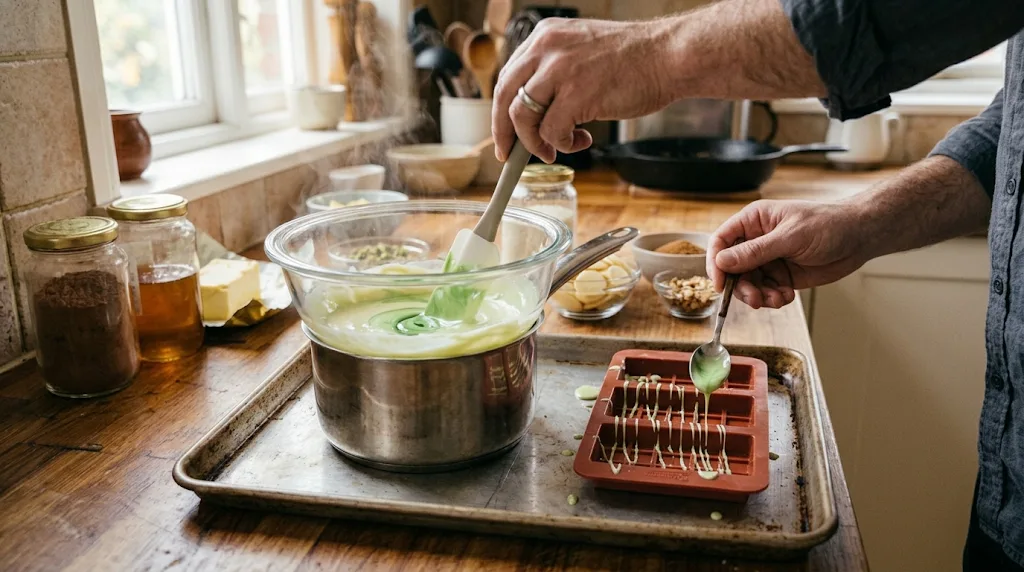
Simmer a little water in a small saucepan and set a heatproof bowl over it. Melt the white chocolate chips, stirring constantly, for about a minute. Take the bowl off the heat, stir in the green coloring if you like, and drizzle it across the mold. Then freeze the mold while you melt the milk chocolate.
Melt the Milk Chocolate
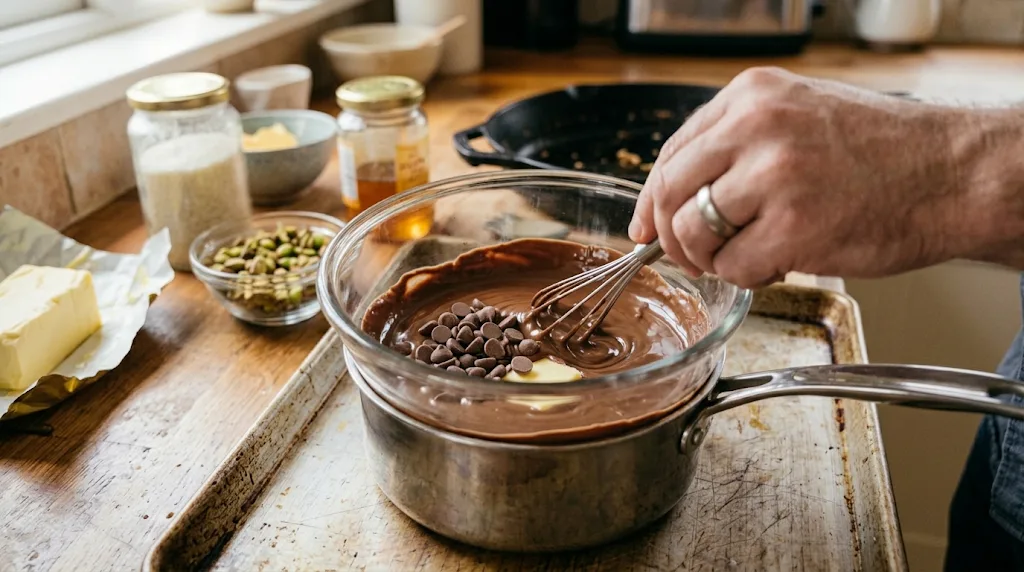
Set aside a quarter cup of the milk chocolate chips. Melt the rest with the remaining tablespoon of butter over the same simmering water, stirring the whole time. Remove the bowl from the heat and stir in the reserved chips until smooth.
Coat the Mold
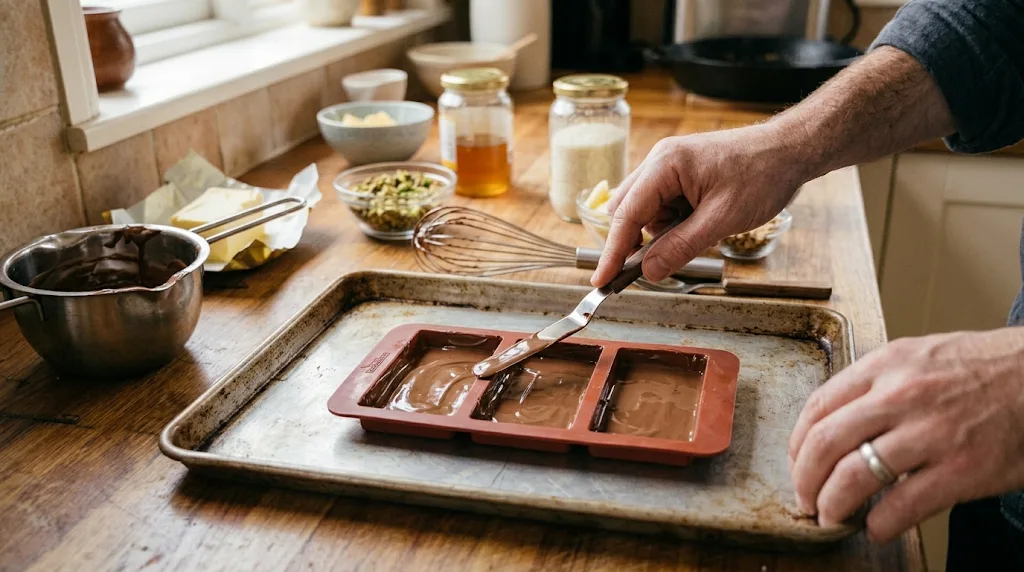
Spread about a quarter cup of melted chocolate over the bottom and sides of the mold. Keep the layer thin and even so the bar is not too heavy. Freeze for about 10 minutes until the shell is firm.
Add the Filling
Spoon the pistachio and kataifi mixture into the mold. Gently press it into an even layer with an offset spatula or the back of a spoon. Be gentle so you keep the airy pockets that make the bar so crunchy.
Seal the Bar
Pour the remaining melted chocolate over the filling and spread it evenly. Scrape the top lightly with a bench scraper to level it. You may have a little chocolate left, depending on how deep your mold is.
Chill, Unmold, and Trim
Refrigerate the mold for at least 40 minutes until fully set. Pop the bars out and trim any overhanging chocolate with a knife if you want clean edges. Break one open and enjoy that first crunch.
Additional Tips for Making This Recipe Better
A few small habits made my bars much better, and I want to pass them on.
- I always chop the kataifi coarsely, because tiny bits lose their crunch faster.
- I stir the kataifi constantly in the last few minutes, since it browns quickly at the end.
- I mix the filling while the kataifi is still hot, which coats the strands evenly.
- I stir the tahini jar well before measuring, because the oil separates and affects the texture.
- I use good-quality milk chocolate chips, as the chocolate flavor is very noticeable in this bar.
- I keep a spare quarter cup of chips for stirring in at the end, which helps the chocolate melt smooth.
- I check pistachio cream labels first, since the green shade changes by brand and tints the filling.
Common Mistakes to Avoid
I made a few of these myself, so learn from my slip-ups.
- Under-toasting the kataifi: I once pulled it too early and the filling turned soft, so I wait for deep golden color.
- Making the shell too thick: my first bar was heavy and hard to bite, so I now spread a thin layer.
- Skipping the freezer between layers: I rushed once and the filling sank into soft chocolate, so I always let the shell set.
- Pressing the filling too hard: I squashed the air pockets and lost the crunch, so I spread it gently.
- Unmolding too soon: I got impatient and a bar cracked, so I wait the full 40 minutes.
How to Serve a Dubai Chocolate Bar?
These bars look impressive, so a little styling goes a long way. Here is how I like to present them.
- Break the bar with your hands at the table so everyone hears the crunch.
- Slice it into thick pieces with a sharp knife to show off the green filling.
- Stack a few pieces on a small wooden board for a bakery-style look.
- Sprinkle a few crushed pistachios or a pinch of flaky salt on the plate.
- Pair a piece with hot coffee or strong tea after dinner.
- Wrap a few pieces in parchment and tie with string for an easy edible gift.
Variations
The base recipe is flexible, and you can adjust it to your taste and pantry.
- Use ruby chocolate instead of white for a pink drizzle, and skip the green coloring.
- Swap the milk chocolate for a high-quality dark chocolate for a deeper, less sweet bar.
- Use coconut oil instead of butter to keep the toasting step dairy-free, and pick dairy-free chocolate.
- Try a simple 3 ingredient Dubai chocolate version: chocolate, pistachio cream, and kataifi.
- If you cannot find fresh or frozen kataifi, use dried kataifi, which is available online.
- Make a Dubai chocolate bar without tahini by using a little extra pistachio cream and a slightly bigger pinch of salt.
- For a Dubai chocolate bar without kataifi, I would try crushed toasted nuts or crisp pastry crumbs. The texture will differ from the classic bar.
Nutritional Information
Here is a quick look at the nutrition for one serving, based on 14 servings per recipe.
- Calories: 299
- Protein: 3.3 g
- Carbohydrates: 27.6 g
- Fat: 19.8 g
Make Ahead and Storage
This is a great make-ahead treat, and it keeps well when stored properly.
Make Ahead
You can make the bars a day or more before you need them. They need to chill completely anyway, so plan ahead and let the fridge do the work. Make them early and you will have no stress on the day.
Storage
Keep the bars in an airtight container in the refrigerator. They stay fresh for up to 3 weeks. This is also the best choice in a warm California kitchen, where chocolate softens fast.
Serving After Storage
You do not need to reheat these bars. Let a piece sit at room temperature for a few minutes if you prefer a softer bite. I have not frozen mine, since the fridge keeps them crisp and fresh for weeks.
Why You’ll Love This Recipe?
I keep coming back to this one for good reasons, and here are my favorites.
- Balanced flavor: A little tahini and salt keep the filling from being too sweet. The result tastes more balanced than many store-bought bars, including the famous Lindt Dubai chocolate.
- The crunchiest bar: The buttery kataifi stays airy even after it is coated in pistachio butter. Every bite has a satisfying crackle.
- Simple, short ingredient list: You only need a few ingredients, and most are easy to pick up. The steps are easy, and you do not need chocolate-tempering skills.
- Great for gifting: The bars look special and keep well in the fridge. Wrap a few pieces and you have a thoughtful homemade gift.
- Easy to customize: You can swap the chocolate, change the drizzle color, or make it dairy-free. It adapts to many tastes and diets.
FAQs
Where can I buy kataifi for Dubai chocolate?
Look in the refrigerated or frozen section near the phyllo dough at a specialty grocery store. In California, Middle Eastern and Mediterranean markets in cities like Los Angeles, Glendale, Anaheim, and around the Bay Area are good bets. Searching “kataifi near me” on a map app also helps, and dried kataifi is sold online.
Can I use pistachio cream instead of pistachio butter?
Yes, the recipe works with either one. Pistachio butter is much sweeter than other nut butters, closer to a pistachio-flavored chocolate spread. The color varies by brand, so your filling shade may change.
Can I make this recipe without a mold?
I tried a freeform version first by spreading the filling between two layers of chocolate bark. It tasted great, but a mold gives you the real bar shape. Candy bar molds are not very expensive, so they are worth buying.
How long do Dubai chocolate bars last?
They stay fresh for up to 3 weeks in an airtight container in the fridge. Keep them cold, especially in warm weather. Break off pieces as you need them.
What is the best chocolate for this recipe?
I recommend good-quality milk chocolate chips, since the chocolate flavor is prominent. You can use dark chocolate if you prefer a less sweet bar. Avoid very cheap chips, as they can taste waxy.