Easy Homemade Dinner Rolls Recipe: Soft, Fluffy, and Buttery Every Time!
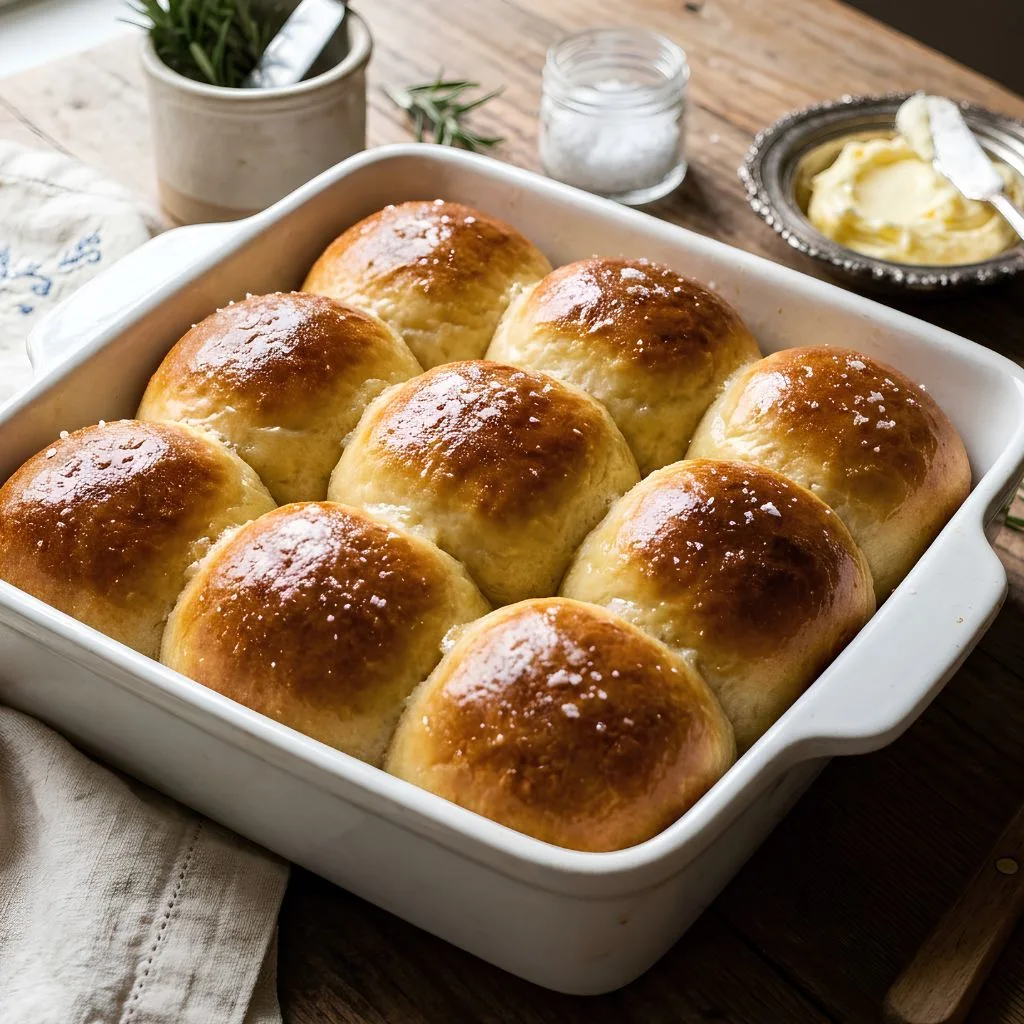
I made this Easy Homemade Dinner Rolls Recipe on a lazy Sunday, and the whole kitchen smelled like warm bread within minutes. The dough came together without any fuss, and I was amazed at how soft it felt in my hands. When I pulled the pan out of the oven, every roll was golden, puffy, and shining with butter.
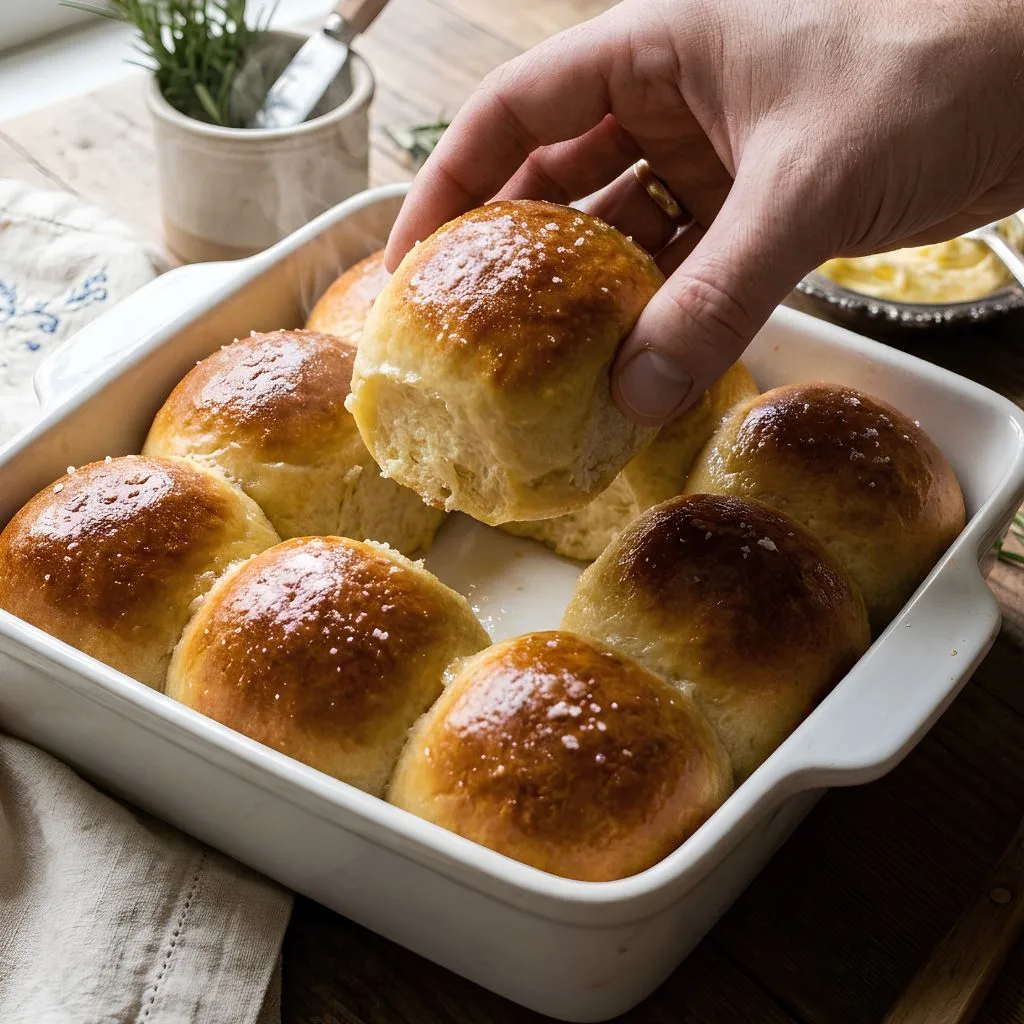
I tore one open right there at the counter, and the steam alone made me smile. If you want a fluffy dinner rolls recipe that actually works, this is the one I now make again and again.

Cooking Time
Here is how long this recipe takes from start to finish. Most of the time is hands-off rising, so you can relax while the dough does the work.
- Prep Time: 30 minutes
- Cooking Time: 20 minutes
- Total Time: 1 hour 50 minutes (includes rising time)
Ingredients
These are simple pantry staples. Each one plays a clear role, so I added a quick note beside each.
- 1 envelope active dry yeast: Give the rolls their lift, so check that it is fresh.
- 1/2 cup warm water: Wakes up the yeast, but keep it lukewarm and never hot.
- 1 cup whole milk (or 2%): Make the crumb tender, and you do not need to heat it.
- 4 tablespoons butter, melted: Adds rich flavor and keeps the rolls soft.
- 2 tablespoons sugar: Feeds the yeast and softens the texture without making rolls sweet.
- 4 cups all-purpose flour: Build the structure, so spoon it into the cup and level it.
- 1/2 tablespoon salt: Balances the flavor and keeps the dough from tasting flat.
- 1 egg: Used for the egg wash, which gives a shiny golden top.
- Extra melted butter: Brushed on hot rolls for that bakery-style finish.
Note: This recipe makes 12 rolls and serves 6 to 8 people.
Equipment You Need
You do not need anything fancy for this recipe. Here is what I kept on my counter.
- Stand mixer with dough hook: Kneads the dough quickly and keeps your hands clean.
- Large mixing bowl: Gives the dough room to double in size.
- Small bowl: Hold the yeast and water while it blooms.
- Whisk: Blends the milk, butter, and sugar smoothly.
- 9×13-inch baking dish: Hold 12 rolls snugly so they rise soft and tall.
- Clean kitchen towel: Cover the dough while it rises.
- Pastry brush: Spread the egg wash and melted butter evenly.
How to Make Easy Homemade Dinner Rolls?
This is a classic yeast dough, but it is far easier than it sounds. The dough is soft and forgiving, much like cinnamon roll dough. Follow the steps below and you will have big, soft, fluffy dinner rolls on your table in under two hours.
Gather and Measure Your Ingredients
Set everything out before you start so nothing slows you down. Melt the butter and let it cool a little. Measure the flour by spooning it into the cup and leveling it with a knife.
Wake Up the Yeast
Whisk the yeast into the warm water in a small bowl. Set it aside until little bubbles appear on top. The water should feel just lukewarm, because hot water will kill the yeast.
Mix the Milk, Butter, and Sugar
While the yeast sits, whisk the milk, melted butter, and sugar in a bowl. Once the yeast is bubbly, pour it into this mixture. Whisk until everything looks smooth and combined.
Knead the Dough
Add the flour and salt to your stand mixer bowl. Pour in the milk mixture and knead on medium-low for 5 to 6 minutes. The dough should turn into a smooth ball, and a spoonful of extra flour helps if it feels too sticky.
Let the Dough Rise
Cover the bowl with a clean towel and leave it at room temperature. Let it rise for about 1 hour, until it has doubled in size. A warm, draft-free spot makes this step easier.
Shape the Rolls
Punch the dough down gently to release the air. Divide it into 12 equal pieces and shape each into a smooth ball. I pinch the bottom and roll each piece in the hollow of my hand.
Let the Rolls Puff Up
Place the rolls in a greased baking dish, close together. Cover them and let them rest for 20 to 30 minutes. They should look big, puffy, and almost touching.
Egg Wash and Bake
Heat your oven to 375°F. Beat the egg and brush a thin layer over the tops, but do not use it all. Bake for about 20 minutes, until the rolls are deep golden brown.
Brush with Butter and Serve
As soon as the pan comes out, brush the rolls with melted butter. This keeps the tops soft and adds a lovely shine. Remove them from the pan and serve warm.
Additional Tips for Making This Recipe Better
These are the small things that made a big difference when I made these rolls at home.
- I keep the water under 115°F, because anything hotter stopped my dough from rising.
- I measure the flour carefully, since too much turned my rolls dry and crumbly like biscuits.
- I knead a little longer rather than shorter, because under-kneaded dough gave me dense rolls.
- I use a thermometer when I can, and I pull the rolls out once they reach about 200°F inside.
Common Mistakes to Avoid
Bread can feel intimidating, but most problems come from a few simple slip-ups. I have made every one of these myself.
- Using hot water: I killed my yeast once this way, so now I always test the water with my wrist first.
- Adding too much flour: My first batch turned out heavy, so I now spoon and level every cup.
- Rushing the rise: When I skipped the full rise, my rolls were small and dense, so I wait for doubling.
- Underbaking: Pale rolls sank in the middle for me, so I bake until they are deep golden.
- Skipping the kneading time: Short kneading left my dough shaggy, so I give it the full 5 to 6 minutes.
How to Serve Easy Homemade Dinner Rolls?
Warm rolls make almost any meal feel special. Here are my favorite ways to bring them to the table.
I like to serve them warm in a lined basket, wrapped loosely in a cloth to keep the heat in. A small dish of soft butter or honey butter on the side looks lovely and tastes even better. For a pretty finish, I sprinkle flaky sea salt or chopped fresh parsley over the buttered tops.
If you love a road-trip style meal, think of a California coast picnic. I picture these rolls beside a Central Coast tri-tip platter, or tucked into a basket for a Napa Valley afternoon with cheese and fresh fruit. A little Sonoma honey drizzled over the butter takes them to another level.
Variations
Once you master the base recipe, it is easy to make it your own. Here are a few swaps that work well.
- Garlic butter rolls: Brush the baked rolls with garlic butter instead of plain butter for a savory touch.
- Whole wheat blend: Use 2 cups whole wheat flour and 2 cups white flour for a denser but still soft roll.
- Less sweet: Cut the sugar down to 1 tablespoon if you prefer a more savory roll.
- Egg-free: Brush the tops with milk or half-and-half instead, though they will be less shiny.
- Dairy-free: Swap the milk and butter for plant-based versions, keeping in mind the texture may change slightly.
- California-style herbs: Mix chopped rosemary into the butter, then finish with a squeeze of Meyer lemon zest.
Nutritional Information
Here are the approximate nutrition facts for one roll. These are estimates and can vary with the ingredients you use.
- Calories: 212 kcal
- Protein: 6 g
- Carbohydrates: 35 g
- Fat: 5 g
Make Ahead and Storage
These rolls are best fresh, but they are easy to prepare in advance. Here is how I handle each situation.
Make Ahead
Shape the rolls, cover the pan tightly, and refrigerate overnight. The next day, let them sit on the counter until puffy, then bake as usual. You can also chill the dough after the first rise for up to 24 hours.
Storage
Leftover rolls stay soft for about a day when kept covered at room temperature. Store them in an airtight container or a zip bag. I do not recommend keeping them much longer than that, because the texture fades.
Reheating
Wrap the rolls in foil and warm them in a low oven for a few minutes. A short burst in the microwave also works if you are in a hurry. A fresh brush of butter brings back that just-baked feel.
Freezing
I freeze the dough, not the baked rolls, because they taste better. Knead the dough, rest it for 15 minutes, shape the rolls, and freeze them on a lined tray. Move them to a labeled freezer bag, and use them within 3 months. To bake, thaw them in a greased pan for 4 to 6 hours until puffy, then bake as directed.
Why You’ll Love This Recipe?
This recipe has become my go-to for family dinners and holidays. Here is why I think you will love it too.
- Beginner friendly: The dough is soft, forgiving, and easy to handle. Even if you have never baked bread, you can get great results.
- Soft and fluffy texture: These are truly big, soft, fluffy dinner rolls with a tender crumb. The milk and butter keep them light and rich. They stay pillowy even after cooling slightly.
- Simple pantry ingredients: Everything you need is probably already in your kitchen. There are no special flours or fancy tools involved. That makes it a stress-free choice for any day of the week.
- Easy to customize: You can brush on garlic butter, add herbs, or use part whole wheat flour. It is easy to adapt for different tastes.
- Great for make-ahead plans: You can refrigerate the shaped rolls or freeze the dough. That means fresh bread on a busy night.
FAQs
Can I make quick dinner rolls without yeast?
This particular recipe needs yeast for its fluffy rise. If you are short on time, look for a baking powder roll recipe instead. For this one, plan on about 1 hour 50 minutes in total.
Can I make a small batch of these rolls?
Yes, you can halve the recipe for a smaller batch. Use a smaller baking dish and shape about 6 rolls. Watch the baking time, as smaller pans may bake a little faster.
What can I use instead of an egg wash?
Brush the tops with milk or half-and-half instead. The rolls will be a bit less shiny and golden. They will still taste wonderful.
Why are my dinner rolls dense?
Too much flour, hot water, or a short rise are the usual causes. Measure the flour carefully and keep the water lukewarm. Let the dough fully double before shaping.