Air Fryer Turkey Breast Recipe: Juicy Inside, Crispy Golden Skin!
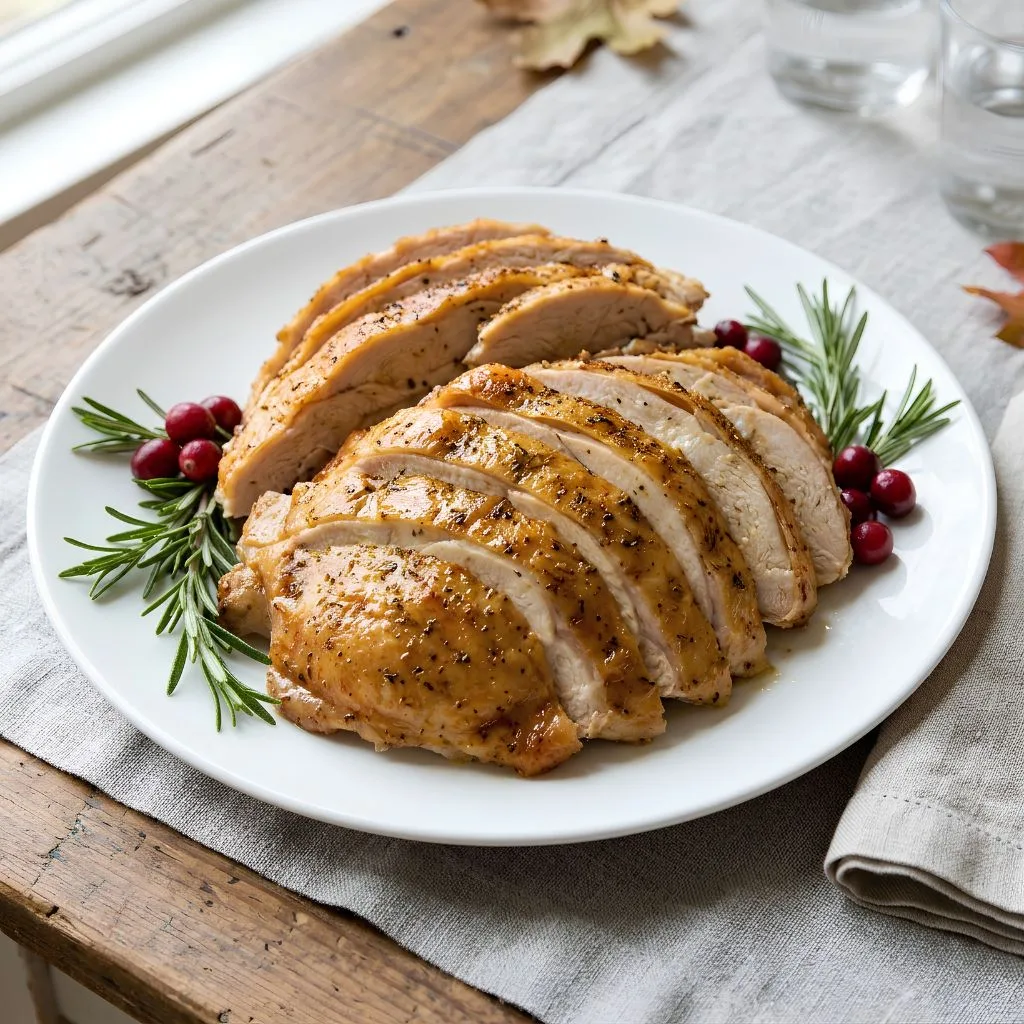
I still remember the first time I pulled a turkey breast out of my air fryer. I could not believe how golden and crisp the skin looked. I used to save turkey for big holiday dinners, but this recipe changed that for me. It needs only 5 minutes of prep, and the air fryer does the rest while you relax.
Whether it is a cozy weeknight or a Thanksgiving table after a long California road trip, this is Air Fryer Turkey Breast Recipe I now make again and again.
Cooking Time
This recipe is quick for a turkey dinner. Here is how the time breaks down.
- Prep Time: 5 minutes
- Cooking Time: 55 minutes
- Total Time: 1 hour
Ingredients
You only need four simple ingredients for this recipe. I kept the list short so the turkey flavor can shine.
- 4-pound bone-in turkey breast with skin (ribs removed): The skin is what turns crisp and golden, so do not peel it off.
- 1 tablespoon olive oil: It helps the skin brown evenly, so rub it on every side.
- 2 teaspoons kosher salt: It seasons the meat well, and its coarse grains spread more evenly than fine table salt.
- 1/2 tablespoon dry turkey or poultry seasoning: It adds a warm herb flavor, so choose a salt-free blend to control the saltiness.
Note: serves several (about 10 portions of 4 ounces each).
Equipment You Need
A few basic tools make this recipe smooth and stress-free.
- Air fryer (5 quarts or larger): It cooks the turkey and needs enough room for the breast to sit comfortably.
- Instant-read thermometer: It tells you exactly when the turkey is done, so you never guess.
- Tongs: They help you flip the hot turkey breast safely.
- Aluminum foil: You tent it loosely over the turkey while it rests.
- Large sharp knife: It gives you clean, even slices when carving.
- Carving board: It gives the turkey a stable place to rest and be sliced.
How to Make an Air Fryer Turkey Breast Recipe?
This recipe has only a few steps, and none of them are tricky. You rub, season, cook, flip, and rest. I will walk you through each one the way I do it in my own kitchen.
Thaw and Check the Fit
If your turkey breast is frozen, thaw it overnight in the refrigerator. Place it in the air fryer basket before you start and make sure the top sits below the rim. A 4 to 5 pound breast fits nicely in a 5-quart or larger air fryer.
Rub the Turkey with Oil
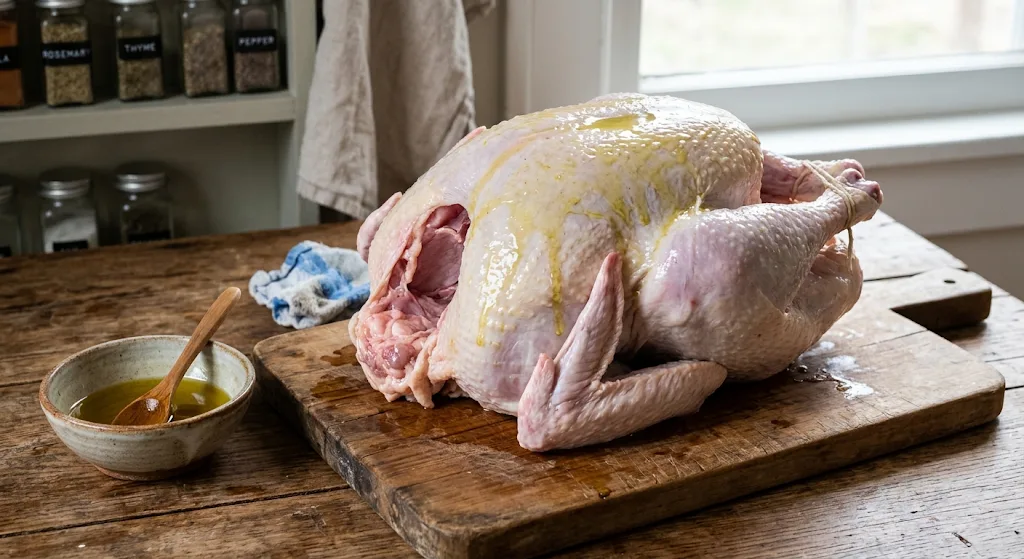
Pour half of the olive oil over the turkey breast. Rub it all over so every part of the meat is lightly coated. Keep the other half of the oil aside for the skin later.
Season Both Sides
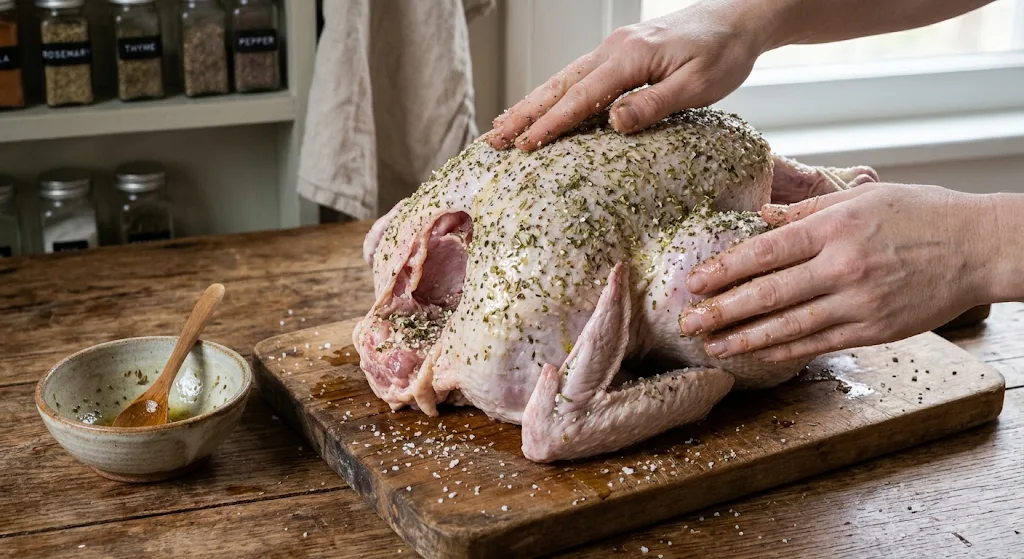
Sprinkle the kosher salt and poultry seasoning over both sides of the turkey. Press the seasoning in gently with your hands so it sticks. Then rub the remaining oil over the skin side for extra color.
Preheat the Air Fryer
Set your air fryer to 350°F and let it heat up. A hot basket gives the skin a strong start. I never skip this step because it makes the browning more even.
Cook Skin Side Down
Place the turkey breast in the basket with the skin side facing down. Let it cook for 20 minutes without opening the basket. This first stretch builds the base of that deep golden color.
Flip and Cook to 165°F
Turn the turkey over carefully with tongs so the skin side faces up. Cook it for about 30 to 40 more minutes, depending on the size of your breast. Check the thickest part with an instant-read thermometer until it reads 165°F.
Let the Turkey Rest
Move the turkey to a carving board and tent it loosely with foil. Let it rest for 10 to 15 minutes so the juices settle back into the meat. This quiet wait is the secret to every juicy slice.
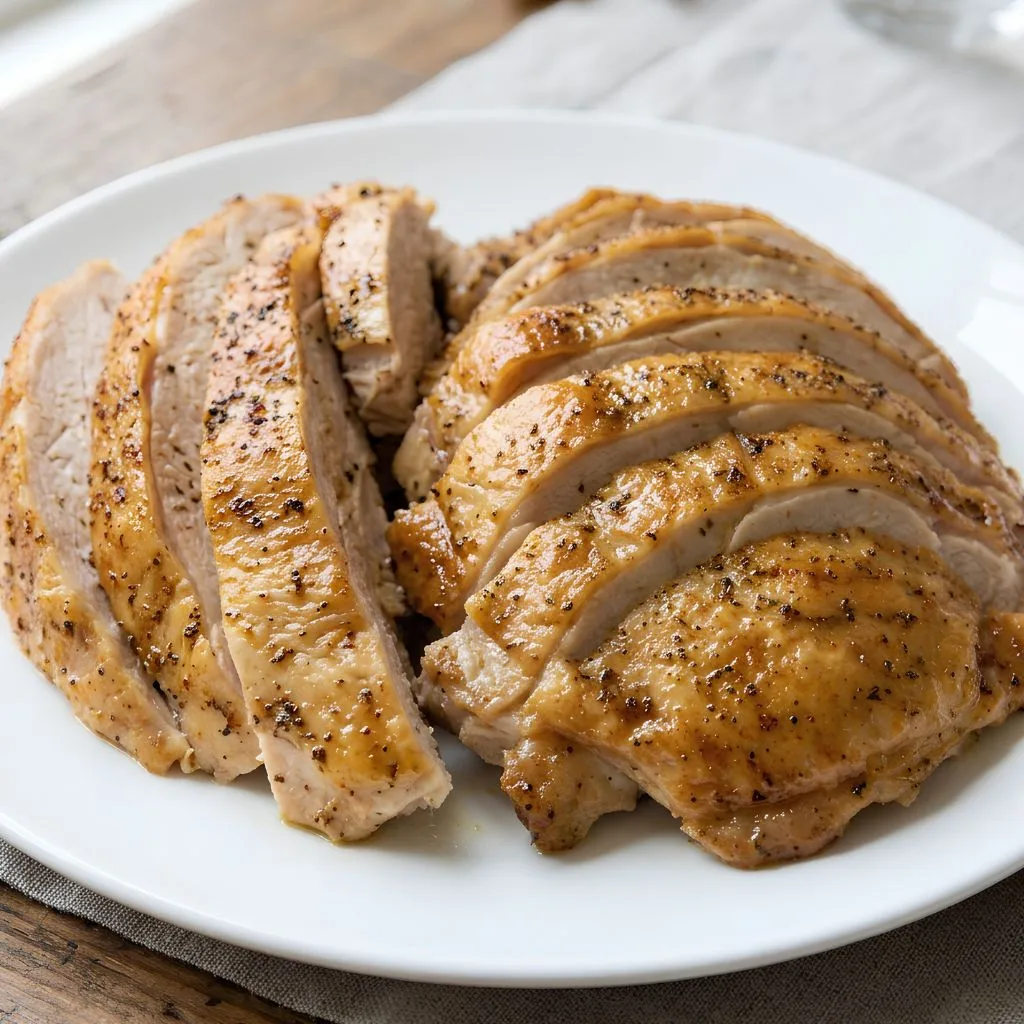
Carve and Serve
Run a sharp knife along the side of the breast bone using long, even strokes. Follow the bone down, then cut along the ribs to free the meat. Pull the meat away from the bone, slice it, and repeat on the other side.
Additional Tips for Making This Recipe Better
These are the small things I learned after making this turkey several times. They make a big difference in the final result.
- I always use an instant-read thermometer because the cooking time changes with the size of the breast.
- I check that the turkey sits below the top of the basket before I begin, so the skin never touches the heating element.
- I thaw the turkey fully in the refrigerator overnight, because a frozen center cooks unevenly.
- I put the skin side down first, which gives me a nicely browned and crisp finish after the flip.
- I never skip the resting time, since slicing too early lets the juices run onto the board.
- I like to spoon any pan drippings over the sliced turkey for extra moisture and flavor.
Common Mistakes to Avoid
Turkey is easy to make once you know what to watch for. Here are the mistakes I have made myself, so you can skip them.
- Using a basket that is too small: I once crowded the breast and the skin browned unevenly, so always test the fit first.
- Skipping the thermometer: I used to guess and ended up with dry meat, so now I always check for 165°F.
- Cooking from frozen: My first attempt was cooked outside and cold inside, so I now thaw it overnight.
- Slicing right away: I cut too early once and the juices poured out, so I rest the turkey every time.
- Forgetting the oil on the skin: When I rubbed oil on only one side, the skin looked pale, so I coat the skin well.
How to Serve Air Fryer Turkey Breast?
A beautiful plate makes this simple turkey feel like a special meal. Here are my favorite ways to serve it.
- Slice the turkey and fan the pieces across a warm platter so the golden skin shows.
- Garnish with fresh rosemary, thyme, or parsley for a pop of green.
- Serve with homemade stuffing, baked sweet potatoes, and cranberry sauce for a full holiday dinner.
- Add a California touch with roasted Brussels sprouts, sliced avocado, and a citrus salad made with fresh oranges.
- Layer leftover slices on toasted sourdough with avocado for a San Francisco-style sandwich.
- Pack the sliced turkey for a picnic by the coast, the kind you might enjoy near Big Sur or Santa Monica.
Variations
This recipe is flexible, and a few small swaps change the flavor completely. Try these ideas when you want something different.
- Dairy-free: This recipe is already dairy-free as written, since it uses olive oil and no butter.
- Lower sodium: Use a salt-free poultry blend and cut the kosher salt slightly to suit your taste.
- Citrus flavor: Add fresh lemon or orange zest to the seasoning for a bright California-style finish.
- Garlic and herb: Mix garlic powder, dried rosemary, and thyme into the seasoning for a savory twist.
- Smoky flavor: Stir smoked paprika into the seasoning for a deeper, warmer taste.
- Spicy kick: Add a pinch of cayenne or black pepper if you like gentle heat.
Nutritional Information
Here is a quick look at the nutrition for one 4-ounce serving. The numbers are approximate and can vary with the size of your turkey.
- Calories: 226 kcal
- Protein: 32.5 g
- Carbohydrates: 0 g (approximate, since there is no flour or sugar in this recipe)
- Fat: 10 g
Make Ahead and Storage
This turkey is great for meal prep, and the leftovers keep well. Here is how I handle each stage.
Make Ahead
You can season the turkey a few hours before cooking and keep it covered in the refrigerator. Take it out about 20 minutes before cooking so it loses the chill. This saves time when guests are coming.
Storage
Let the cooked turkey cool, then store the slices in an airtight container in the refrigerator. I keep it for up to 3 to 4 days. Store it with a little of the pan juices to keep it moist.
Reheating
Warm the slices gently in a covered pan or in the air fryer at a low temperature. Add a splash of broth or water to keep the meat from drying out. Heat just until warm so the texture stays tender.
Freezing
Wrap the cooled slices tightly or place them in a freezer-safe bag with the air pressed out. They stay good for about 2 to 3 months. Thaw them overnight in the refrigerator before reheating.
Why You’ll Love This Recipe?
This is the kind of recipe that earns a permanent spot in your weekly dinner plan. Here are the reasons I keep coming back to it.
- Very easy to prepare: You only need 4 ingredients and 5 minutes of prep. The air fryer handles the rest, so there is almost no hands-on work.
- Faster than the oven: The turkey is ready in about an hour. It also frees up your oven for sides and desserts.
- Juicy and crisp: The skin turns deep golden while the meat stays moist inside. I get this result every time.
- High in protein and diet friendly: Each serving gives you 32.5 grams of protein. It is also dairy-free and low in carbs.
- Easy to customize: You can change the seasoning to match any mood or meal. Citrus, garlic, and smoky blends all work well.
FAQs
How long does it take to cook turkey breast in an air fryer?
A 4-pound bone-in breast takes about 50 to 60 minutes at 350°F. Cook it skin side down for 20 minutes, flip, and continue for 30 to 40 minutes more. Always confirm doneness with a thermometer reading of 160°F.
How do I cook a 3 lb turkey breast in the air fryer?
A smaller breast cooks faster than a 4-pound one, so start checking the temperature earlier. Use the same 350°F method and the same flip. Pull it once the thickest part reaches 160°F.
Can I make turkey breast in a Ninja air fryer?
Yes, a Ninja air fryer works well as long as the basket holds at least 5 quarts. Make sure the turkey sits below the top of the basket before you start. Follow the same temperature and flipping steps.
Can I use a Butterball turkey breast in the air fryer?
Yes, a Butterball breast of a similar size works with this method. Thaw it fully in the refrigerator first. Check the label for added salt solution and reduce the kosher salt if needed.
Can I cook skinless or boneless turkey breast this way?
You can, but the cooking time will be shorter because there is less mass. Skinless meat also dries out faster, so brush it with a little oil. Rely on your thermometer and stop at 165°F.