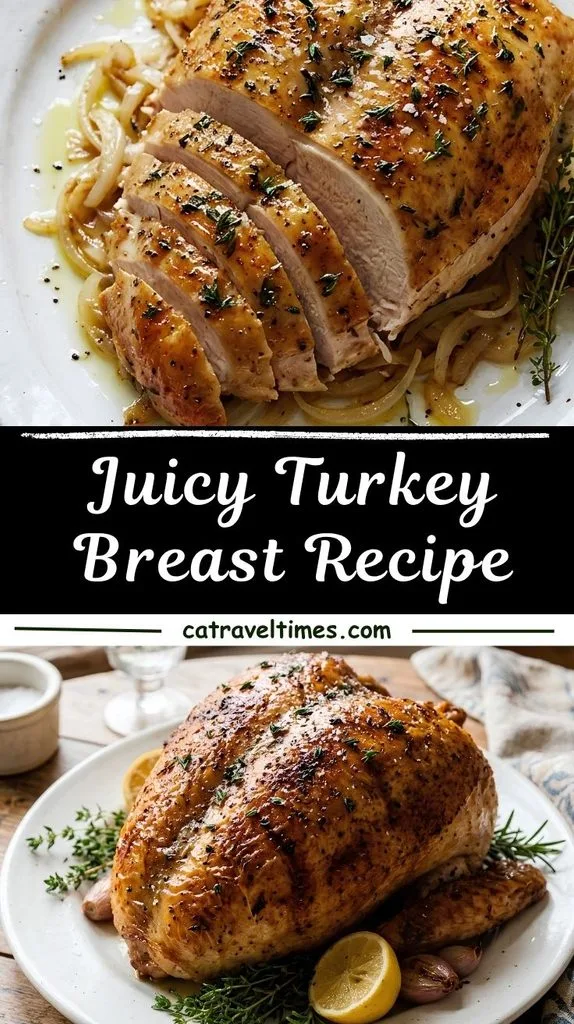
Juicy Turkey Breast Recipe with Crispy Skin and Simple Pan Gravy!
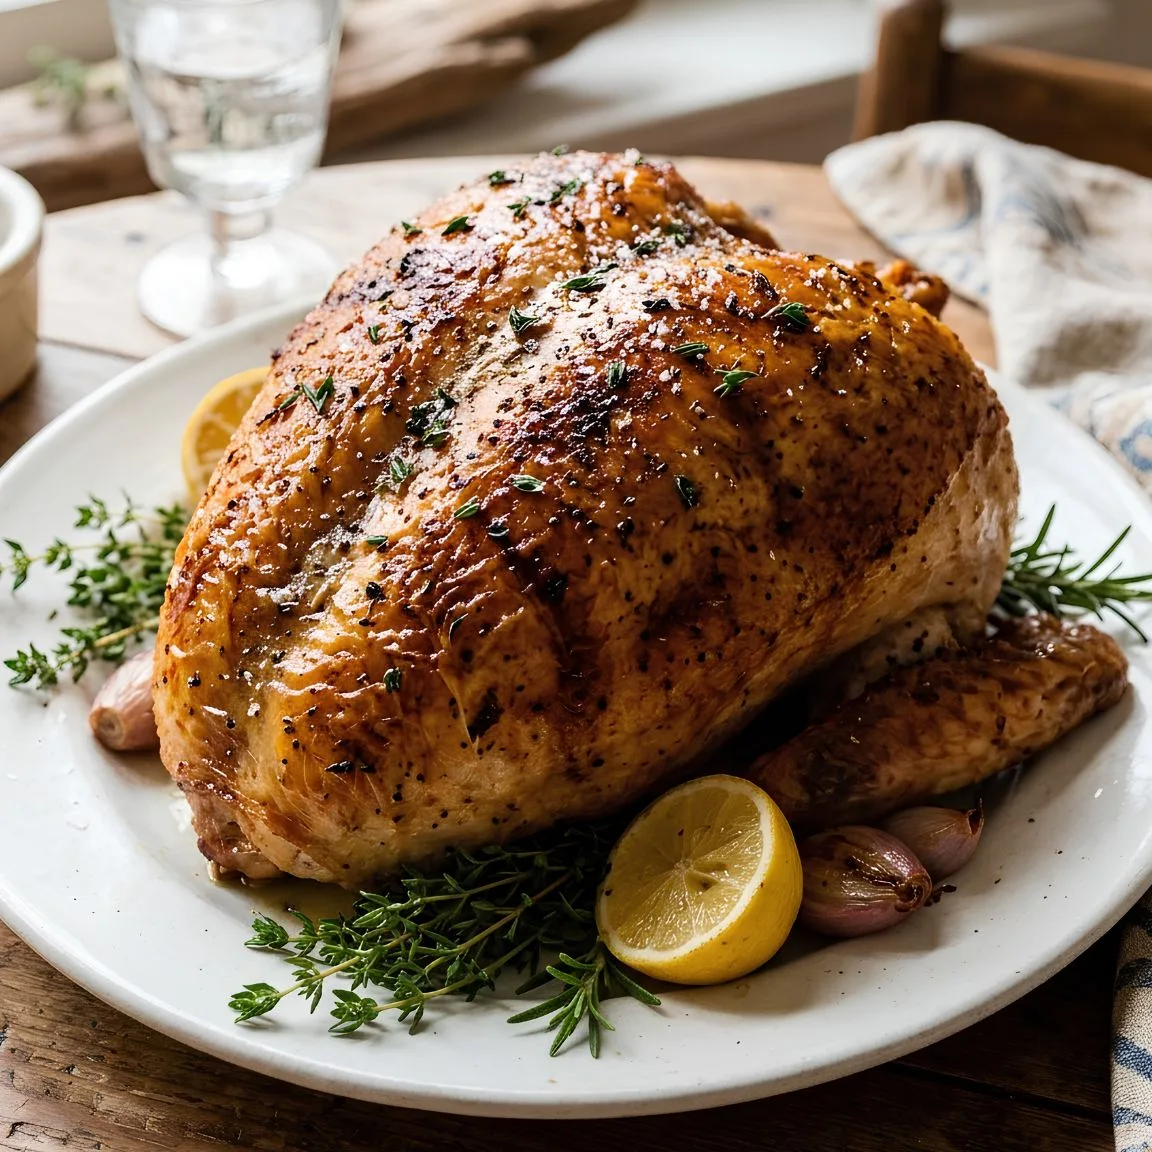
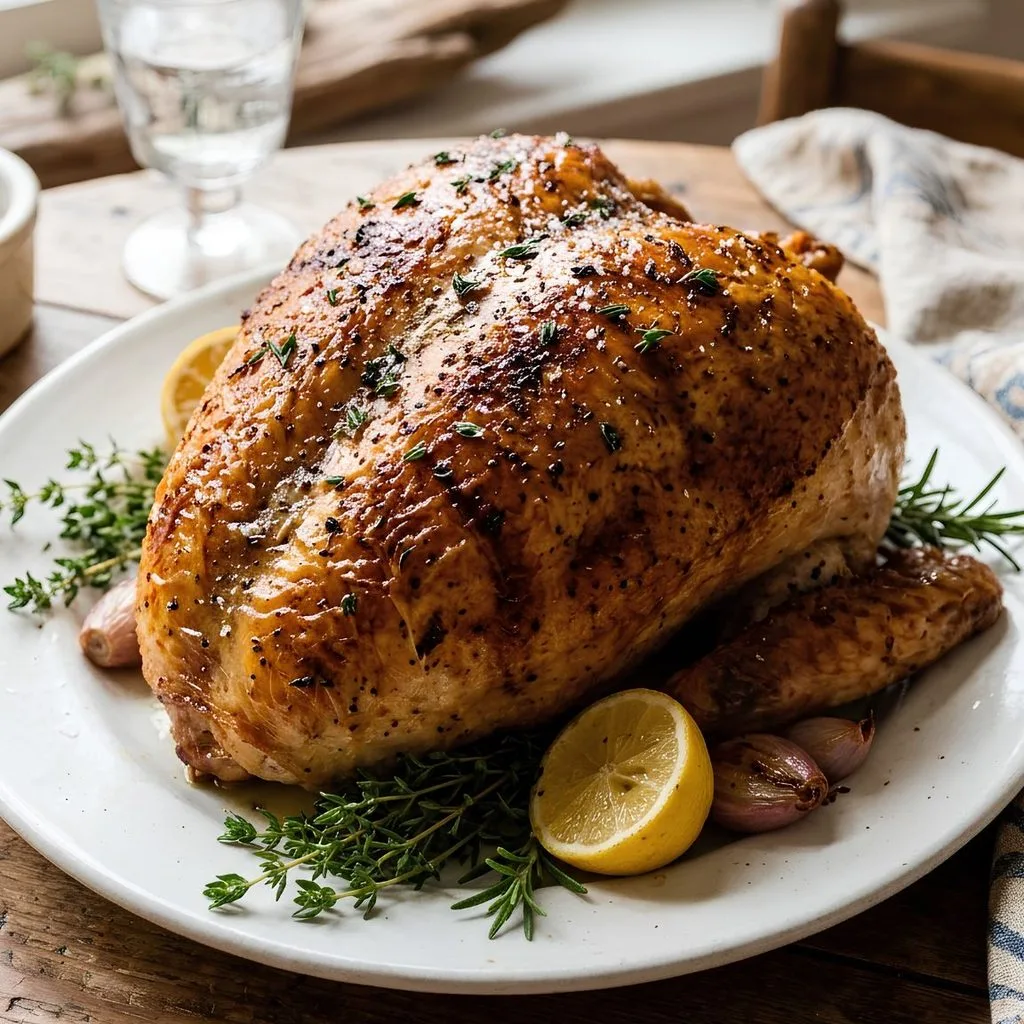
I made this Juicy Turkey Breast Recipe on a quiet Sunday, and I was honestly surprised by how easy it was. The skin came out golden and crackly, and the meat stayed tender all the way through. I used to think turkey was only for big holiday tables, but this smaller cut changed my mind.
It reminded me of those slow road trips along the California coast, where the best meals were always the simple ones. I promise you will want to make this one again and again.
Cooking Time
This recipe moves faster than roasting a whole bird. Here is how the time breaks down.
- Prep Time: 15 minutes
- Cooking Time: 60 minutes
- Total Time: 1 hour 15 minutes
Ingredients
You only need a handful of simple ingredients, and each one has a job to do.
- 1 turkey breast (2 to 2.5 pounds), boneless and skin-on: the skin crisps up and keeps the meat moist, so don’t remove it.
- 2 tablespoons butter, melted: it browns the skin and adds rich flavor.
- 1 teaspoon salt: don’t skimp here, because salt brings out the turkey’s natural flavor.
- ¼ teaspoon ground black pepper: a light touch of gentle heat.
- 1 sprig fresh thyme, stem removed: fresh thyme tastes much better than dried here.
- 1 medium onion, sliced: it makes a soft, sweet bed that also flavors the pan juices.
- 1 tablespoon olive oil: it keeps the onions from drying out under the roasting rack.
- ¼ cup all-purpose flour (optional, for gravy): whisk it in well so the gravy stays smooth.
Note: serves 3 to 4
Equipment You Need
Nothing fancy is needed, but a thermometer really helps.
- Roasting pan: holds the onions and catches the juices.
- Roasting rack: lifts the turkey so the skin crisps evenly.
- Instant-read meat thermometer: tells you exactly when the turkey is done.
- Aluminum foil: shields the skin so it doesn’t over-brown.
- Pastry brush: spreads the melted butter evenly.
- Fine mesh sieve: strains the drippings for smooth gravy.
- Sharp serrated knife: gives you neat, clean slices.
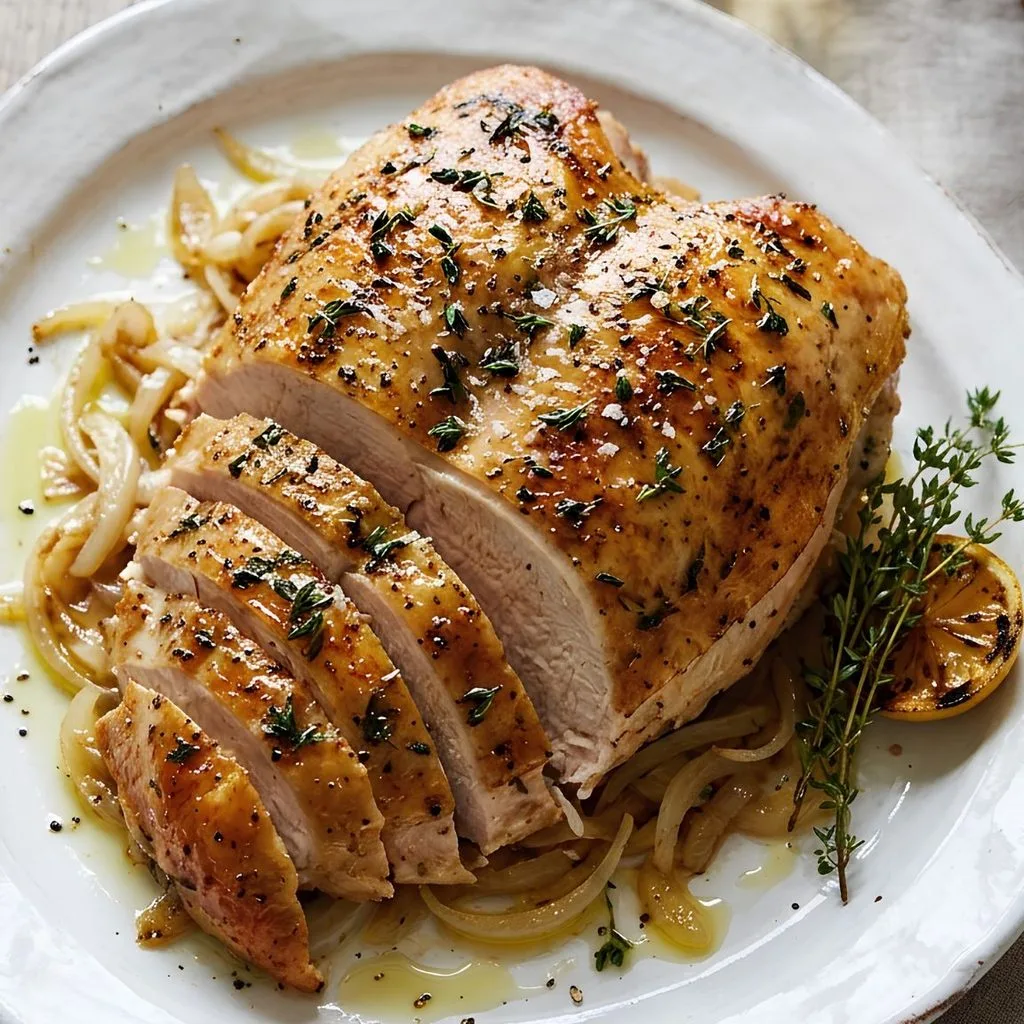
How to Make a Juicy Turkey Breast Recipe?
This method is simple and very forgiving. You start hot to crisp the skin, then lower the heat to cook the meat gently. Follow the steps in order and you will get tender slices every time.
Heat the Oven
Preheat your oven to 450°F before you do anything else. A properly hot oven is what gives the skin its crackly finish. Give it a full 15 minutes so it is truly ready.
Dry the Turkey
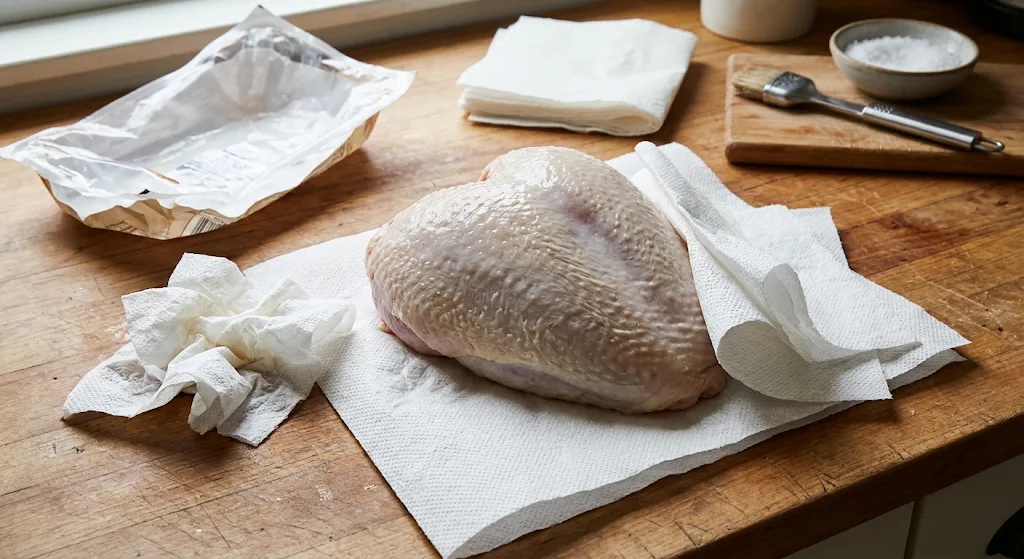
Take the turkey breast out of the package and pat it dry with paper towels. Dry skin crisps better than wet skin. I press down firmly on both sides until the surface feels tacky.
Brush with Butter
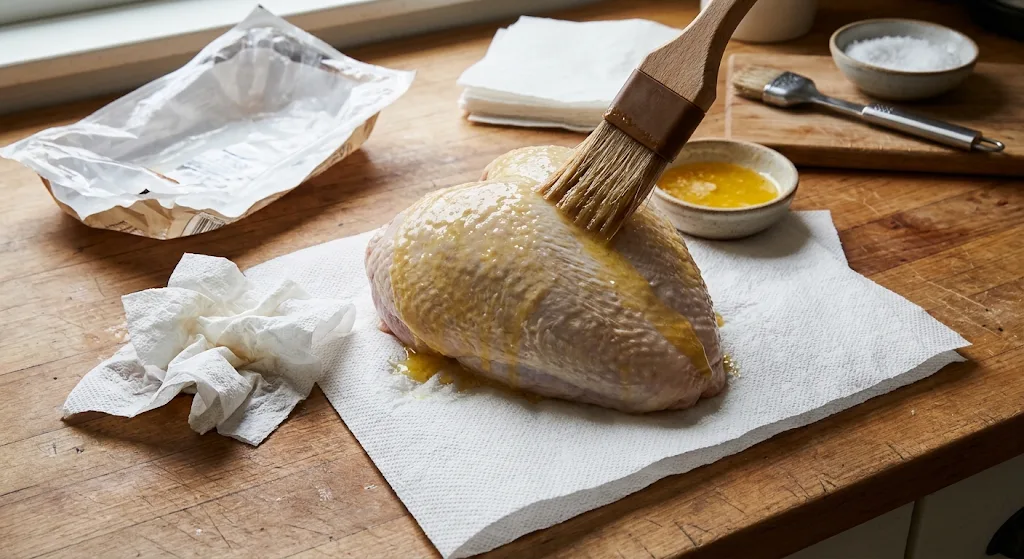
Brush the melted butter over both sides of the turkey. Make sure the skin side gets a generous coat. This is where all that golden color comes from.
Season Well
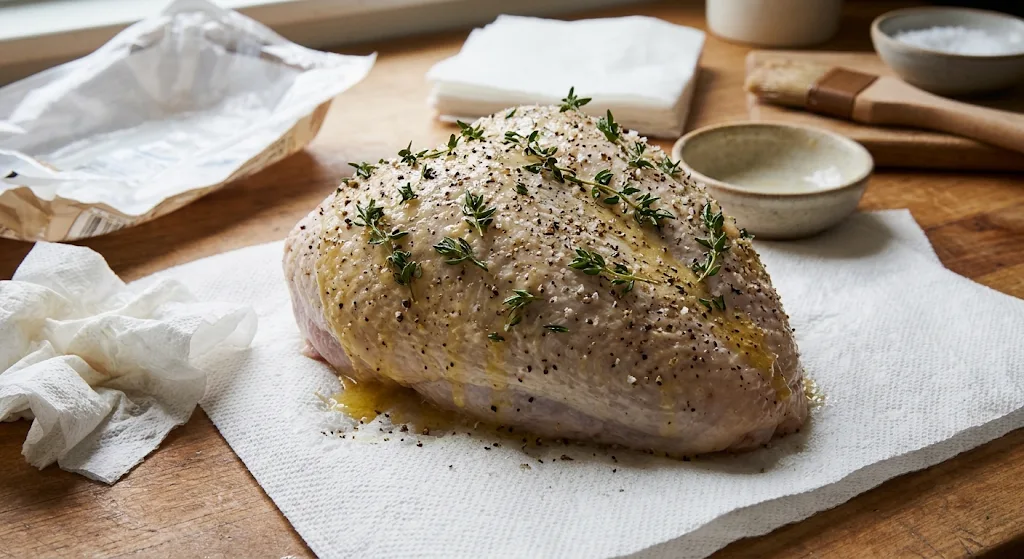
Rub the salt, pepper, and fresh thyme all over the turkey. Press the thyme gently into the butter so it sticks. I like to season the underside too, so every bite has flavor.
Build the Onion Bed
Toss the sliced onions with the olive oil right in the roasting pan. Set the roasting rack on top. Place the turkey on the rack with the skin facing up.
Roast at High Heat
Slide the pan into the hot oven and roast for 25 minutes. You want the skin to turn a deep golden brown. Don’t open the door too often during this stage.
Lower the Heat and Cover
Drop the oven temperature to 350°F. Loosely cover the turkey with foil so the skin doesn’t darken too much. Keep roasting while the inside cooks through gently.
Check the Temperature
Continue roasting for about 30 to 40 minutes, depending on thickness. Push the thermometer into the thickest part of the breast. The turkey is ready when it reads 165°F.
Broil for Extra Crunch
If you want extra crispy skin, remove the foil and turn on the broiler. Broil on high for 2 to 3 minutes. Watch it closely, because the skin can burn in seconds.
Rest and Carve
Let the turkey rest for 15 minutes before cutting into it. This lets the juices settle back into the meat. Then slice it with a sharp serrated knife and garnish with fresh thyme.
Make the Pan Gravy
Pour about 2 cups of drippings through a fine mesh sieve into a pot. Whisk in the flour until fully dissolved. Cook over medium heat for 3 to 4 minutes, stirring constantly, until thick. Add a tablespoon of water at a time if it gets too thick.
Additional Tips for Making This Recipe Better
These are the small things I learned after making this turkey a few times.
- I always keep the skin on. It locks in moisture and gives you that salty, crunchy bite.
- I trust my thermometer more than the timer. Ovens vary, and a few degrees can mean the difference between juicy and dry.
- I never skip the resting time. The first time I carved too early, the juices ran all over the board.
- I tuck the onions under the rack because they caramelize in the drippings and taste amazing on the plate.
- I buy a 2 to 2.5 pound breast for this timing. A larger cut needs more time in the oven.
- I like a dry brine when I have extra time. I season the turkey and leave it in the fridge for a day or two before roasting.
- I use a sharp knife for carving. A dull one tears the skin and ruins the pretty slices.
Common Mistakes to Avoid
Most dry turkey comes down to a few easy slip-ups. Here is what I learned the hard way.
- Skipping the thermometer: I once guessed and ended up with dry meat. Always check for 165°F.
- Carving right away: I was too eager, and the juices ran out. Wait the full 15 minutes.
- Leaving the skin wet: Damp skin steams instead of crisping. I always pat it dry first.
- Forgetting the foil: After the high-heat start, I cover the turkey so the skin doesn’t scorch.
- Walking away during broiling: I burned the skin once in under a minute. Stay close.
How to Serve Juicy Turkey Breast Recipe?
This turkey looks beautiful on the table, and a few simple touches make it even better. Here are the ways I like to plate it.
- Arrange the slices on a warm platter and spoon the caramelized onions around them.
- Drizzle a little gravy or pan juices over the top just before serving.
- Garnish with fresh thyme sprigs for color and aroma.
- Serve it with brown butter mashed potatoes, balsamic Brussels sprouts, or green bean casserole.
- Add herb roasted sweet potatoes or candied yams for a cozy fall plate.
- For a lighter, California-style table, I serve it with a crisp citrus salad and roasted vegetables, the kind of meal that feels right after a day exploring wine country or the coast.
Variations
You can change this recipe in many ways without losing the juicy result.
- Dry brine: season the turkey and rest it uncovered in the fridge for a day or two for deeper flavor.
- Other herbs: swap the thyme for rosemary or sage, or use a mix of all three.
- Citrus twist: add orange and lemon zest to the butter for a bright, sunny flavor.
- Dairy-free: use olive oil in place of butter.
- Gluten-free gravy: replace the flour with cornstarch.
- Chicken breast: use the same seasoning on chicken if you prefer a milder meat.
- Bone-in breast: roast it the same way, but allow about 20 minutes per pound and check the thermometer.
- Slow cooker or crockpot: for a hands-off turkey breast, boneless or bone-in, cook it low and slow, though you won’t get crispy skin.
- Air fryer: for a smaller skinless turkey breast fillet or turkey breast steak, an air fryer gives a quick, juicy result.
- Turkey breast strips: slice the meat into strips and sear them quickly for a fast weeknight dinner.
Nutritional Information
These are approximate values per serving, not including gravy. They will vary with the size of your turkey and the brand of ingredients.
- Calories: about 340
- Protein: about 48 g
- Carbohydrates: about 3 g
- Fat: about 14 g
Make Ahead and Storage
This turkey keeps well, so it works for busy weeks and leftover lunches. Here is how I handle it.
Make Ahead
You can season the turkey a day ahead and keep it covered in the fridge. This also works as a light dry brine. Bring it out for 20 minutes before roasting so it cooks evenly.
Storage
Let the leftovers cool, then store them in an airtight container in the fridge. They stay fresh for 3 to 4 days. I like to keep a little gravy on the side so the slices stay moist.
Reheating
Reheat slices gently in a covered pan with a splash of gravy or broth. You can also warm them in a low oven under foil. Avoid high heat, because it dries the meat quickly.
Freezing
Wrap the slices tightly and freeze them for up to 2 to 3 months. Thaw them overnight in the fridge before reheating. Freezing the gravy separately works well too.
Why You’ll Love This Recipe
This recipe is easy, flavorful, and perfect for smaller gatherings. Here is why it has become a favorite in my kitchen.
- It is made for small tables. You get all the turkey flavor without roasting a giant bird or facing days of leftovers.
- It cooks quickly. The whole thing takes about an hour and fifteen minutes, so it works for holidays and ordinary weeknights alike.
- It is all white meat. If you love breast meat, you won’t waste a single scrap, and it never turns dry when you follow the steps.
- It is easy to customize. Swap the herbs, add citrus, or try a dairy-free version to suit your own taste.
- It has simple ingredients. Most of it is already in your kitchen, and you can pair it with fresh California-style produce for a bright, balanced meal.
FAQs
Can I use a bone-in turkey breast?
Yes. Use the same method, but allow about 20 minutes per pound. Check the thickest part with a thermometer until it reaches 165°F.
How do I keep a turkey breast juicy in the oven?
Start hot to crisp the skin, then lower the heat and cover loosely with foil. Rest it for 15 minutes before carving.
Can I make this with skinless turkey breast?
You can, but the skin helps hold moisture and seasoning. If you go skinless, watch the thermometer closely and keep the butter coating generous.
Can I cook this in a slow cooker or air fryer?
Yes, both work for different results. The slow cooker gives tender, hands-off meat, while the air fryer suits smaller cuts like fillets and steaks.
How long does roasting take?
You roast at 450°F for 25 minutes, then at 350°F for about 30 to 40 minutes. The turkey is done at 165°F.