
How to Fix Shaky Hands Photography: A Complete Guide to Sharper Shots

Blurry photos happen to everyone, and most of the time, it’s not bad luck. It’s simple camera shake caused by small, natural hand movements. Whether you’re shooting a quiet trail, a coastal sunset, or the steam rising off a favorite hot spring, the same problem shows up: a soft, unclear photo.
Learning how to fix shaky hands photography just takes a few small changes in how you hold your camera, set it up, and support it. This guide covers all the easy fixes, step by step, so your next shot comes out sharp.
Why Do My Hands Shake When I Take Pictures?
Before fixing the problem, it helps to understand it. Every person’s hands move slightly, even when they feel perfectly still. This is a normal physiological tremor, and it becomes visible in photographs because the camera lens magnifies tiny motions the same way binoculars magnify a distant object.
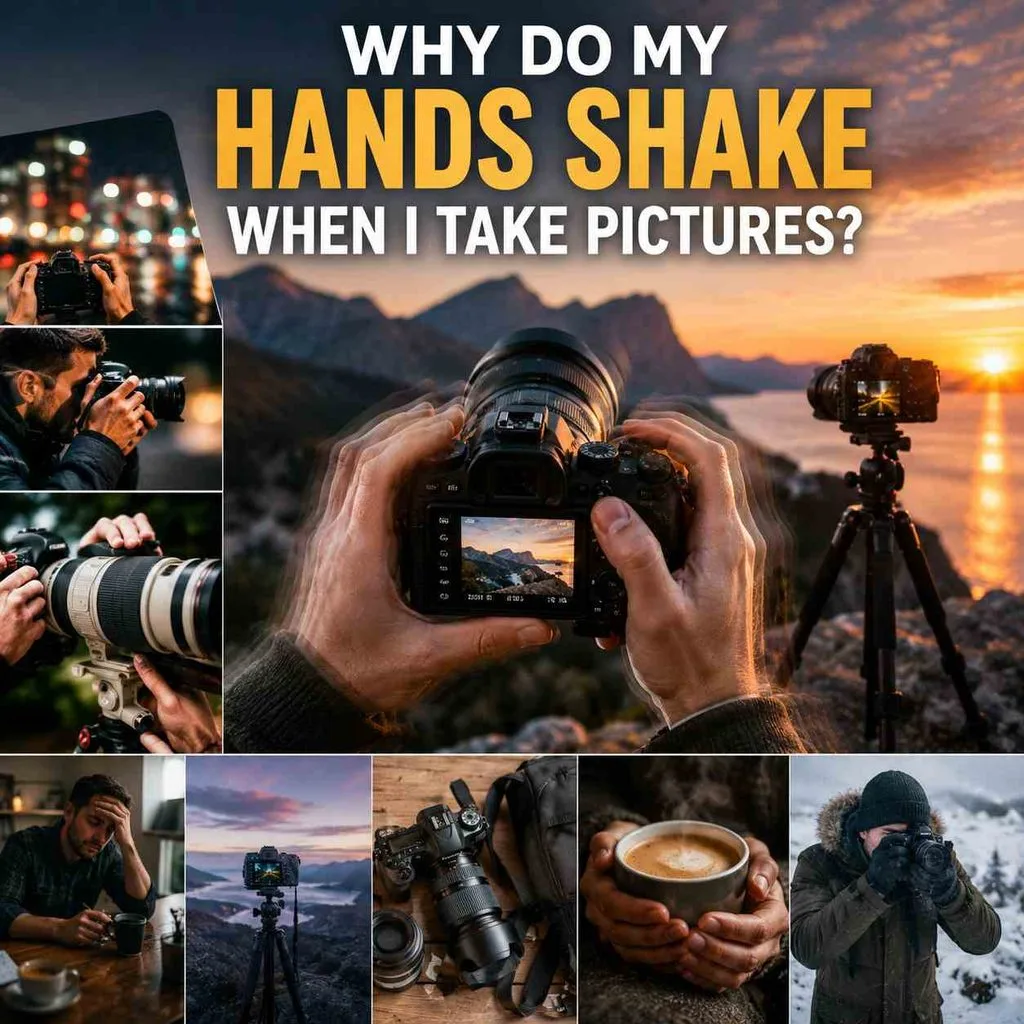
Several factors make this natural shake more noticeable:
- Slow shutter speeds – the longer the sensor is exposed to light, the more movement it records.
- Telephoto lenses – zooming in amplifies both your subject and your hand movement.
- Fatigue or cold – tired or cold muscles tremble more than relaxed, warm ones.
- Caffeine or nerves – stimulants and adrenaline can exaggerate natural hand tremors.
- Heavy camera gear – holding a large body and lens for an extended period tires your arms, increasing shake over time.
For most people, this is nothing more than ordinary physiology. However, if you consistently notice unusually strong or persistent shaking beyond what’s typical for handheld photography, it’s worth reading up on the medical causes of hand tremors, as conditions like essential tremor can also play a role, according to Mayo Clinic’s overview of essential tremor, which explains how it differs from other causes of shaking.
How to Fix Shaky Hands Photography: The Fundamentals
Improving stability comes down to three interconnected areas: how you hold your body, how you configure your camera, and what equipment you use for extra support. Mastering all three is the real answer to how to fix shaky hands photography, rather than relying on just one fix.
Build a Stable “Human Tripod”
Your stance and grip do more to reduce blur than most photographers realize, and it costs nothing to improve.
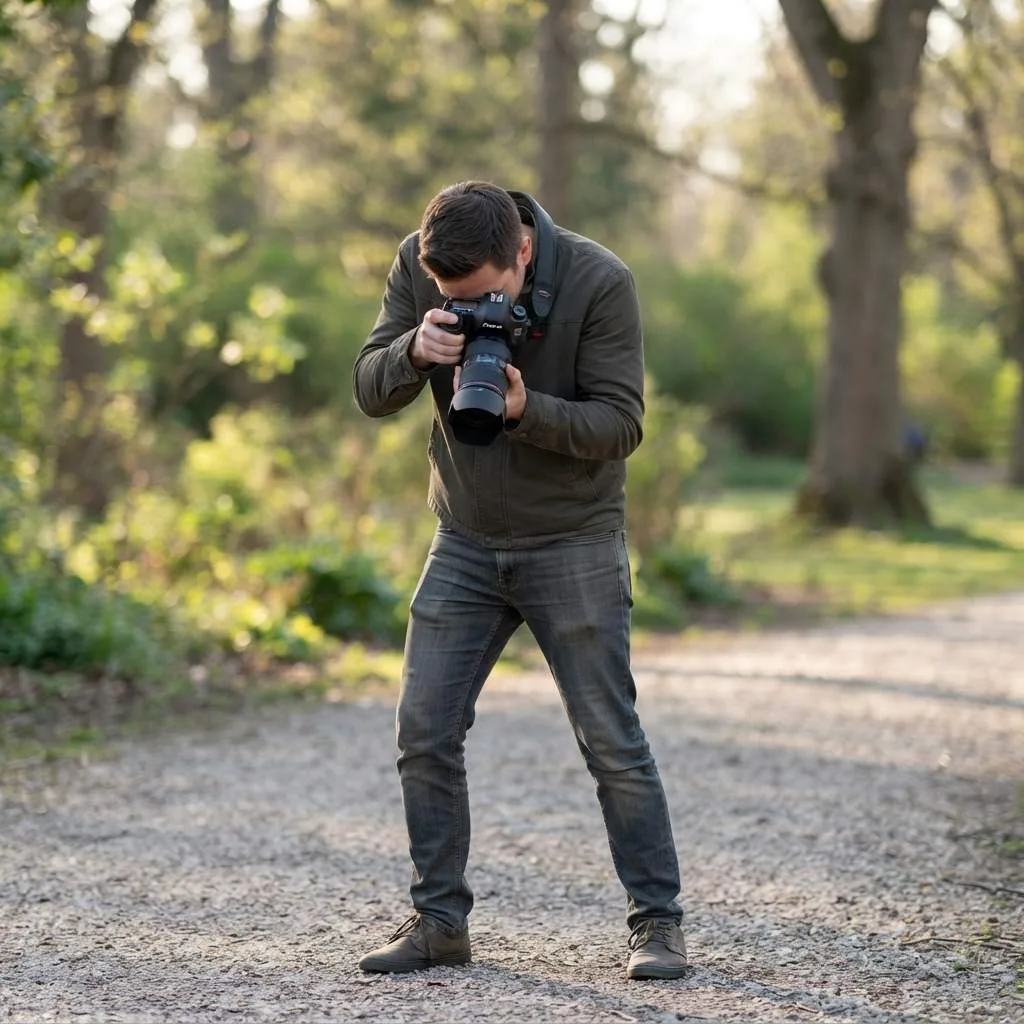
- Tuck your elbows tightly against your ribs instead of letting them float outward.
- Stand with feet shoulder-width apart, one foot slightly forward, knees softly bent.
- Cradle the camera body and lens with your left hand while your right hand operates the grip and shutter.
- Press the camera gently against your forehead or eyebrow ridge when using a viewfinder for an extra stabilizing point.
- Exhale slowly and steadily right before you press the shutter button — holding your breath actually increases tension and shake.
- Squeeze the shutter button gently rather than jabbing at it.
Use Nearby Objects as Support
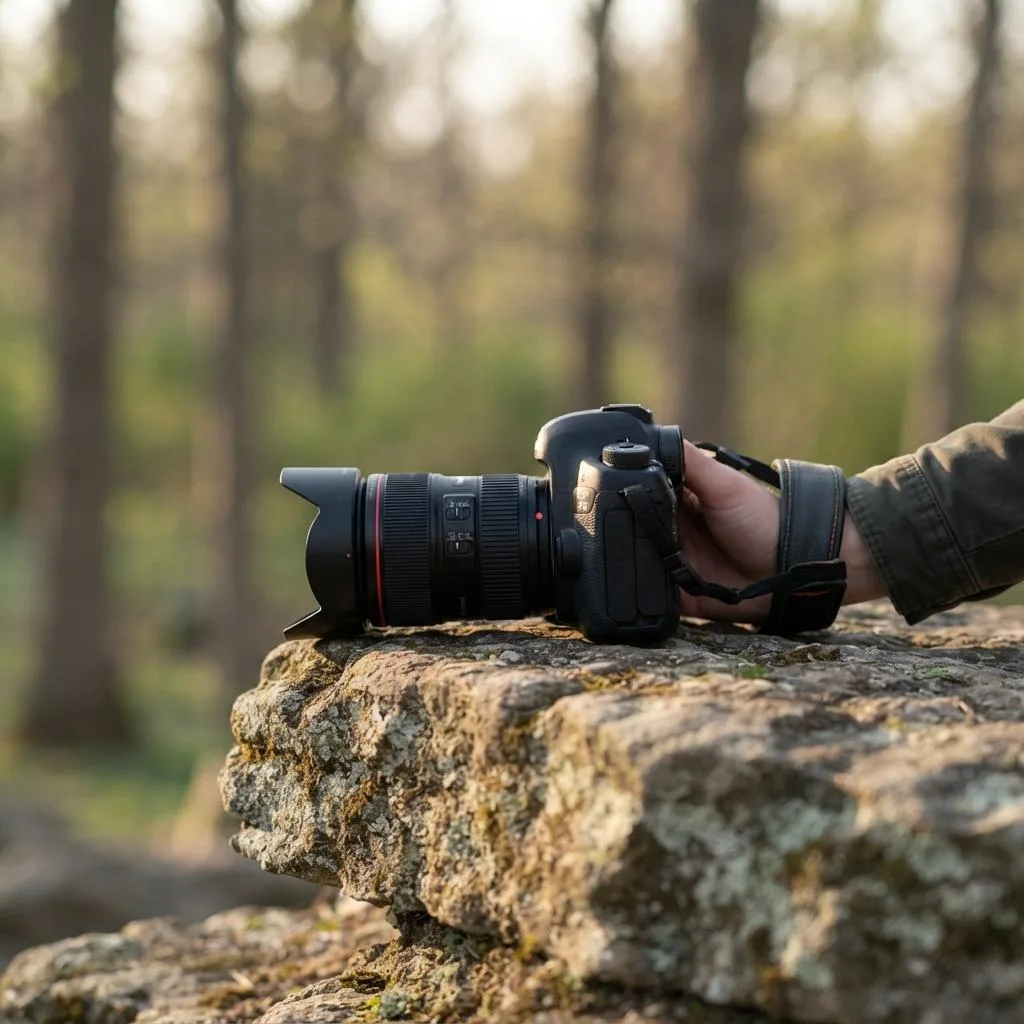
When your own body isn’t stable enough, the environment around you often is.
- Lean your shoulder or hip against a wall, tree trunk, or railing.
- Rest your elbows or wrists on your knees while crouching or sitting.
- Lay the camera flat on a rock, ledge, or the ground for low-angle shots.
- Wrap the camera strap tightly around your hand or wrist to create tension that resists movement.
Camera Settings That Reduce Camera Shake
Once your stance is solid, your camera settings determine whether that stability actually translates into a sharp image. This is where most photographers discover how to avoid camera shake almost automatically, simply by adjusting a few dials.
The Reciprocal Rule for Shutter Speed
A long-standing rule of thumb states that your shutter speed should be at least as fast as one over your focal length. For example:
- At 24mm, use a shutter speed of at least 1/50 sec.
- At 50mm, use at least 1/100 sec.
- At 200mm, use at least 1/400 sec.
- At 500mm, use at least 1/1000 sec (some photographers push this to 1/1200 sec for extra insurance).
Wider lenses forgive small movements because they compress shake into a smaller portion of the frame; telephoto lenses do the opposite, so the faster shutter speed matters even more as you zoom in.
Balance ISO and Aperture
- Raise your ISO to allow a faster shutter speed without underexposing the image, especially indoors or at dusk.
- Open your aperture (a lower f-number) to let in more light, which also supports a quicker shutter speed.
- Accept a small amount of digital grain over a blurry photo — noise can be reduced in editing, but blur usually can’t.
Turn On Image Stabilization
Most modern cameras and lenses include in-body or optical image stabilization (often labeled IBIS or OIS). This technology senses small movements and physically compensates for them inside the lens or sensor. It’s an effective tool, but it has limits — stabilization won’t freeze a moving subject and can’t fully compensate for extreme shake, so it should be treated as a supplement to good technique, not a replacement for it.
Use a Remote, Timer, or Burst Mode
- A remote shutter or 2-second self-timer lets you trigger the camera without touching it at the critical moment.
- Burst mode captures several frames per second, and because micro-tremors constantly shift direction, at least one frame in a fast sequence is often noticeably sharper than the rest.
How to Reduce Camera Shake When Filming Video
Video amplifies the shaky hands problem because the camera is capturing continuous motion rather than a single frozen instant. To reduce camera shake when filming:
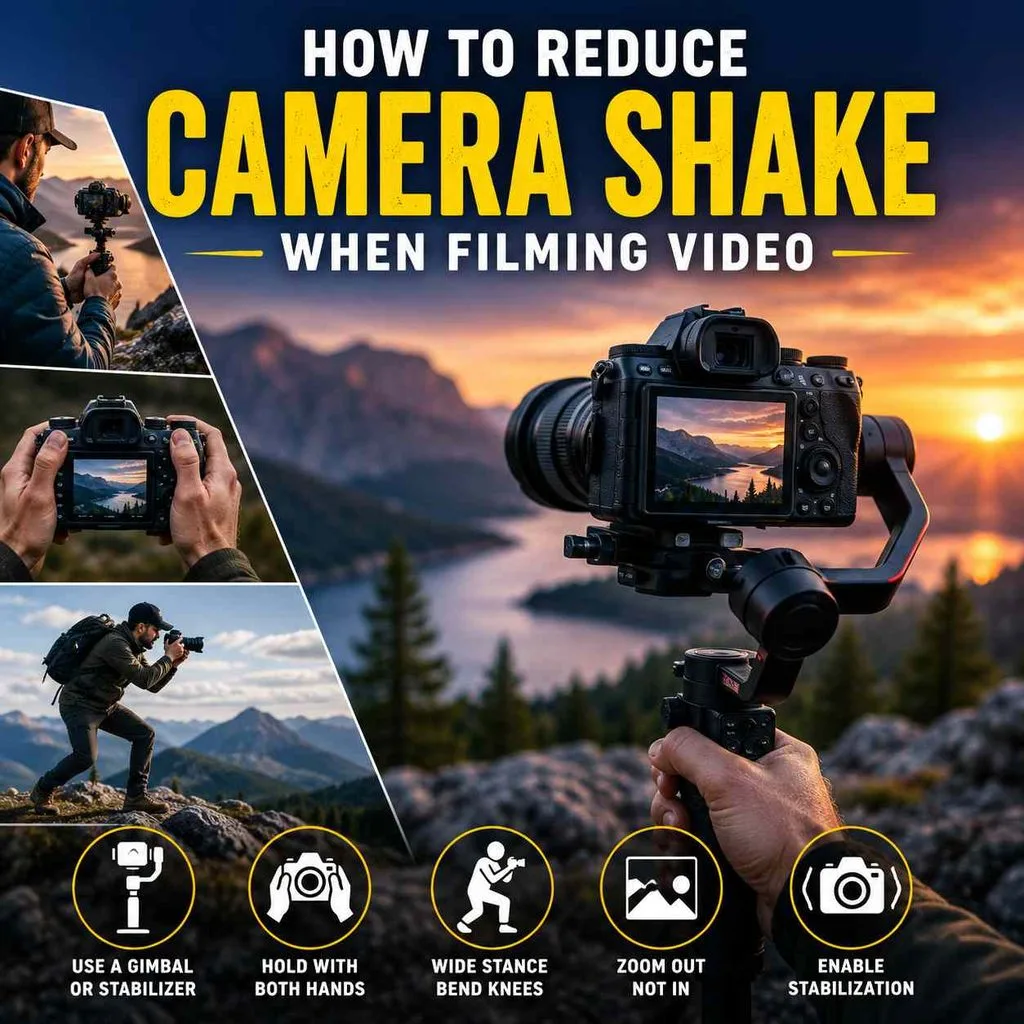
- Use a gimbal or stabilizer for handheld video, especially while walking.
- Hold the camera with both hands and keep your elbows tucked, just as you would for stills.
- Widen your stance and bend your knees slightly to absorb footsteps as you move.
- Zoom out rather than in whenever possible, since telephoto framing exaggerates every wobble on video the same way it does in photos.
- Enable in-camera or lens-based video stabilization, and stabilize footage further in post-production software if needed.
Reduce Camera Shake on iPhone and Other Smartphones

Smartphone photography comes with its own version of this challenge, since phones are light, thin, and easy to move accidentally. If you’ve noticed your iPhone camera shaking with noise in low light, it’s usually the same issue: the phone is dropping its shutter speed and raising ISO simultaneously to compensate for dim conditions, which introduces both blur and grain.
- Use the volume button or a wired headphone’s inline button as a shutter release instead of tapping the touchscreen, which can jolt the phone at the exact moment of capture.
- Brace both elbows against your torso and hold the phone with two hands rather than one.
- Avoid digital zoom, since it magnifies hand tremors just like a telephoto lens does — crop the image afterward instead.
- Use the phone’s built-in timer or voice-activation shutter feature for hands-free stability.
- Add extra light with a small LED or your phone’s flash so the camera doesn’t need to rely on a slow shutter speed.
- Attach a small flexible tripod or phone-mount grip for a firmer hold during travel or nature photography.
Equipment That Adds Extra Stability
Sometimes the most reliable fix for shaky hands is a physical support system. This matters most for the situations where camera shake is unavoidable through technique alone — long exposures, low light, or heavy telephoto lenses.
- Tripod – essential for long exposures, night photography, and any scene where maximum sharpness is required.
- Monopod – offers meaningful stability while remaining lightweight and mobile, ideal for wildlife or travel photography.
- Remote shutter release – prevents the small jolt of pressing the shutter button by hand from being transferred to the camera.
- Wider lenses – easier to hold steady than telephoto lenses, since they’re less sensitive to small movements.
- Flash – allows a faster shutter speed indoors or at night, freezing motion instead of blurring it.
- A walking stick or hiking pole – doubles as an improvised monopod when you’re out on a trail without dedicated gear.
If you enjoy shooting travel and nature scenes, this kind of setup is especially useful around low-light or steamy conditions. For example, photographing the mist rising off natural hot springs often means shooting in dim early-morning light with condensation in the air, both of which challenge handheld stability. A compact tripod or monopod makes it far easier to capture the scene clearly without waiting for perfect light. If you’re planning a trip around one, guides like what to do in Hot Springs can help you time your visit for the best light and calmest conditions.
Practicing Your Technique in the Field
Like any physical skill, steady handheld shooting improves with repetition. Choosing scenic, slower-paced locations to practice — quiet coastlines, forest trails, or mountain overlooks — gives you room to experiment with stance, breathing, and settings without the pressure of a fast-moving scene. Sites like CATRAVELTIMES are a great source of inspiration for destinations worth practicing at, from calm national parks with wide, open views to tranquil hot springs and scenic overlooks that reward a slower, more intentional shooting style.
For further structured guidance, the National Park Service’s own guide is a useful, free resource covering timing, light, and composition for outdoor photography, and it pairs well with the stability techniques covered here — you can read the National Park Service’s beginner’s photography guide, which covers when to shoot, including golden hour timing around sunrise and sunset.
Over time, these small adjustments — tucking your elbows, checking your shutter speed, bracing against a nearby surface — become automatic. That’s ultimately what separates photographers who occasionally get a sharp shot from those who consistently do.
Quick Checklist to Stop Camera Shake for Good
Keep this list handy the next time you’re heading out with your camera:
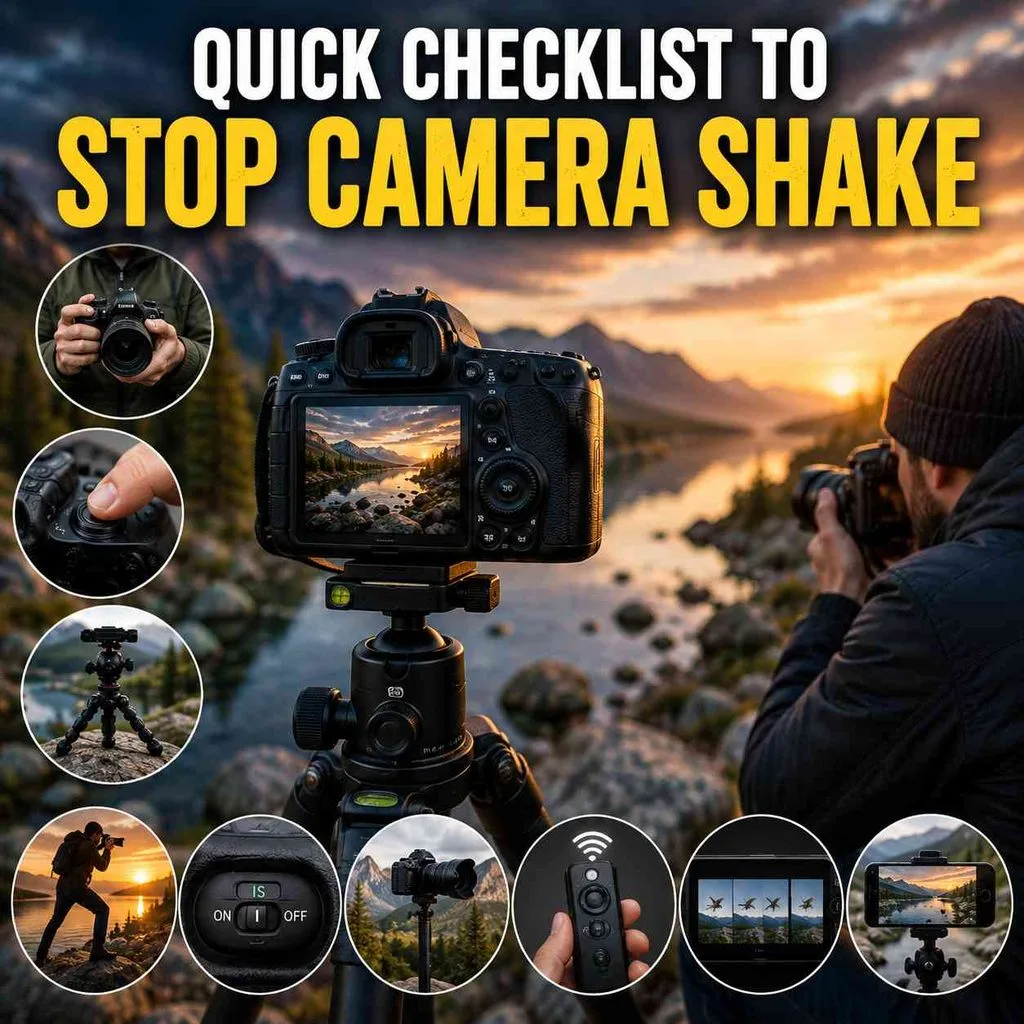
- Tuck your elbows in and widen your stance for a stable base.
- Exhale slowly before pressing the shutter, and squeeze rather than jab the button.
- Match your shutter speed to at least one over your focal length.
- Raise ISO or widen your aperture before dropping your shutter speed too low.
- Turn on image stabilization, but don’t rely on it alone.
- Use a tripod, monopod, or nearby object for support in low light or long exposures.
- Trigger the shutter with a remote, timer, or burst mode when precision matters most.
- For smartphones, use the volume button or headphone cable instead of the touchscreen.
Final Thoughts How to Fix Shaky Hands Photography
Shaky hands don’t have to hold your photography back. Once you understand why the blur happens and apply a combination of proper stance, smart camera settings, and the right support equipment, you’ll notice a dramatic improvement in sharpness almost immediately.
Whether you’re shooting landscapes, wildlife, video, or quick smartphone snaps at a scenic hot spring, the same core principles apply. Learning how to fix shaky hands photography isn’t about having perfectly steady hands it’s about setting yourself, and your camera, up to work together instead of against each other.
FAQ How to Fix Shaky Hands Photography
Why do my hands shake when I take pictures?
Your hands naturally tremble slightly, even at rest. Holding a camera at arm’s length, fatigue, cold weather, or caffeine can make this normal tremor more noticeable, especially in photos.
How to fix shaky hands photography quickly?
Tuck your elbows in, widen your stance, and exhale before pressing the shutter. Raise your shutter speed and turn on image stabilization for an instant improvement in sharpness.
How do I reduce camera shake on iPhone?
Use the volume button or headphones instead of tapping the screen. Brace both elbows against your body, avoid digital zoom, and add extra light whenever possible.
How to reduce camera shake when filming video?
Use a gimbal or stabilizer, hold the camera with both hands, and keep your elbows close to your body. Avoid zooming in, since it exaggerates every small movement.
Does image stabilization fully fix shaky hands?
No. Stabilization reduces blur from small movements, but it can’t freeze motion or fix extreme shake. Pair it with a fast shutter speed and steady technique for best results.