Easy Roasted Garlic Sourdough Stuffing Recipe Everyone Will Love!
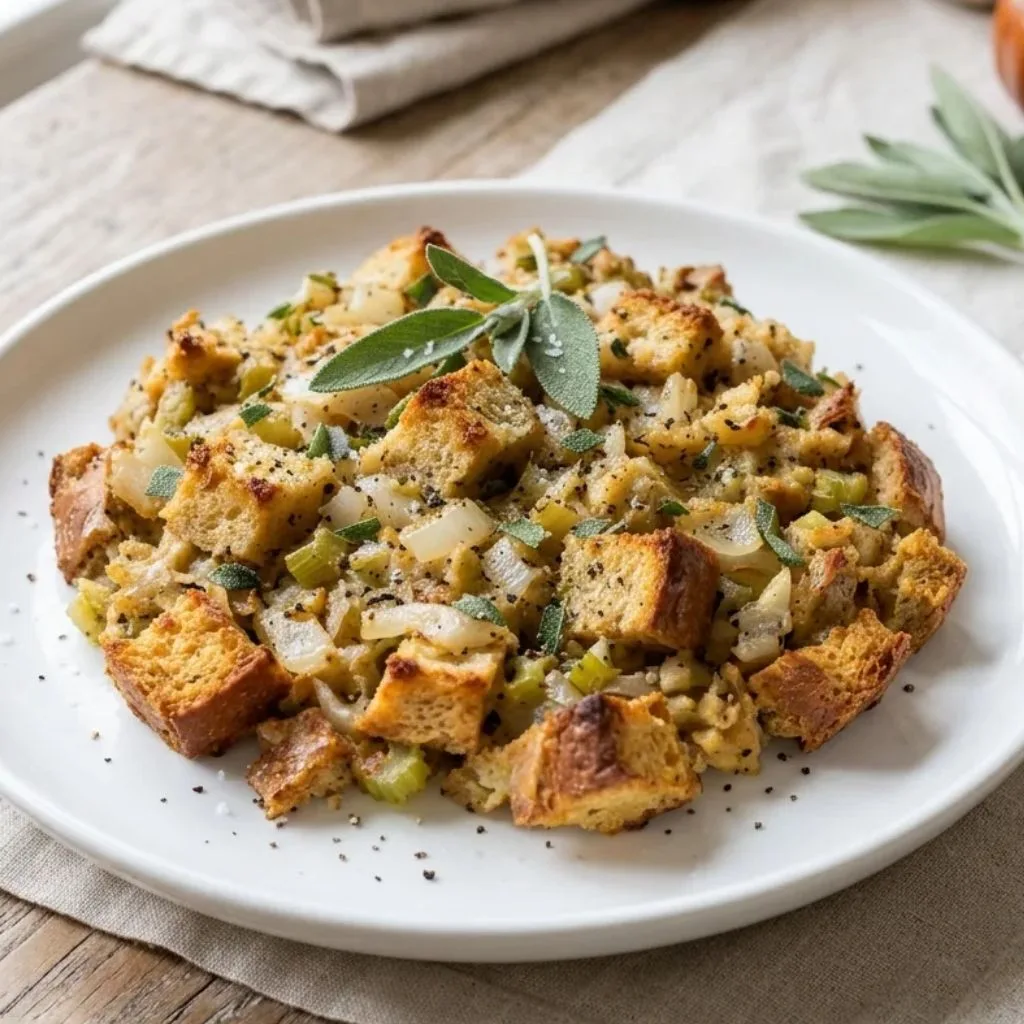
I made this Roasted Garlic Sourdough Stuffing Recipe for a small holiday dinner, and the whole house smelled amazing. The first bite had that tangy sourdough chew, soft sweet onions, and a deep garlic flavor I could not stop thinking about.
I grew up believing stuffing was just a basic side dish, but this one changed my mind. Living around California sourdough culture made me a little picky about my bread, and this recipe did not let me down. I now make it every single holiday, and I am sharing exactly how I do it.
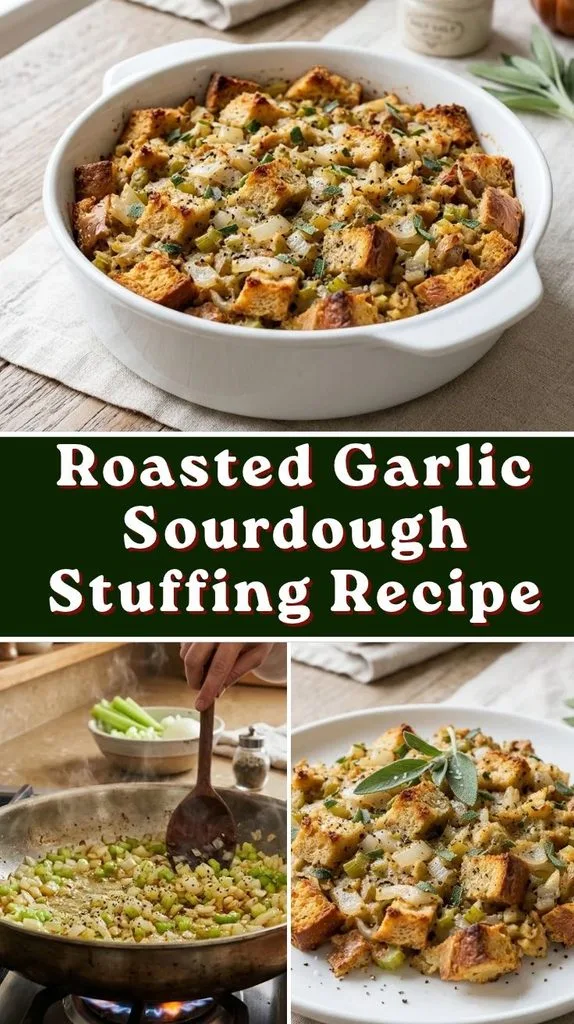
Cooking Time
This recipe is easy and does not need much hands-on effort. Most of the time goes into the oven, so you can prep other dishes while it bakes.
- Prep Time: 25 minutes
- Cooking Time: 35 minutes
- Total Time: 1 hour
Ingredients
Here is everything you need for this garlic sourdough stuffing. I added one short tip beside each item so you get the best flavor.
- 2 tablespoons unsalted butter: Gives the vegetables a rich, silky base.
- 1½ cups diced onion (about 225 g): Adds natural sweetness once it softens.
- 1½ cups diced celery (about 225 g): Brings a fresh, classic stuffing crunch.
- ½ teaspoon ground black pepper: Grind it fresh for a sharper kick.
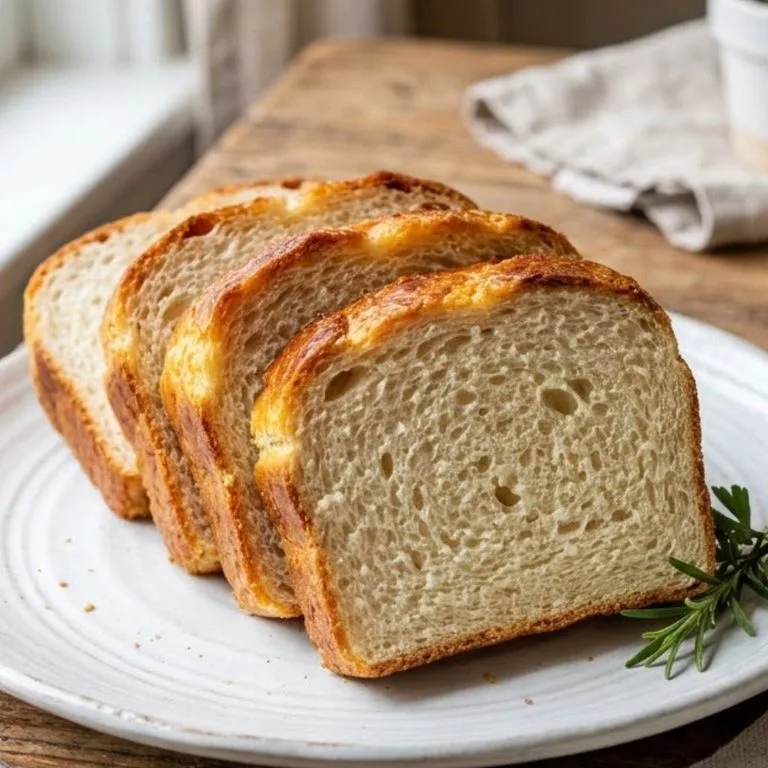
- 500 g sourdough bread, crusts removed and cubed (about 8 cups): Use day-old bread so it soaks up liquid without turning mushy.
- 1½ cups warm water: Warm liquid blends the flavor concentrates more smoothly.
- 1½ teaspoons Minor’s Sautéed Vegetable (Mirepoix) Base: Builds a savory, slow-cooked vegetable depth.
- 3 tablespoons Minor’s Roasted Garlic Flavour Concentrate: Delivers the sweet, mellow roasted garlic taste in every bite.
- ½ cup 35% cream: Makes the inside soft and custardy.
- 1 large egg: Binds everything so the stuffing holds together.
- 1 tablespoon fresh sage, chopped: Use fresh, not dried, for a brighter holiday aroma.
Note: serves about 12
Equipment You Need
You probably have all of this in your kitchen already.
- Large skillet or pan: Cooks the onion and celery until soft and golden.
- Large mixing bowl: Holds the bread cubes and all the mixed ingredients.
- Medium bowl: Used to whisk the liquids, cream, and egg together.
- Whisk or fork: Blends the concentrates into the warm water evenly.
- 13 x 9-inch baking dish: Gives you a soft center and a crisp golden top.
- Sharp bread knife and cutting board: Helps you cube the sourdough neatly.
How to Make Roasted Garlic Sourdough Stuffing Recipe?
This recipe comes together in a few simple stages. You sauté the vegetables, mix the liquid, toss everything with the bread, and bake. I walk you through each step the way I do it in my own kitchen.
Step 1: Prep the Bread
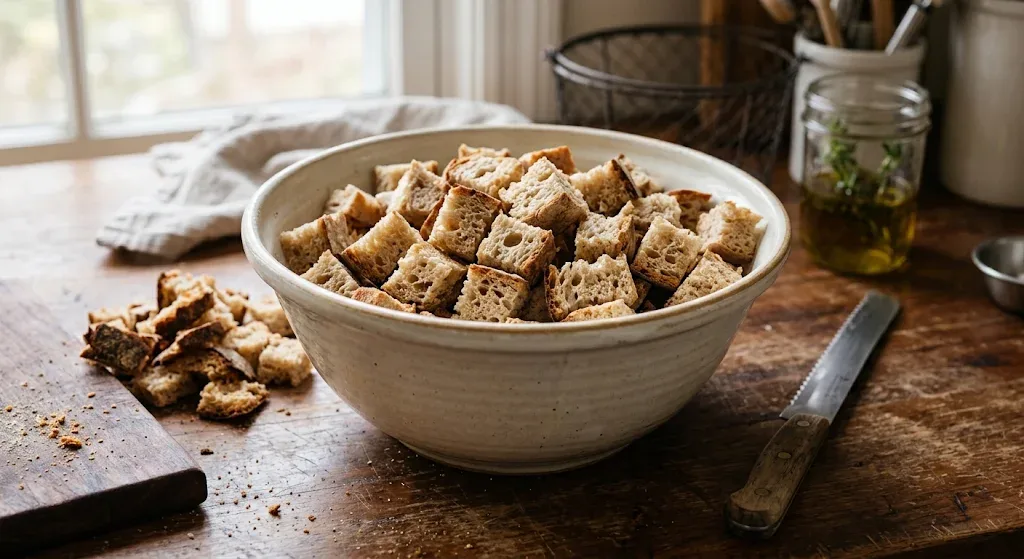
Remove the crusts from your sourdough loaf and cut the bread into even cubes. Place them in a large mixing bowl. Day-old bread works best because it absorbs flavor without falling apart.
Step 2: Preheat the Oven and Butter the Dish
Heat your oven to 375°F (190°C). Grease a 13 x 9-inch baking dish with butter, covering the corners well. This helps the edges turn golden and keeps the stuffing from sticking.
Step 3: Sauté the Onion and Celery
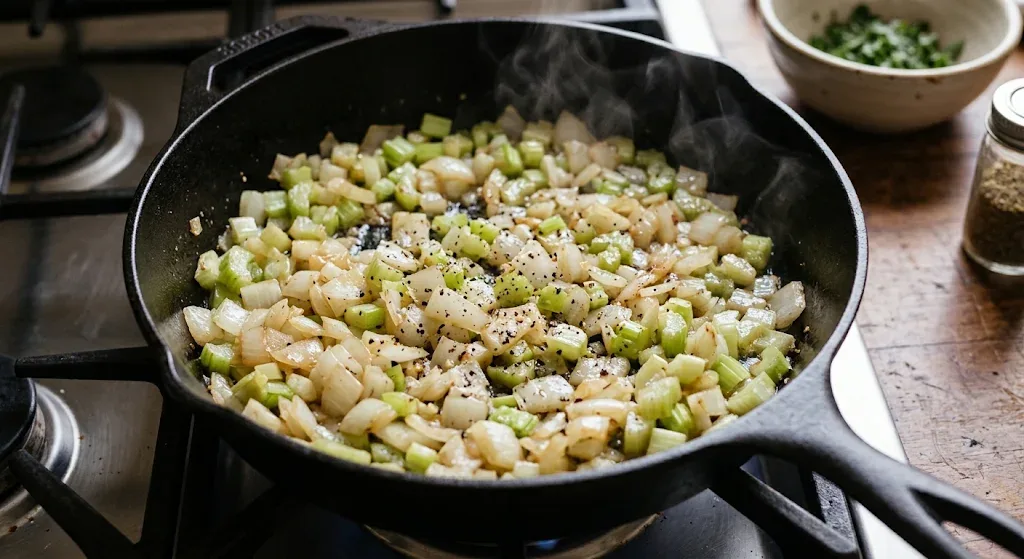
Place a large pan over medium-high heat and melt the butter. Add the diced onion, celery, and black pepper once the butter is hot. Sauté for about 8 minutes until the vegetables look soft and fragrant.
Step 4: Add the Vegetables to the Bread
Spoon the warm sautéed vegetables over the bread cubes. Toss gently so the bread picks up some of that buttery flavor. I like to do this while the vegetables are still warm.
Step 5: Whisk the Garlic Liquid
In a separate bowl, mix the warm water, mirepoix base, and roasted garlic concentrate. Add the cream and the egg, then whisk until smooth. The mixture should look pale golden and smell wonderfully garlicky.
Step 6: Combine Everything with Sage
Pour the liquid over the bread and vegetables. Add the chopped sage and fold gently with a large spoon. Stop when the bread looks evenly moist, because over-mixing can crush the cubes.
Step 7: Transfer to the Baking Dish
Spread the mixture into your buttered dish and lightly level the top. Do not press it down too hard. A loose layer lets heat move through and gives you a crisp top.
Step 8: Bake Until Golden
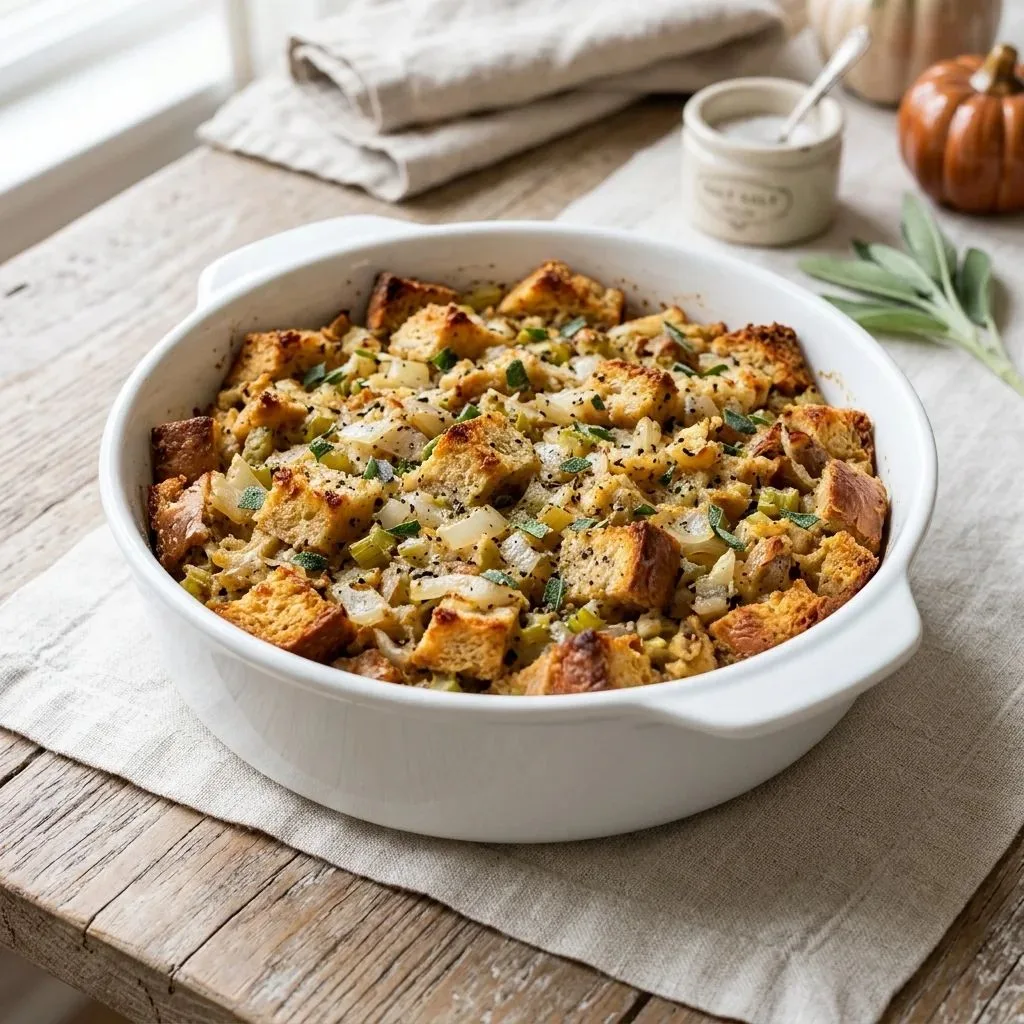
Bake for 35 minutes or until the top is golden and crisp. You should see browned edges and hear a little crackle when you touch the surface. Let it rest for five minutes before scooping.
Additional Tips for Making This Recipe Better
These small habits made a big difference in my own batches. I learned most of them after a few rounds of trial and error.
- I always dry my bread cubes overnight on the counter. They soak up the garlic liquid evenly and never turn gummy.
- I whisk the concentrates into warm water until no lumps remain. This spreads the roasted garlic flavor through every piece.
- I chop the sage right before I add it. Fresh sage smells stronger and tastes much brighter.
- I sauté the onion and celery slowly for the full 8 minutes. Rushing this step leaves the vegetables crunchy.
- I cover the dish with foil if the top browns too fast. I remove it for the last five minutes to keep the crisp finish.
- I use a good, tangy loaf. A bakery sourdough, like the ones I pick up at a local California farmers market, gives a much deeper flavor than soft sandwich bread.
Common Mistakes to Avoid
I have made a few of these myself, so learn from my kitchen mishaps. Each one is easy to fix once you know about it.
- Using fresh, soft bread: I once did this, and the stuffing turned into a paste. Use stale or lightly dried cubes instead.
- Adding too much liquid: I poured it all in at once and got a soggy middle. Stir it in and check that the bread looks moist, not swimming.
- Skipping the sauté step: Raw onion and celery never soften in the oven. I always cook them first.
- Pressing the mixture into the dish: Packing it tight made mine dense. A loose layer bakes up lighter.
- Serving it straight from the oven: I once scooped too soon, and it fell apart. A short rest helps it set.
How to Serve Roasted Garlic Sourdough Stuffing?
This stuffing looks as good as it tastes when you plate it with a little care. Add a few simple finishing touches, and it becomes the star of the table.
- Scoop it into neat squares with a large spoon so the crisp top stays visible.
- Sprinkle a little extra chopped sage over the top for a fresh green color.
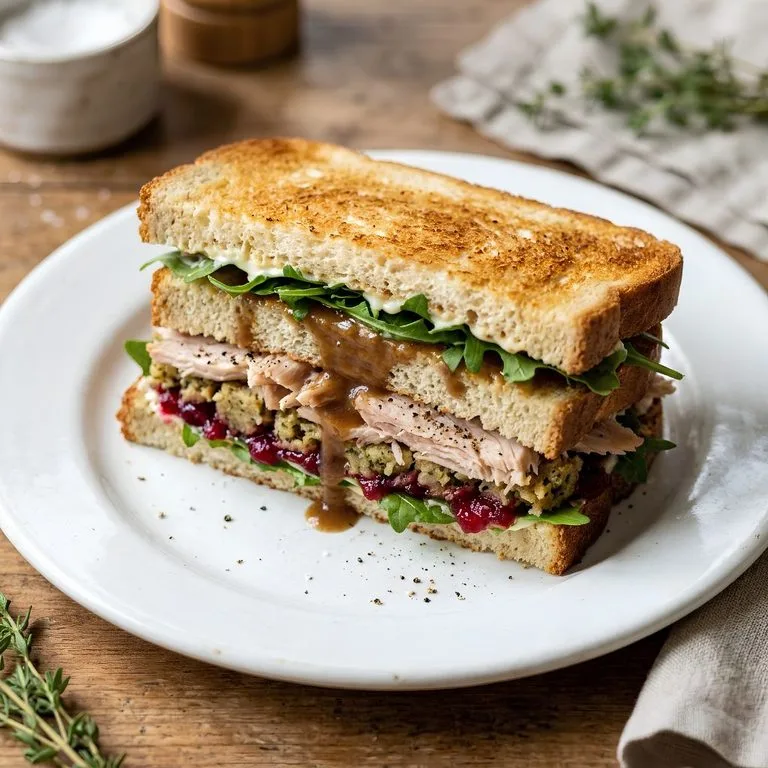
- Serve it next to roast turkey with warm gravy poured over the side.
- Pair it with mashed sweet potatoes and green beans for a colorful plate.
- Set the baking dish on a wooden board at the table, with a sprig of sage on the edge.
- Bring it to a California-style holiday meal with roasted vegetables and a glass of local red wine.
Variations
You can change this roasted garlic stuffing in many ways without losing its charm. I have tried a few of these, and they all worked well.
- Dairy-free: Swap the butter for olive oil and use unsweetened oat cream instead of dairy cream.
- Extra garlic: Squeeze in a few cloves from a freshly roasted head of garlic for a stronger flavor.
- Roasted garlic sourdough loaf: Use a roasted garlic sourdough loaf as your base to deepen the taste.
- Herb boost: Add chopped thyme or parsley along with the sage.
- Mushroom version: Sauté sliced mushrooms with the onion and celery for an earthy twist.
- Cheesy: Fold in a handful of grated Gruyère before baking.
Nutritional Information
Here is an approximate breakdown for one serving. Exact numbers change with the bread and the brand of flavor concentrate you use.
- Calories: about 170 kcal
- Protein: about 5 g
- Carbohydrates: about 24 g
- Fat: about 6 g
Make Ahead and Storage
This is a great dish to plan ahead, which saves time on a busy holiday. Store it correctly, and the flavor holds up beautifully.
Make Ahead
You can cube and dry the bread a day before and chop the vegetables ahead of time. Keep everything in separate containers in the fridge. Mix and bake on the day for the best crisp top.
Refrigerating
Let the baked stuffing cool, then cover it tightly. It stays fresh in the fridge for three to four days. The garlic flavor actually gets a little deeper overnight.
Freezing
Wrap cooled portions well and freeze them in an airtight container. They keep their quality for up to two months. Thaw overnight in the fridge before reheating.
Reheating
Warm the stuffing in a 350°F oven, covered, for 15 to 20 minutes. Uncover for the last few minutes to bring back the crunch. Add a splash of broth or water if it looks dry.
Why You’ll Love This Recipe?
This recipe checks every box for a holiday side dish. It is simple, tasty, and flexible enough for many tables.
- Easy to make: You only need basic steps and one baking dish. I never feel stressed when I make it, even on busy holiday mornings.
- Big garlic flavor: The roasted garlic concentrate gives you that sweet, mellow taste without the extra work. Every bite tastes rich and balanced.
- Perfect texture: You get a soft, custardy center and a crisp golden top. That contrast is what keeps my family going back for seconds.
- Feeds a crowd: One pan serves about twelve people. It is ideal for holiday dinners, potlucks, and family gatherings.
- Easy to customize: You can make it dairy-free, add mushrooms, or use extra roasted garlic. The base recipe is forgiving, so you can adjust it to your table.
FAQs
Can I use fresh roasted garlic instead of the concentrate?
Yes, you can. Roast two heads of garlic until soft, squeeze out the cloves, and mash them into the warm water. Add a little extra salt, since the concentrate adds savory flavor.
What bread works best for garlic sourdough stuffing?
A day-old, crusty sourdough loaf works best. Remove the crusts and cut it into even cubes. A roasted garlic sourdough loaf also works if you want extra flavor.
Can I make this stuffing ahead of time?
Yes. Prepare the bread cubes and vegetables a day early, then mix and bake on the day. You can also bake it fully and reheat it later.
How do I keep the stuffing from getting soggy?
Use dry bread and add the liquid slowly. Stop when the cubes look moist but not soaked. Bake until the top turns golden and crisp.
Can I freeze leftover stuffing?
Yes, freeze cooled portions in an airtight container for up to two months. Thaw them in the fridge overnight. Reheat covered, then uncover to crisp the top.