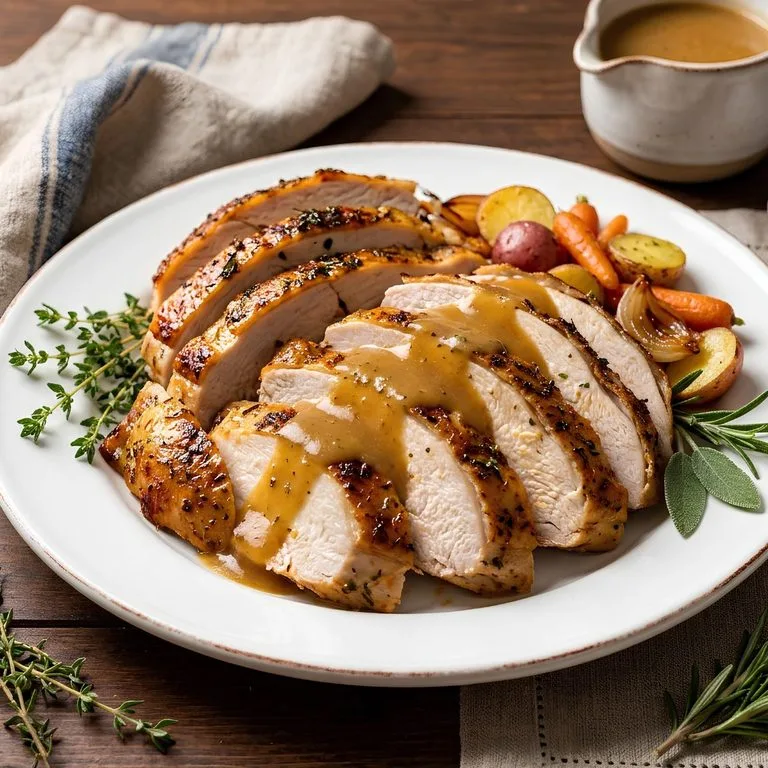
California Roasted Chicken Recipe: Juicy, Golden & Full of Flavor
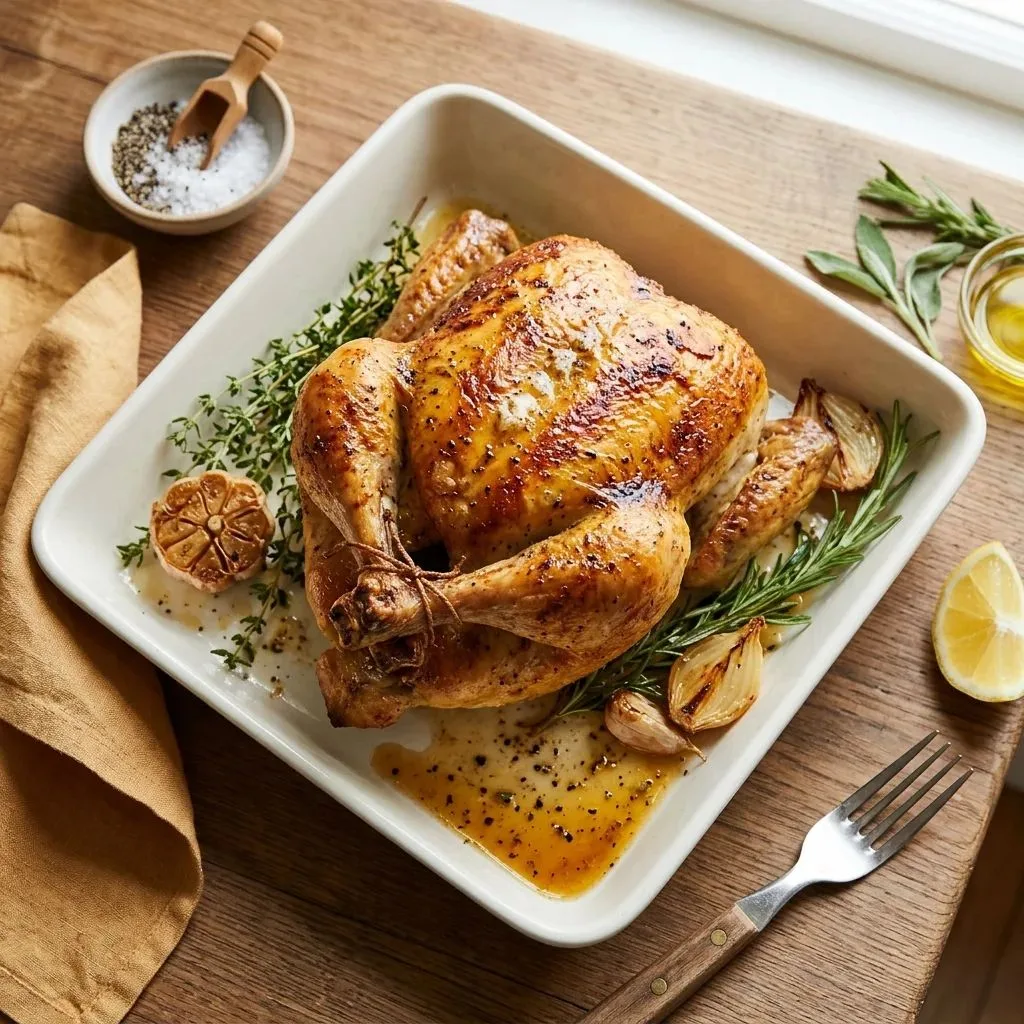
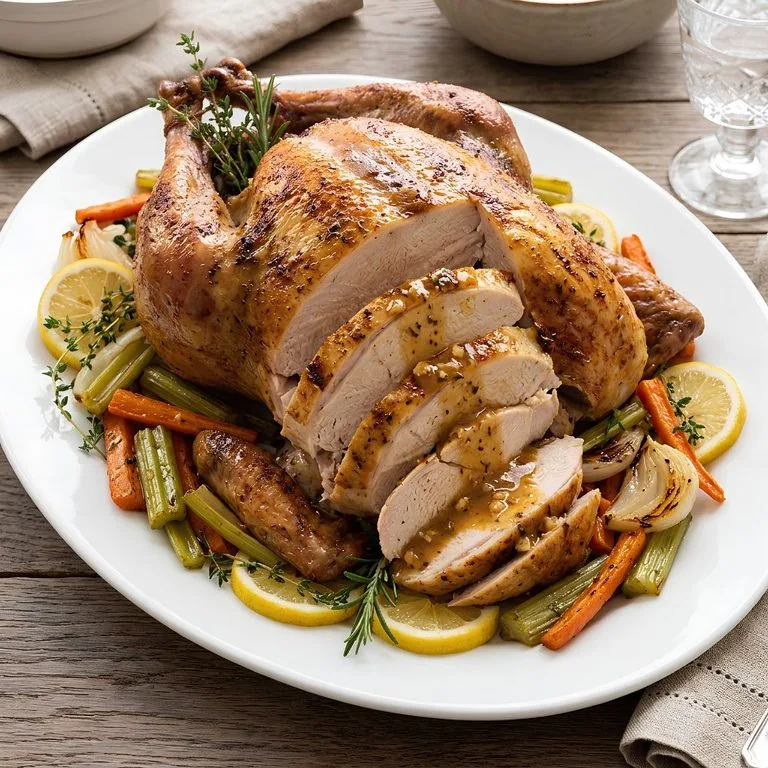
I made this California Roasted Chicken Recipe on a quiet Sunday, and my kitchen smelled like thyme and garlic within minutes. The skin turned deep golden and crackly, while the meat stayed juicy all the way to the bone. I love how simple it is, because the ingredient list is short and nothing feels fussy.
It reminded me of the relaxed, sun-soaked dinners I picture after a long day exploring the California coast. If you want a classic roast chicken that feels special without the stress, I think you will love this one as much as I do.
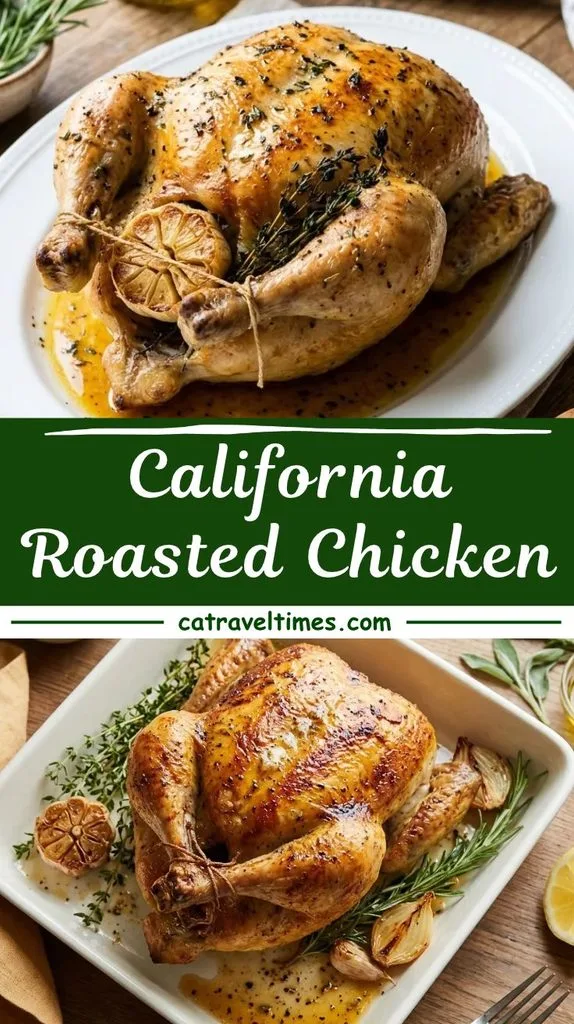
Cooking Time
Here is how the time breaks down, so you can plan your meal with confidence.
- Prep Time: 15 minutes
- Cooking Time: 60 to 75 minutes
- Total Time: About 1 hour 30 minutes, including the 15-minute rest
Ingredients You Need
The list is short and simple, and every item has a job to do. Here is what goes into the pan.
- 1 whole chicken, about 3½ pounds: The star of the dish, so choose a fresh, good-quality bird.
- 3 tablespoons butter, melted: Adds richness and helps the skin brown beautifully.
- ½ cup extra virgin olive oil: Keeps the meat moist, and California olive oil adds a fresh, fruity note.
- 1 teaspoon salt: Seasons the meat, so don’t skip it.
- ½ teaspoon black pepper: Gives gentle warmth, and fresh-ground tastes best.
- 1 bunch fresh thyme: Goes inside the cavity to perfume the meat as it roasts.
- 1 tablespoon fresh thyme: Mixes into the butter rub, so skip the dried kind here.
- 1 head garlic, sliced in half horizontally: Turns soft and sweet inside the cavity.
- ½ onion: Adds moisture and a light sweetness from within.
- Lemon slices, for serving: Brings a bright, fresh finish at the table.
Note: Serves 4, as per the ingredients quantity.
Equipment You Need
You don’t need anything fancy for this recipe. A few basic kitchen tools do the job.
- Large baking dish: Holds the chicken and catches all the flavorful juices.
- Kitchen twine: Ties the legs together so the chicken cooks evenly.
- Small mixing bowl: Used to blend the butter, salt, pepper, and thyme.
- Paper towels: Dry the skin so it can crisp up nicely.
- Instant-read thermometer: Confirms the chicken has reached a safe 165°F.
- Large spoon: Moves the pan juices over the chicken at the end.
- Cutting board and carving knife: For resting and slicing the chicken.
How to Make California Roasted Chicken Recipe?
This recipe is easy, but a few small steps make a big difference. I walk you through each one below, just as I did in my own kitchen. Take your time with the prep, and the oven will do the rest.
Preheat the Oven
Set your oven to 400°F before you touch the chicken. A properly hot oven starts browning the skin right away. I like to let it heat fully while I prep everything else.
Dry, Tuck, and Tie the Chicken
Pat the chicken dry with paper towels and remove the giblets from the cavity. Tuck the wings underneath the breast, then tie the legs together with kitchen twine. This keeps the bird compact, so it roasts evenly.
Mix the Butter Rub
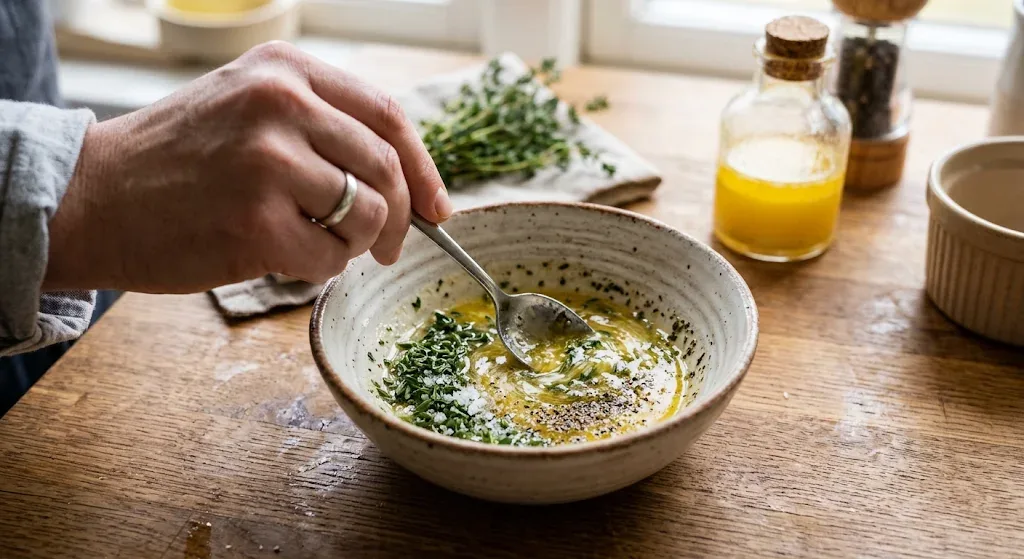
In a small bowl, combine the melted butter, salt, pepper, and the tablespoon of fresh thyme. Stir until everything looks evenly mixed. The smell alone tells you something good is coming.
Rub the Chicken All Over
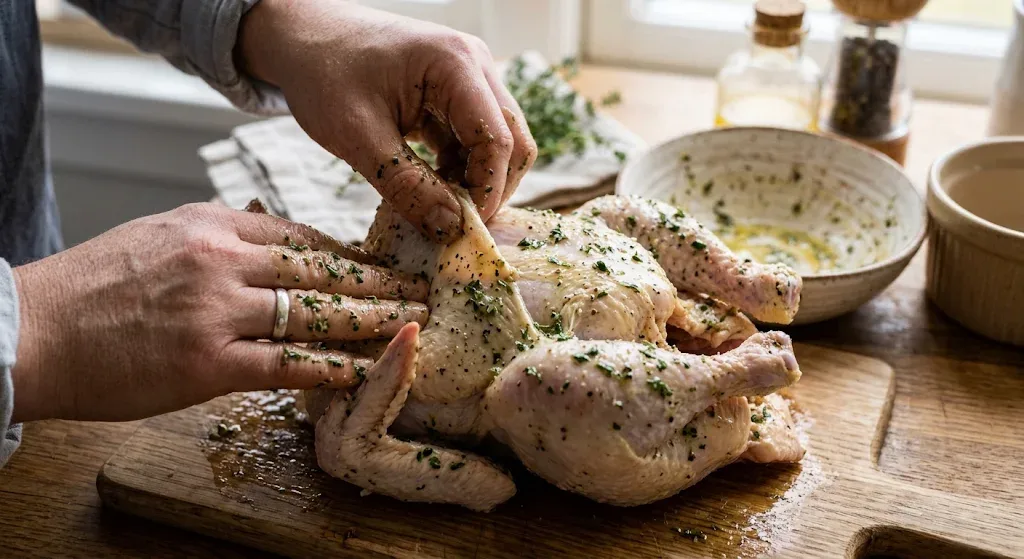
Use your hands to spread the butter mixture over the whole chicken. Be sure to work some underneath the skin too, because that is where the flavor sinks in. Don’t rush this step, since good coverage means juicier meat.
Stuff the Cavity
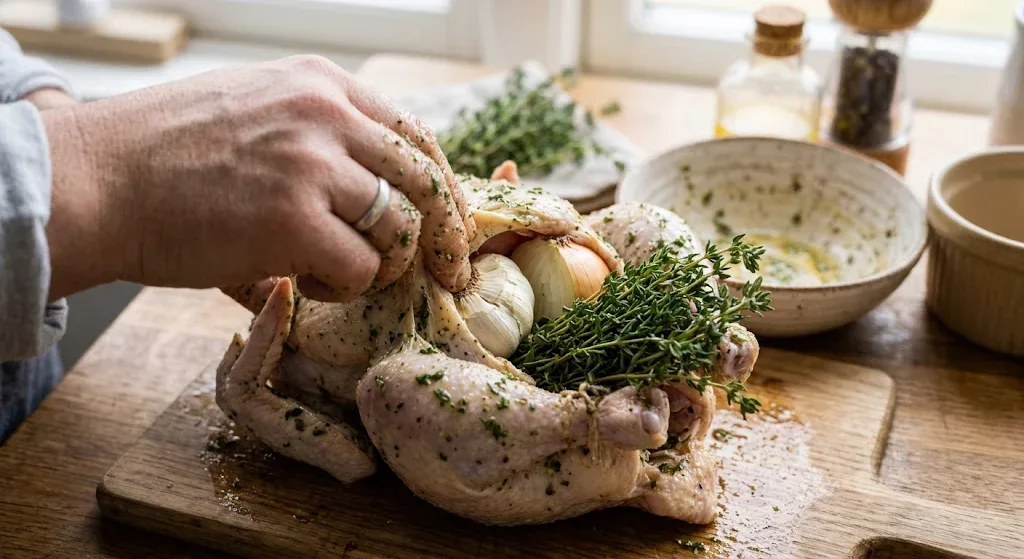
Place the halved garlic head, the onion, and the bunch of thyme inside the chicken. These aromatics steam gently as the chicken cooks. They fill the meat with a mellow, herby flavor.
Pour the Olive Oil
Drizzle the olive oil all over the chicken, letting some pool in the dish. The oil keeps the skin from drying out in the heat. It also mixes with the butter to create wonderful pan juices later.
Roast Until Golden
Set the chicken in a large baking dish, breast side up. Roast it for about 60 to 75 minutes, until the skin is golden brown and a thermometer reads 165°F. Check the thickest part of the meat, and keep the oven door closed as much as you can.
Spoon the Juices and Rest
Spoon the juices and oil from the bottom of the dish over the chicken. Then let it rest for 15 minutes before carving. This pause lets the juices settle, so every slice stays moist.
Additional Tips for Making This Recipe Better
These small habits made my chicken turn out better each time I cooked it. Here is what I learned along the way.
- I always dry the chicken very well, because even a little moisture on the skin keeps it from crisping.
- I take the time to rub butter under the skin, since it makes the breast noticeably juicier.
- I use fresh thyme every time, as the flavor is much cleaner than the dried version.
- I rely on an instant-read thermometer instead of guessing, and it has saved me from overcooked chicken.
- I never skip the 15-minute rest, because slicing too early lets the juices run onto the board.
- I spoon the pan juices over the chicken once it comes out, which gives the skin a glossy finish.
Common Mistakes to Avoid
Even a simple roast chicken can go wrong with a few small slips. I made some of these myself, so learn from my experience.
- Skipping the pat-dry step: I once left the skin damp, and it came out pale and soft. Always dry it well first.
- Forgetting to tie the legs: My chicken cooked unevenly when I skipped the twine. Tie the legs and tuck the wings.
- Rubbing only the top of the skin: I got bland meat that way. Spread the butter underneath the skin as well.
- Carving right away: I was too eager once, and the juices ran everywhere. Let it rest for the full 15 minutes.
- Trusting the clock alone: Ovens vary, so I check with a thermometer and look for 165°F.
How to Serve California Roasted Chicken Recipe?
This chicken looks stunning on the table, and a little presentation goes a long way. Here are my favorite ways to serve it.
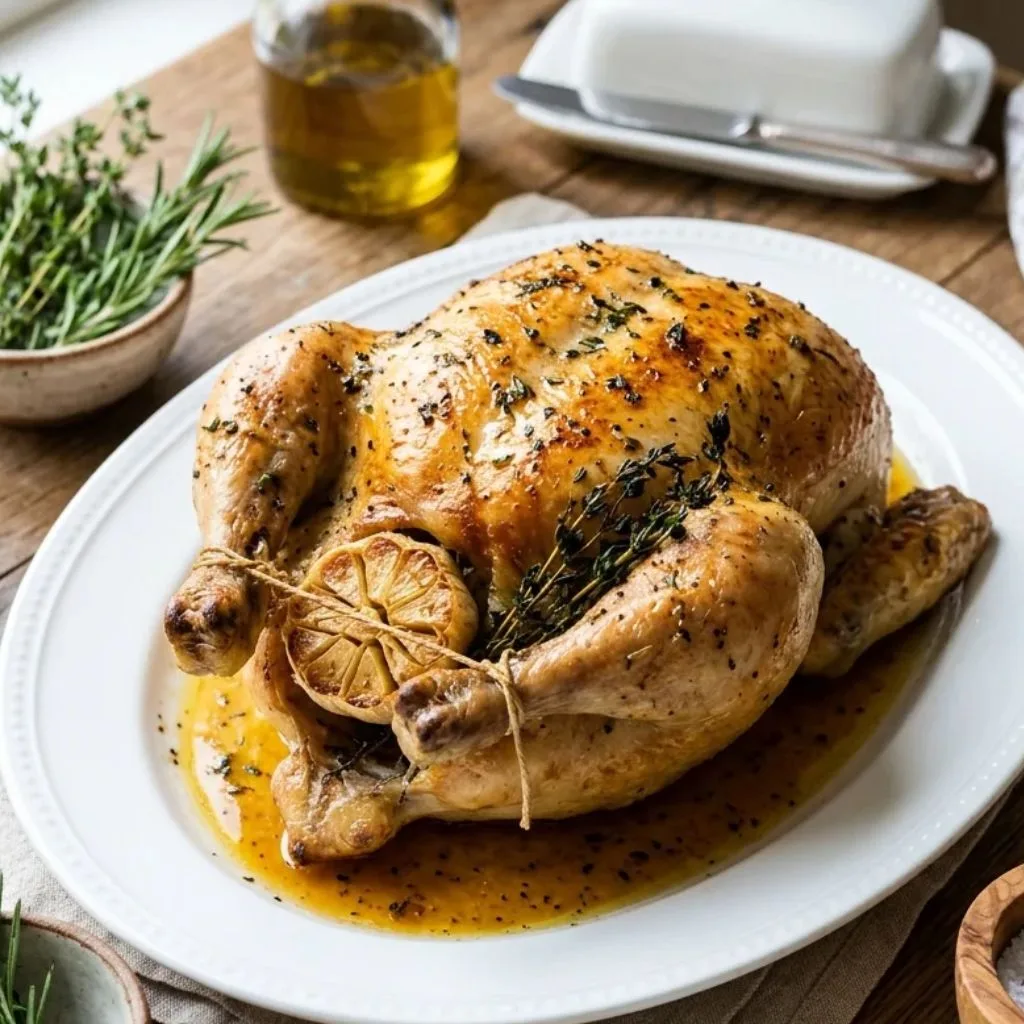
- Bring the whole chicken to the table on a wooden board, then carve it in front of everyone.
- Tuck fresh lemon slices around the chicken for a bright, colorful look.
- Scatter a few thyme sprigs over the top, so the platter looks fresh and inviting.
- Serve it with oven-roasted potatoes, much like the California chicken cafe roasted potatoes you may know from restaurants.
- Add a crisp green salad or roasted vegetables for a light, balanced plate.
- Pour the pan juices into a small bowl, and let everyone spoon some over their slices.
Variations
You can easily change this recipe to suit your taste or diet. These are a few swaps I like to try.
- Dairy-free: Replace the melted butter with extra olive oil, and the chicken still turns out rich.
- Latin-style: For a Latin roasted chicken feel, add cumin, garlic, and lime juice to the rub.
- Garlic lover: Add extra garlic cloves to the pan for a roasted garlic chicken, similar to the style you may see at California restaurants.
- Citrus boost: Stuff a halved lemon into the cavity along with the onion for extra brightness.
- Herb swap: Try rosemary or sage alongside the thyme for a different herbal flavor.
Nutritional Information
Here is a rough estimate per serving, based on four servings. Actual numbers will vary with the size of your chicken and how much skin and pan juice you eat.
- Calories: About 560
- Protein: About 42 g
- Carbohydrates: About 3 g
- Fat: About 42 g
Make Ahead and Storage
A roast chicken is wonderful the next day, and it keeps well when stored properly.
Make Ahead: You can prep the butter rub and tie the chicken a few hours ahead, then keep it covered in the fridge. Let it sit out briefly before roasting. This saves time on busy evenings.
Storage: Let the chicken cool, then store the leftovers in an airtight container in the fridge. I keep mine for up to three or four days. Keep the pan juices in a separate small jar.
Reheating: Warm the slices gently in a low oven, covered with foil, so they don’t dry out. A spoonful of the pan juices brings back the moisture. I avoid high heat, since it toughens the meat.
Freezing: Slice or shred the cooked chicken, then freeze it in a sealed freezer bag for up to three months. Thaw it overnight in the fridge. It works well in soups, sandwiches, and salads.
Why You’ll Love This Recipe?
This recipe has become a regular in my home, and I think it will in yours too. Here are the reasons I keep coming back to it.
- Simple ingredients: You only need a handful of pantry staples, plus fresh thyme, garlic, and onion. There is no long shopping list. It is easy to pull together on any day of the week.
- Hands-off cooking: Once the chicken is in the oven, it mostly takes care of itself. You can prep sides or relax while it roasts. That makes it perfect for Sunday dinners.
- Big, comforting flavor: The garlic, thyme, and butter create a deep, savory taste. The crisp, golden skin is a real treat. It feels like a restaurant meal made at home.
- Easy to customize: You can swap the herbs, add citrus, or go dairy-free. The base recipe is very forgiving. It adapts to whatever your family likes.
- Great for leftovers: The extra chicken works in salads, wraps, soups, and more. One roast can cover several meals. That makes it a smart choice for busy weeks.
FAQs
How do I know when the chicken is fully cooked?
Insert a thermometer into the thickest part of the meat. It should read 165°F, and the skin should be golden brown.
Can I make California chicken cafe roasted potatoes to go with it?
Yes, you can. Cut potatoes into chunks, toss them with olive oil and salt, and roast them on a separate pan until tender and golden.
Can I use dried thyme instead of fresh?
You can in a pinch, but I prefer fresh thyme for its cleaner flavor. If you use dried, use a smaller amount.
Is this similar to the rotisserie chicken of California menu items at restaurants?
It has the same golden skin and juicy meat, though it is oven-roasted instead of spit-roasted. The result is cozy, familiar, and very satisfying.
Why does the chicken need to rest before carving?
Resting for 15 minutes lets the juices settle back into the meat. Carving too soon makes the chicken drier.